crwdns2915892:0crwdne2915892:0
A damaged motherboard is a serious issue and can be a hassle to fix, but it doesn't have to be! By following the quick and easy motherboard replacement guide you can have your Chromebook working again in no time!
crwdns2942213:0crwdne2942213:0
-
-
Remove the eleven 3mm Phillips #1 screws.
-
-
-
Use a plastic opening tool to gently remove the back panel.
-
-
-
Use your fingers to remove the connecting cable to the battery unit. Firmly grab the cord closest to the motherboard connection and pull straight back.
-
-
-
Remove the four 2mm screws on the sides of the battery.
-
-
-
To remove the battery, lift up on one side to get your fingers underneath and lift away.
-
-
-
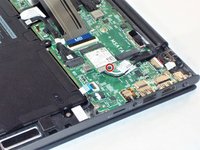
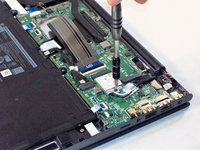
Use #1 Phillips screwdriver to remove the 1mm screw in the network card.
-
-
-
Disconnect the network card from motherboard socket.
-
-
-
-
Disconnect 2 cable connectors from network card.
-
-
-
Gently pull to unplug fan connector.
-
-
-
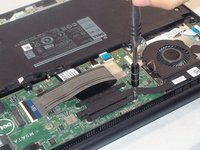
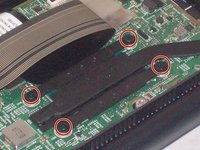
Remove the eight 2mm screws securing the motherboard in place.
-
-
-
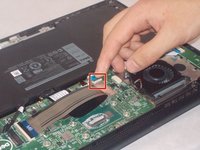
Release cable for the LED charging indicator by pulling up on connector.
-
-
-
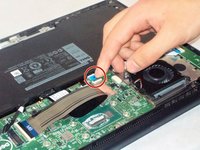
Pull up on connector tab to release IO board cable.
-
-
-
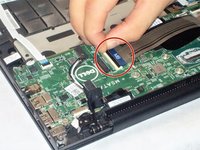
Pull up on connector tab to release touchpad cable.
-
-
-
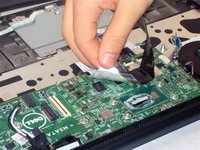
Release the keyboard backlight cable.
-
-
-
Gently lift up the motherboard to remove it.
-
To reassemble your device, follow these instructions in reverse order.
To reassemble your device, follow these instructions in reverse order.
crwdns2947410:01crwdne2947410:0
Is it possible to swap the non-touch matte display and the glossy touchscreen on two Dell Chromebook 13 7310?


