crwdns2915892:0crwdne2915892:0
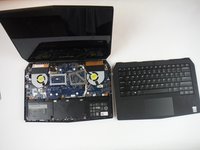
This guide will show the user how to replace a cracked, broken, or damaged computer base on a Dell Alienware 13 laptop.
crwdns2942213:0crwdne2942213:0
-
-
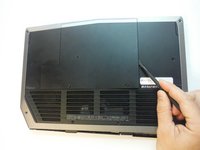
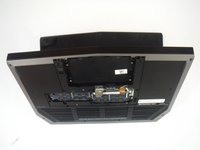
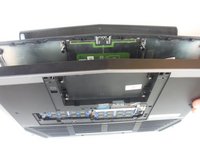
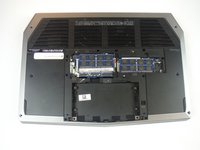
Close the device and turn the device over.
 crwdns2952109:0crwdne2952109:0
-
-
-
Remove (2) 5 mm Phillips head screws attaching the small access panel to the base using a Phillips # 1 screwdriver.
-
-
crwdns2935267:0crwdne2935267:0Heavy-Duty Spudger$4.99
-
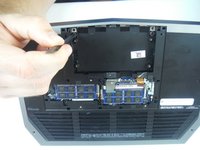
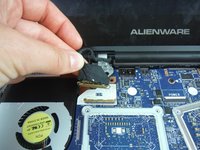
Remove the small access panel using a heavy duty spudger.
-
-
-
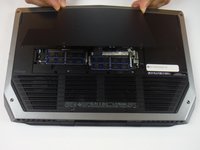
Disconnect the battery cable from the battery cable terminal.
-
-
-
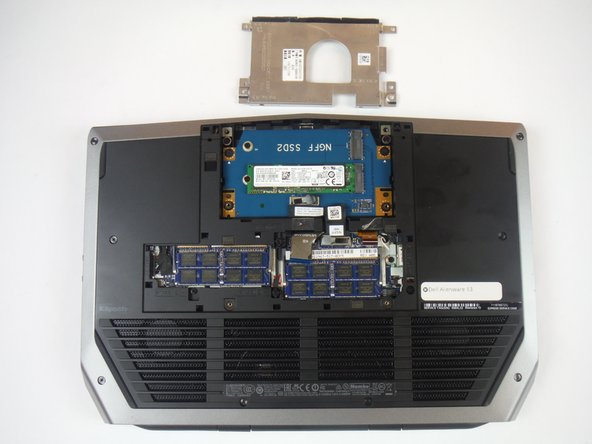
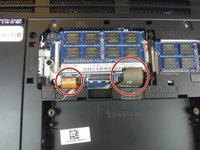
Remove (4) 6 mm Phillips head screws from the solid-state metal drive bracket, using a Phillips # 1 screwdriver.
-
-
-
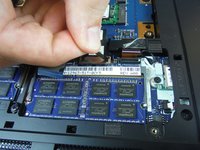
Grab the pull tab to pivot the solid-state drive bracket upwards. Remove the bracket from the computer base.
-
-
-
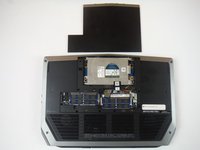
Using the pull tab, disconnect the black solid-state drive cable from the system board.
-
-
-
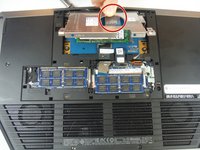
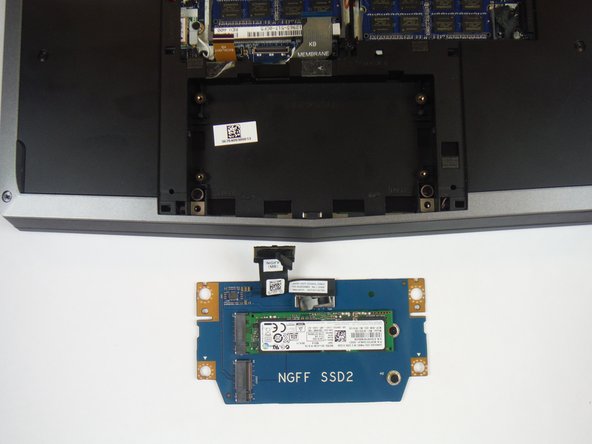
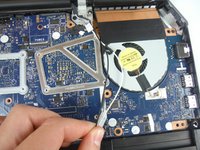
Remove (2) 3 mm Phillips head screws, using a Phillips # 0 screwdriver, that connect the solid-state drive assembly to the computer base.
-
-
-
-
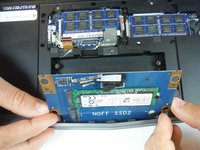
Lift up on the solid-state drive assembly to remove it from the computer base.
-
-
-
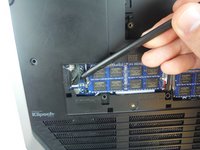
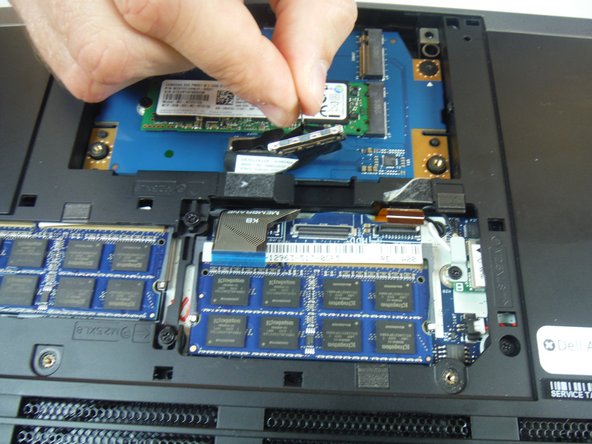
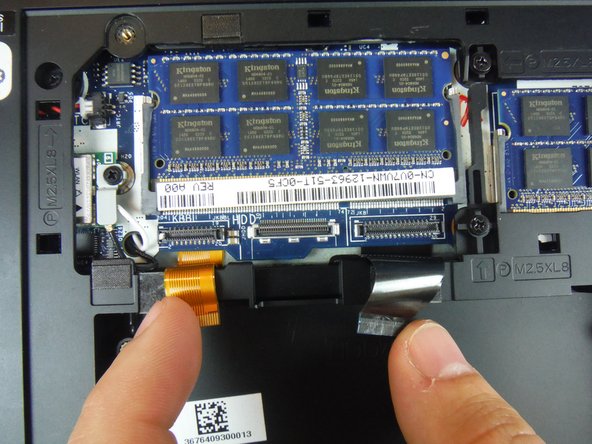
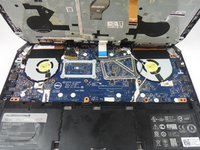
Locate two cables labeled, "KB Backlight" (orange) and "KB Membrane" (black). Lift up on the latches to disconnect the cables from the system board.
-
-
-
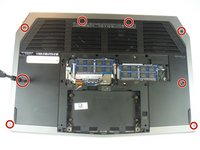
Remove (8) 9 mm Phillips head screws using a Phillips # 1 screwdriver, that secures the palm-rest assembly to the computer base.
-
Remove (4) 8 mm Phillips head screws using a Phillips # 1 screwdriver.
-
Remove (2) 7 mm Phillips head screws using a Phillips # 1 screwdriver.
-
-
-
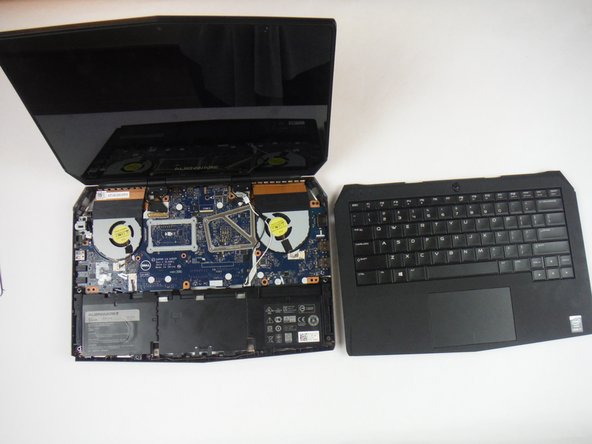
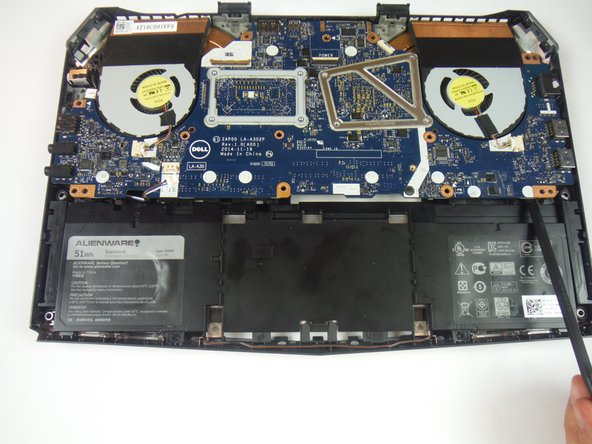
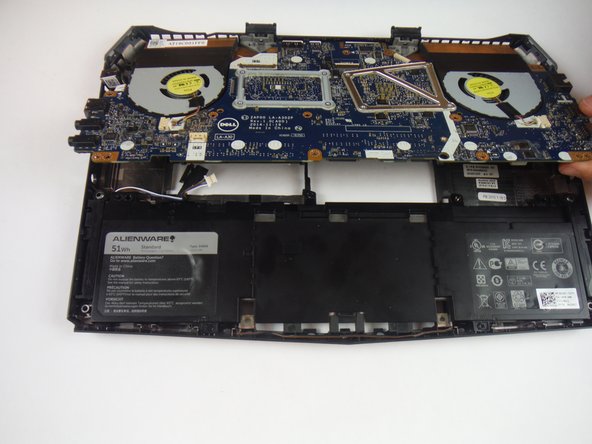
Lift the computer base slightly towards you and push the release tabs on the palm-rest assembly until it pops out using a spudger.
-
-
-
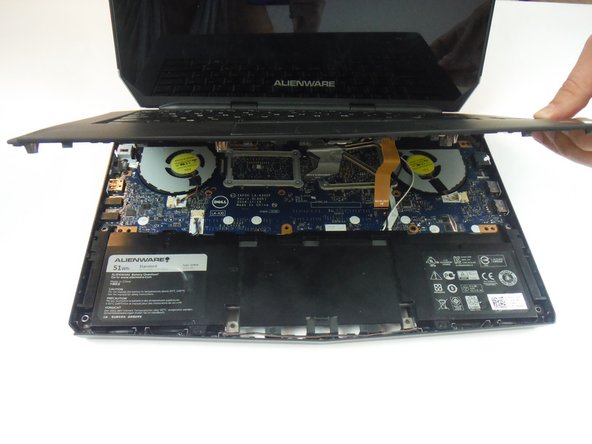
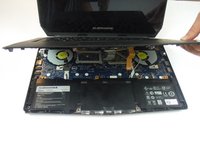
Turn the computer over and open the display as far as possible.
-
Using a plastic spudger, pry up along the edges of the palm-rest assembly.
-
Gently lift the palm-rest assembly.
-
-
-
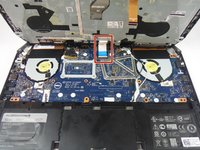
Lift the connector latch and disconnect the power-button board cable from the system board. Identified as a cable with a blue tab.
-
Lift the palm-rest assembly off the computer base.
-
-
-
Open the display as far as possible.
-
Remove (2) 3 mm Phillips head screws, using a Phillips head #0 screwdriver, that secure the hinge caps to the display hinges.
-
Slide and lift the hinge caps off the display hinges.
-
-
-
Close the display and turn the computer over.
-
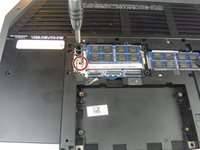
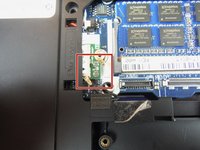
Remove (1) 2 mm Phillips head screw, using a Phillips head # 0 screwdriver, that secures the wireless-card bracket to the wireless card.
-
-
crwdns2935267:0crwdne2935267:0Heavy-Duty Spudger$4.99
-
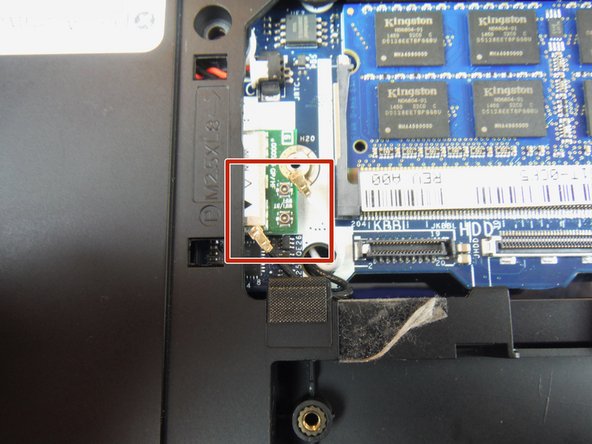
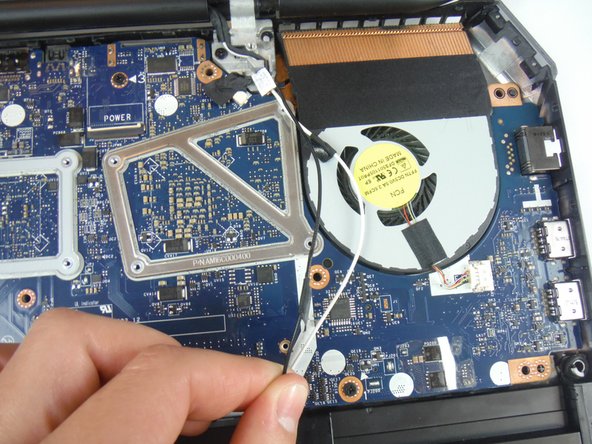
Disconnect the antenna cables from the wireless card using a heavy duty spudger. The wires can be removed by applying a force directed upward, away from the device.
-
-
-
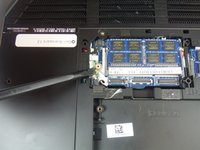
Turn the computer over and open the display.
-
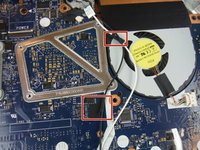
Peel off the adhesive tapes that secure the antenna cables to the system board.
-
-
-
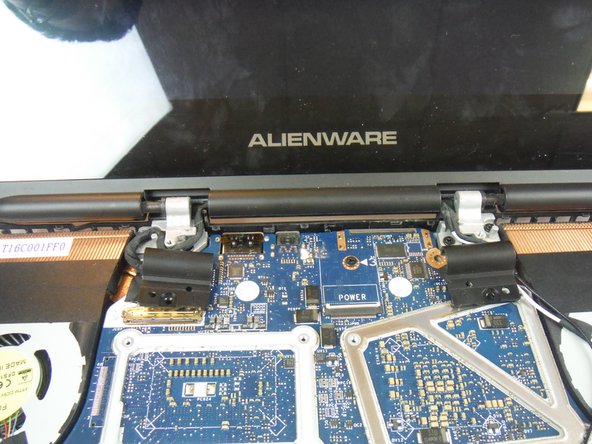
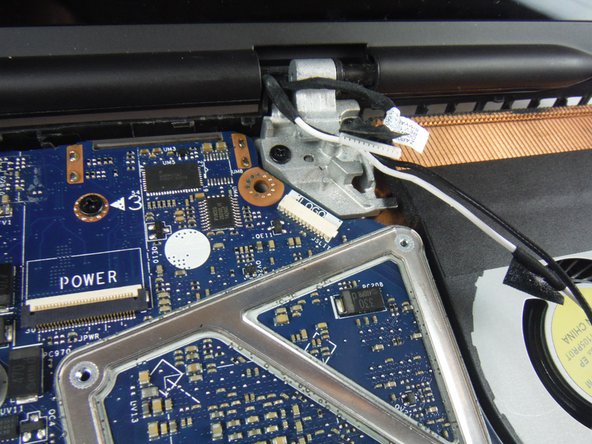
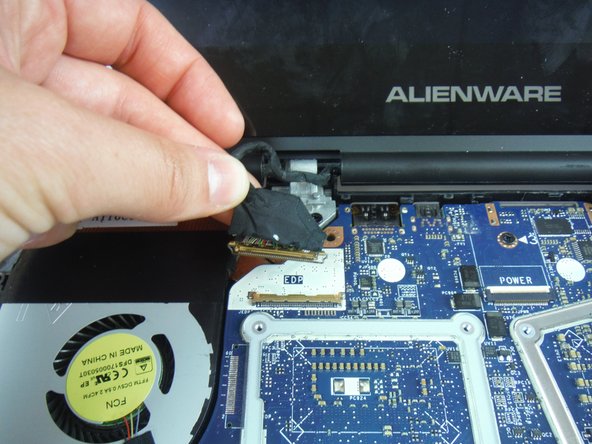
Lift the connector latch and disconnect the display cable from the system board.
-
Disconnect the logo-board cable from the system board.
-
Remove the antenna cables, display cable, and logo-board cable from the routing guides on the display hinges.
-
-
-
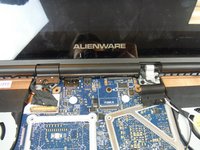
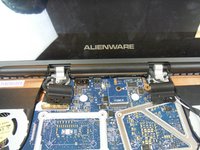
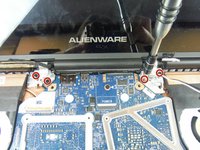
Remove (4) 8 mm Phillips head screws, using a Phillips # 1 screwdriver, that secure the display assembly to the computer base.
-
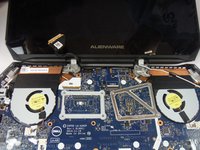
Lift the display assembly off the computer base.
-
-
-
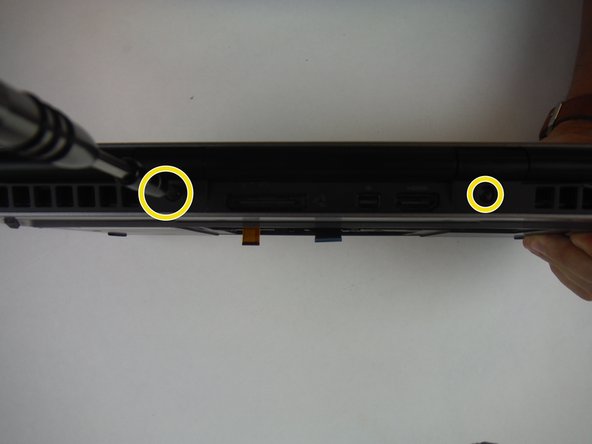
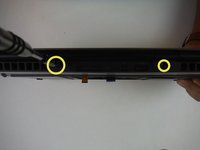
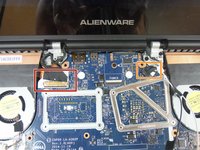
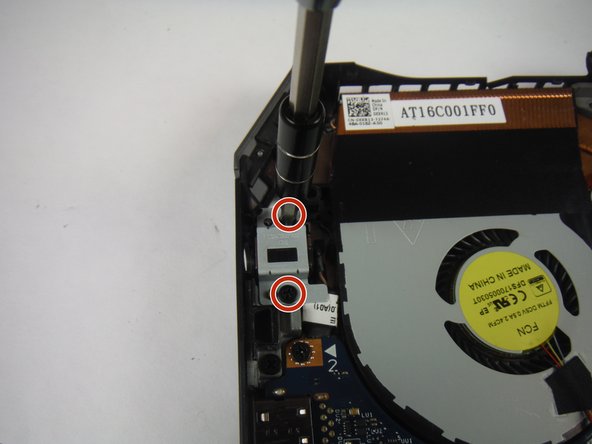
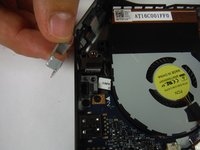
Remove the (2) 6 mm Phillips head screws securing the power adapter port bracket with a #1 Phillips screwdriver.
-
Lift and remove the power adapter port bracket.
-
-
-
Lift up and remove the power adapter port from the computer base.
-
-
-
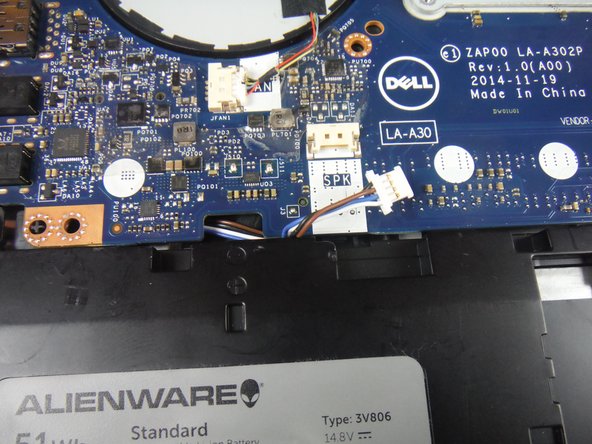
Disconnect the speaker cable connector from the service board.
-
-
-
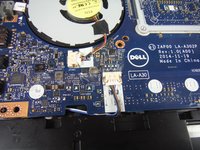
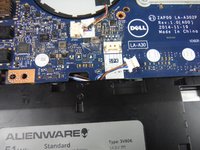
Remove (3) 6 mm Phillips head screws securing the service board with a #1 Phillips screwdriver.
-
Lift up on the service board assembly using a heavy duty spudger and slide the board towards the battery to remove from the base.
-


To reassemble your device, follow these instructions in reverse order.
crwdns2935221:0crwdne2935221:0
crwdns2935229:02crwdne2935229:0

crwdns2935287:0crwdne2935287:0

USF Tampa, Team 14-2, Eyestone Fall 2016 crwdns2935289:0USF Tampa, Team 14-2, Eyestone Fall 2016crwdne2935289:0
USFT-EYESTONE-F16S14G2
crwdns2931471:03crwdne2931471:0
crwdns2935297:07crwdne2935297:0