crwdns2915892:0crwdne2915892:0
This guide details replacement of the upper motor armature containing the brushes and main power connectors.
crwdns2942213:0crwdne2942213:0
-
-
Remove the shoe by pressing the yellow button on the left side of the hand grip.
-
-
-
Remove the two M8x18mm T20 bolts from the front plate.
-
-
-
Pull the front of the grip while holding the saw body in place.
-
-
-
-
Remove the M3x16mm T10 screw from the back of the grip. Keep it separate from the rest of the grip screws
-
Remove the six M3.63x19 T15 screws from the grip.
-
-
-
Remove the top half of the grip.
-
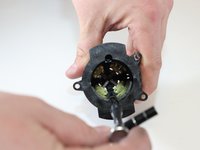
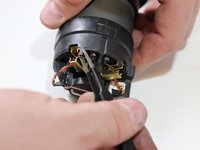
Turn the saw over and locate the power connectors to the motor.
-
Use needle nose pliers to remove the spade connectors. Take care not to grab the wires on removal, only the end of the spade terminal.
-
-
-
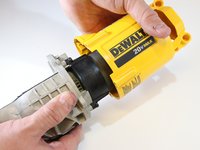
Remove four M8x32mm T20 bolts from the base of the gearbox.
-
Pull the gearbox and motor out of the center housing.
Hi,
I am trying to reassemble the magnetic motor case back onto the gearbox; however, it isn't going down far enough and there is a 1/2” gap between the case and where it needs to mount into the aluminum. Any tips?
-
-
-
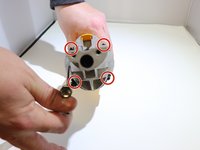
Remove three M8x18mm T20 bolts from the back of the gearbox.
-
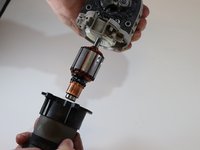
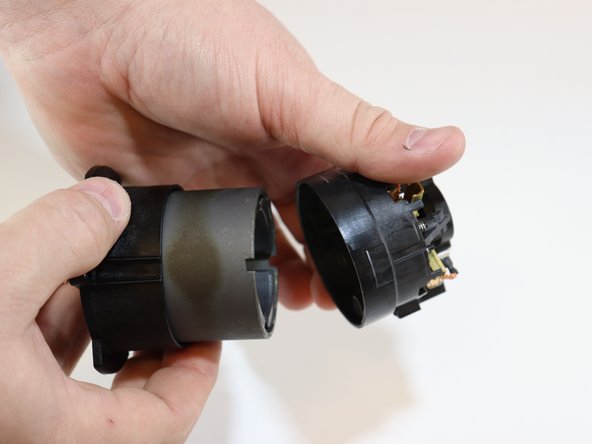
Pull the motor armature out of the casing.
-
-
-
Remove two M3.63x60mm T10 bolts from the inner edge of the motor case.
-
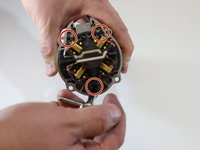
Pull the brush housing off the top, leaving the bottom half in place.
-
-
crwdns2935267:0crwdne2935267:0Tweezers$4.99
-
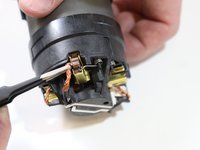
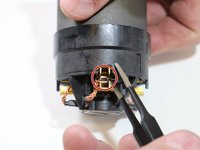
Use tweezers to unload the springs from the new set of brushes.
-
Pull the brush heads back as far as the casing will allow.
-
Reload the springs after the armature has be re-seated.
-


To reassemble your device, follow these instructions in reverse order.
To reassemble your device, follow these instructions in reverse order.
crwdns2935221:0crwdne2935221:0
crwdns2935227:0crwdne2935227:0
crwdns2915084:0crwdne2915084:0

Eastern Washington University, Team S2-G5, Munoz Winter 2019 crwdns2935289:0Eastern Washington University, Team S2-G5, Munoz Winter 2019crwdne2935289:0
EWU-MUNOZ-W19S2G5
crwdns2931471:03crwdne2931471:0
crwdns2935297:07crwdne2935297:0
crwdns2947410:01crwdne2947410:0
Spot on perfect directions, thank you very much.
yellow button is lost
J Hess - crwdns2934203:0crwdne2934203:0