crwdns2933423:0crwdne2933423:0
crwdns2947577:0crwdnd2947577:0crwdne2947577:0

DeWalt D28110 Power Switch Replacement

crwdns2942213:0crwdne2942213:0

    1. DeWalt D28110 Power Switch Replacement, Disassembling DeWalt D28110 Gear Case: crwdns2935265:01crwdnd2935265:01crwdnd2935265:01crwdne2935265:0
      • Using the T-15 screwdriver, remove the four 22-mm torx screws on the gear case.

      • Unplug the grinder before any disassembly.

      crwdns2952109:0crwdne2952109:0

      crwdns2917038:0crwdne2917038:0

    2. DeWalt D28110 Power Switch Replacement: crwdns2935265:02crwdnd2935265:01crwdnd2935265:02crwdne2935265:0 DeWalt D28110 Power Switch Replacement: crwdns2935265:02crwdnd2935265:02crwdnd2935265:02crwdne2935265:0
      • Pull out the gear case.

      crwdns2952109:0crwdne2952109:0

      crwdns2917038:0crwdne2917038:0

    1. DeWalt D28110 Power Switch Replacement, Disassembling DeWalt D28110 Back Panel Disassembly: crwdns2935265:03crwdnd2935265:01crwdnd2935265:01crwdne2935265:0
      • Using the T-15 screwdriver, remove the four 22-mm torx screws holding the back panel in place.

      • Unplug the grinder before any disassembly.

      crwdns2952109:0crwdne2952109:0

      crwdns2917038:0crwdne2917038:0

    2. DeWalt D28110 Power Switch Replacement: crwdns2935265:04crwdnd2935265:01crwdnd2935265:01crwdne2935265:0
      • Use the edge of the spudger to loosen and remove the back panel.

      crwdns2952109:0crwdne2952109:0

      crwdns2917038:0crwdne2917038:0

    3. DeWalt D28110 Power Switch Replacement: crwdns2935265:05crwdnd2935265:01crwdnd2935265:01crwdne2935265:0
      • Remove the single 20-mm torx screw holding the rear panel in place.

      crwdns2952109:0crwdne2952109:0

      crwdns2917038:0crwdne2917038:0

    4. DeWalt D28110 Power Switch Replacement: crwdns2935265:06crwdnd2935265:01crwdnd2935265:01crwdne2935265:0
      • Pull back the rear side of the back panel.

      crwdns2952109:0crwdne2952109:0

      crwdns2917038:0crwdne2917038:0

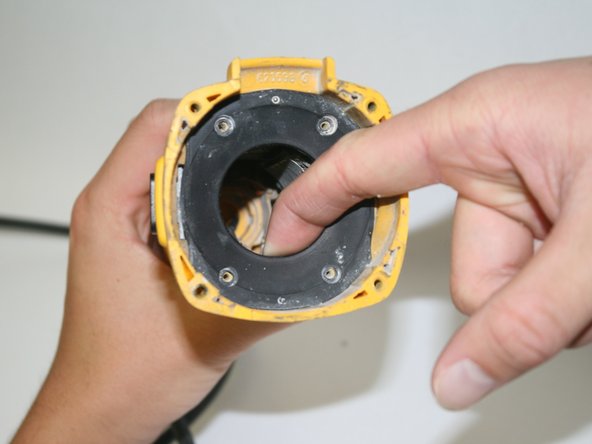
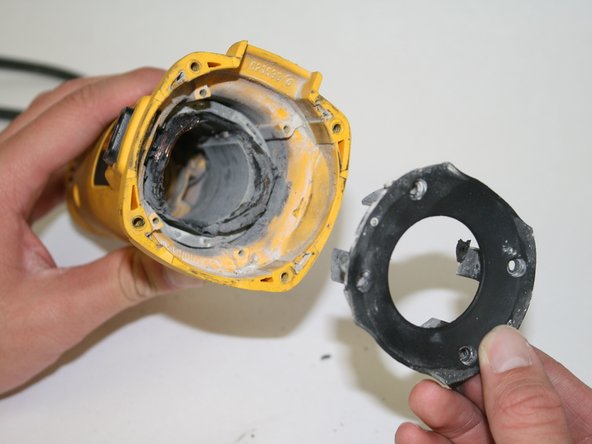
    1. DeWalt D28110 Power Switch Replacement, Power Switch: crwdns2935265:07crwdnd2935265:01crwdnd2935265:03crwdne2935265:0 DeWalt D28110 Power Switch Replacement, Power Switch: crwdns2935265:07crwdnd2935265:02crwdnd2935265:03crwdne2935265:0 DeWalt D28110 Power Switch Replacement, Power Switch: crwdns2935265:07crwdnd2935265:03crwdnd2935265:03crwdne2935265:0
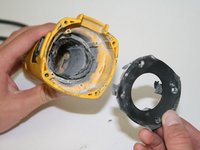
      • There is an inner plastic guard behind the motor shaft.

      • Unscrew the four screws at each corner.

      • The guard should pull out with a good firm tug.

      crwdns2952109:0crwdne2952109:0

      crwdns2917038:0crwdne2917038:0

    2. DeWalt D28110 Power Switch Replacement: crwdns2935265:08crwdnd2935265:01crwdnd2935265:03crwdne2935265:0 DeWalt D28110 Power Switch Replacement: crwdns2935265:08crwdnd2935265:02crwdnd2935265:03crwdne2935265:0 DeWalt D28110 Power Switch Replacement: crwdns2935265:08crwdnd2935265:03crwdnd2935265:03crwdne2935265:0
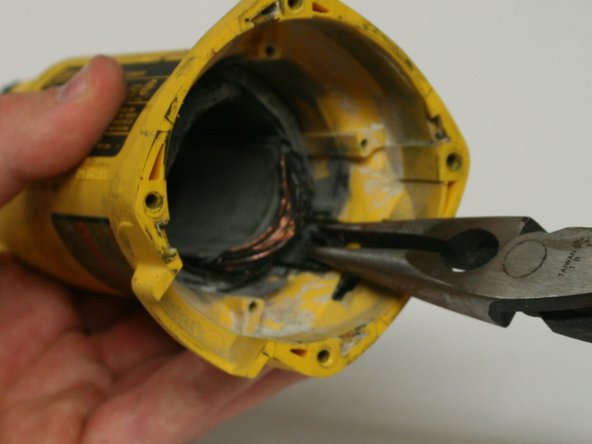
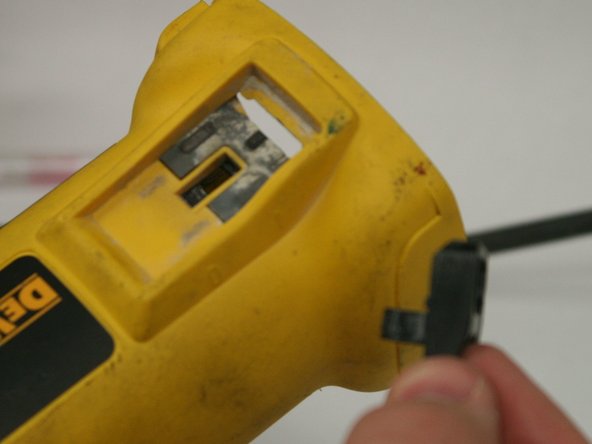
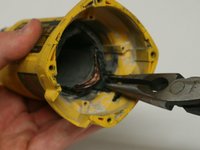
      • Just behind the inner guard is the button slide.

      • Use needle nose pliers to pinch and push the button's flanges together, and out of the slot.

      crwdns2952109:0crwdne2952109:0

      crwdns2917038:0crwdne2917038:0

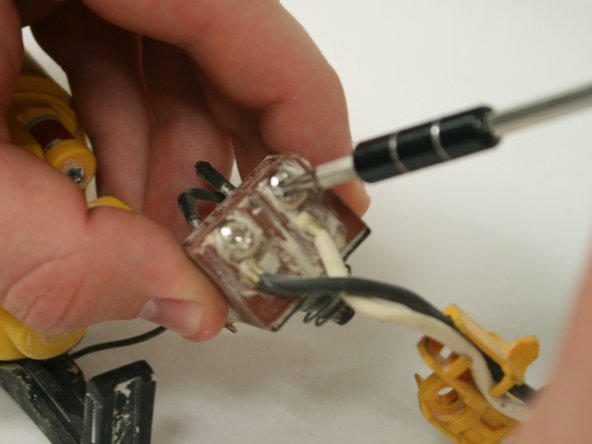
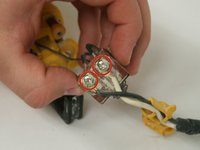
    3. DeWalt D28110 Power Switch Replacement: crwdns2935265:09crwdnd2935265:01crwdnd2935265:03crwdne2935265:0 DeWalt D28110 Power Switch Replacement: crwdns2935265:09crwdnd2935265:02crwdnd2935265:03crwdne2935265:0 DeWalt D28110 Power Switch Replacement: crwdns2935265:09crwdnd2935265:03crwdnd2935265:03crwdne2935265:0
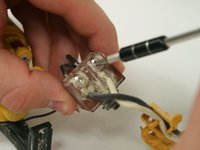
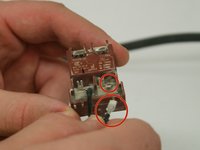
      • Using the J-1 screwdriver, unscrew the power cord wires from the red switch box (located in the back of the grinder).

      crwdns2952109:0crwdne2952109:0

      crwdns2917038:0crwdne2917038:0

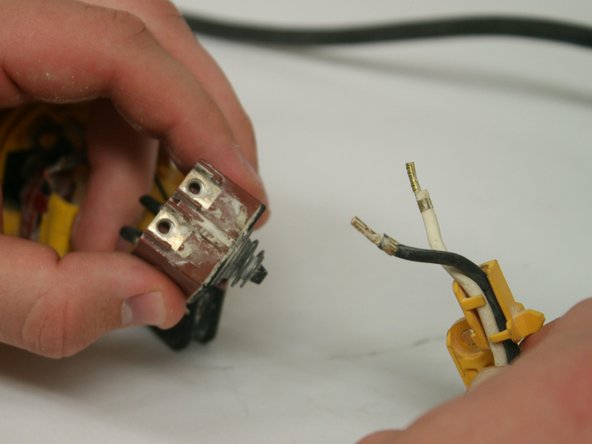
    4. DeWalt D28110 Power Switch Replacement: crwdns2935265:010crwdnd2935265:01crwdnd2935265:02crwdne2935265:0 DeWalt D28110 Power Switch Replacement: crwdns2935265:010crwdnd2935265:02crwdnd2935265:02crwdne2935265:0
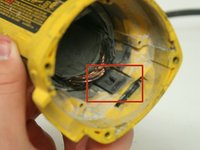
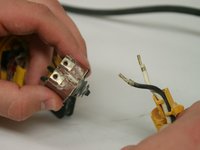
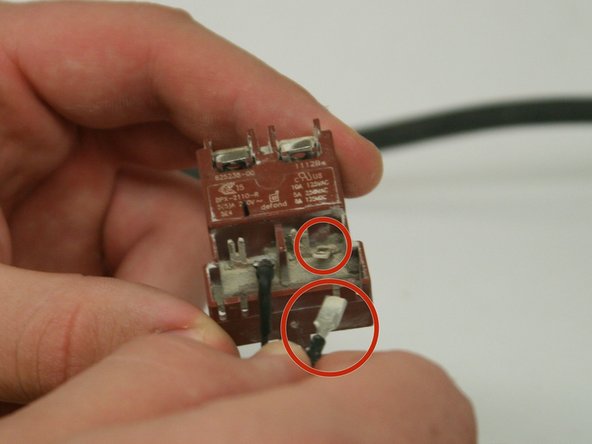
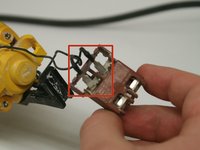
      • Disconnect the motor wires from the other side of the switch box.

      • They wires are connected as a sleeve to the flat pin out of the switch box. A firm pull should do it.

      crwdns2952109:0crwdne2952109:0

      crwdns2917038:0crwdne2917038:0

crwdns2915888:0crwdne2915888:0

To reassemble your device, follow these instructions in reverse order.

crwdns2935221:0crwdne2935221:0

crwdns2935229:03crwdne2935229:0

Kean Wee

crwdns2935283:001/22/15crwdne2935283:0

522 crwdns2915208:0crwdne2915208:0

crwdns2935297:04crwdne2935297:0

crwdns2935287:0crwdne2935287:0

Cal Poly, Team 18-6, Maness Winter 2015 crwdns2935289:0Cal Poly, Team 18-6, Maness Winter 2015crwdne2935289:0

CPSU-MANESS-W15S18G6

crwdns2931471:05crwdne2931471:0

crwdns2935297:084crwdne2935297:0

crwdns2947410:01crwdne2947410:0

Very clear and concise guide with relevent pictures. Very well done, thank you

Michael Creel - crwdns2934203:0crwdne2934203:0 crwdns2950251:0crwdne2950251:0

crwdns2917038:0crwdne2917038:0

crwdns2936625:0crwdne2936625:0:

crwdns2936751:024crwdne2936751:0 1

crwdns2936753:07crwdne2936753:0 18

crwdns2936753:030crwdne2936753:0 63

crwdns2942667:0crwdne2942667:0 6,755