crwdns2915892:0crwdne2915892:0
Use this guide to disassemble your drill for cleaning, troubleshooting, or other maintenance.
crwdns2942213:0crwdne2942213:0
-
-
Remove the seven T20 screws.
-
Use the T-handle configuration of the screwdriver for the necessary force to loosen the screws.
-
-
-
Wiggle the power supply cord to loosen the clamshell set and rotate the case open.
-
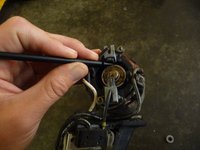
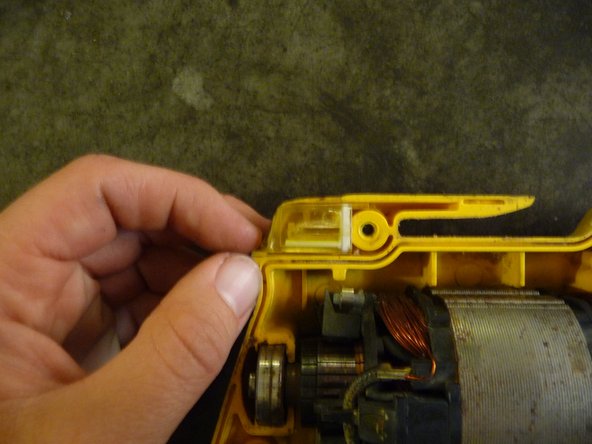
Remove the bubble level.
-
-
-
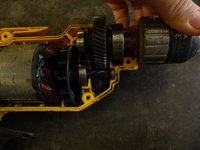
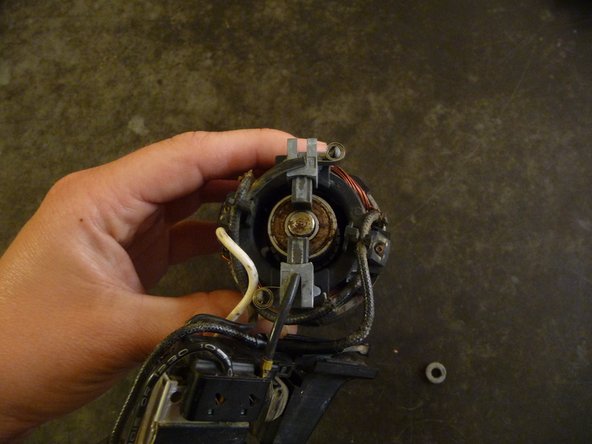
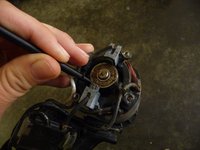
Disengage and remove the spindle and gear assembly.
-
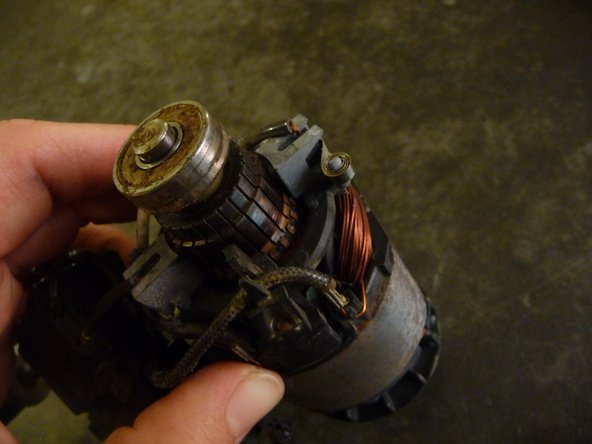
Lift out the field assembly and armature.
-
-
-
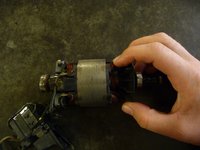
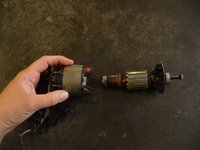
Slide the armature out of the field assembly.
-
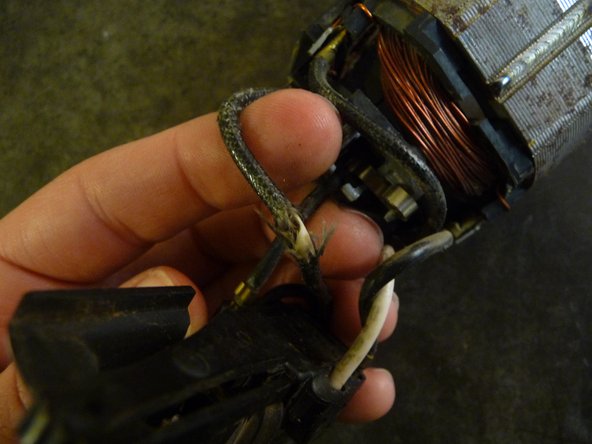
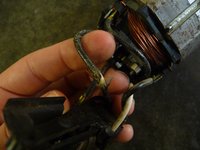
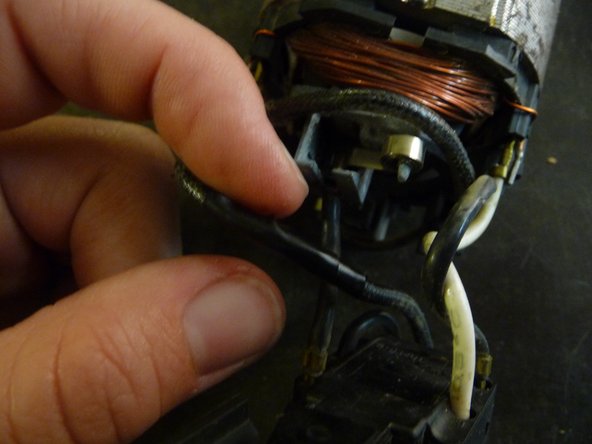
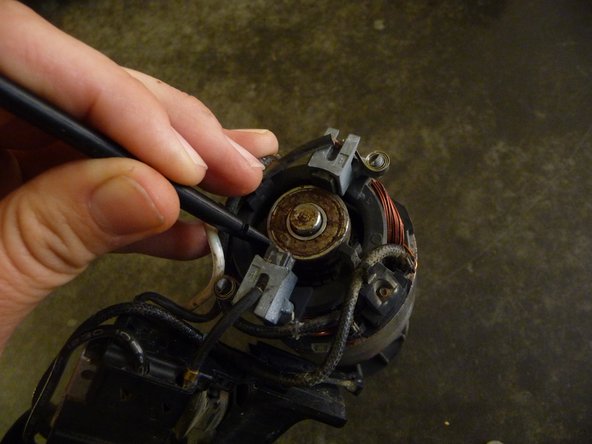
Rotate the field assembly to lay on the top. This allows for easier access to the frayed wire.
-
-
-
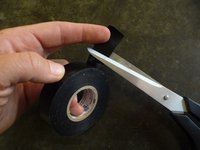
Cut a piece of electrical tape about one inch long.
-
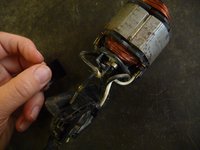
Wrap it tightly around the frayed section of the wiring.
-
-
-
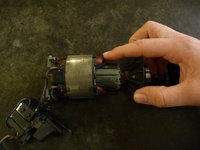
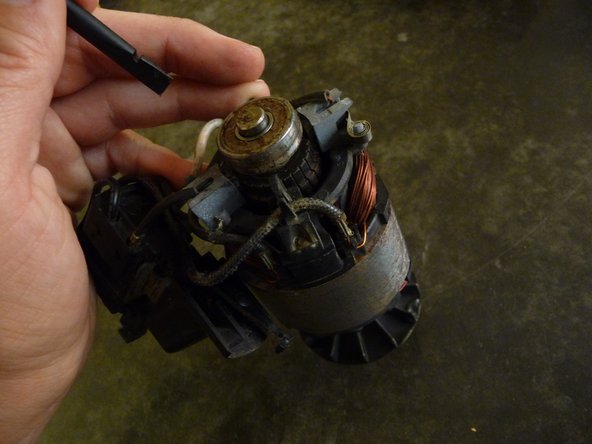
Lay the field assembly back down and align the armature.
-
Reinsert the armature and rotate to point it "drill downward."
-
-
-
-
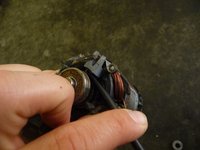
Compress the brushes in the brush ring so the ball bearing at the end of the armature assembly can get through.
-
Use a spudger or similar thin tool.
-
-
-
Reaching from the sides, use the spudger to insert the armature even farther.
-
-
-
Lay the field/armature assembly down.
-
Place the ball bearing ring on the opposite end of the armature.
-
-
-
Place the motor back into the bottom half of the clamshell case.
-
Make sure the three ball bearings are aligned with their receptors. Slightly adjusting the armature inside the field may be necessary.
Alguien sabe la medida del balero pequeño? Porfa que el de mi taladro se perdió!!
-
-
-
Replace the spindle and gear assembly.
-
Lift and adjust until the two helical gears are meshed properly.
-
-
-
Place the switch into the slot.
-
Tuck the wiring both inside the edge of the case and out of the way of the support pegs.
-
-
-
Thread the power cord through the support pegs.
-
Insert the top end of the cord protector into the slot.
-
-
-
Using the notch, align the two halves of the clamshell case and close it.
-
Pay special attention to ensure the wiring all stays clear of the support pegs and the ball bearing wheels and level all stay in their slots.
-
-
-
Rescrew all seven screws using the T20 driver.
-
To ensure a tight fit, use the T-handle configuration on the screwdriver.
-


Plug it in and see if it works more reliably.
Plug it in and see if it works more reliably.
crwdns2935221:0crwdne2935221:0
crwdns2935229:05crwdne2935229:0

crwdns2947410:01crwdne2947410:0
Will try tomorrow, thanks in advance!