crwdns2942213:0crwdne2942213:0
-
-
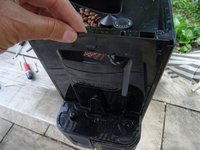
Remove all coffee beans. Remove all attachments such as drip tray, milk frother and water tank. Open the service door and remove the brew group.
-
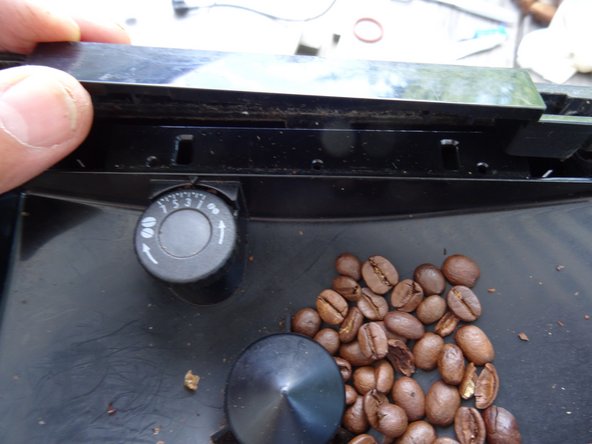
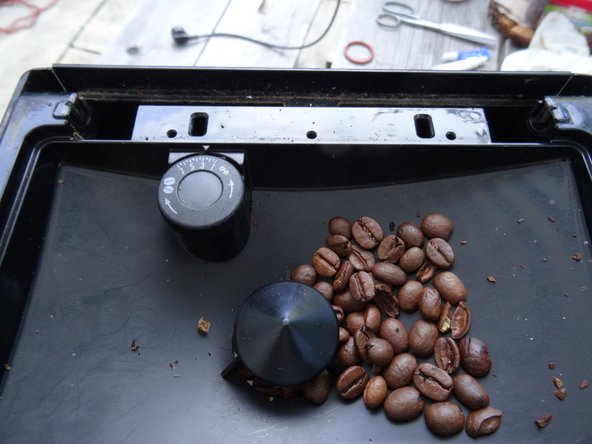
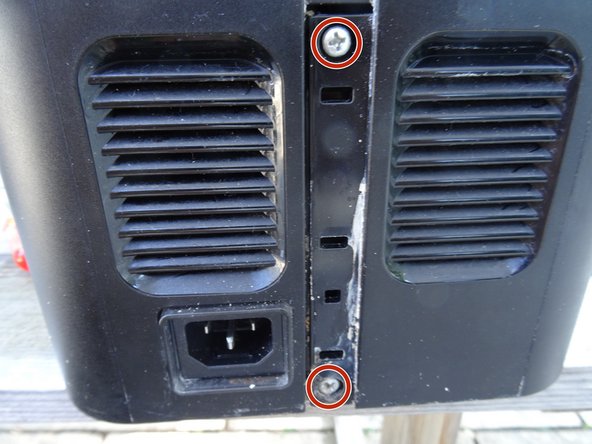
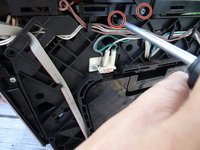
Unscrew the two Phillips screws
-
The Phillips screw under the water tank can remain.
-
-
-
The bean compartment flap must be removed. It is latched on the left and right, the latch is held under tension by a spring. Compress the spring until the catch is free and lift off the flap.
-
-
-
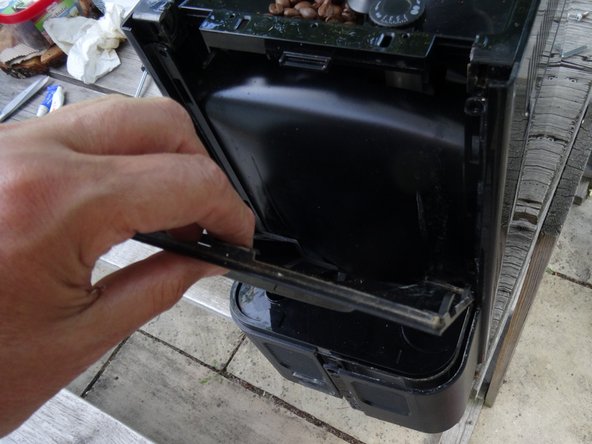
There is a plastic cover strip under the flap. It is only latched in place. Release it with a flat tool and lift it out.
-
-
-
-
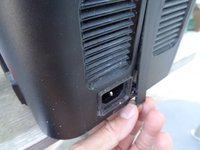
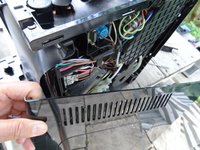
Lift the back side up and put it aside.
-
-
-
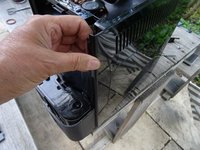
The side covers are still attached to the back with two screws. They are located under a cover strip that is only snapped in place. Take off the cover strip and put it aside.
-
Unscrew the two Phillips screws.
-
-
-
Push the left side panel back about 1 cm. It often jams strongly and you have to help it with a plastic opening tool.
-
Remove the left side panel.
-
-
-
The right side panel is removed in the same way, but the service hatch is a bit obstructive. Open it first and push the side panel back a few millimeters. This is often difficult and you will need a plastic lever tool.
-
Close the flap again and push the sides further back. It is a bit tricky and you have to work carefully. Lift out the side panel.
-
-
-
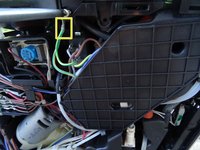
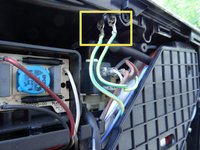
Some devices have a warming plate. Disconnect the flat plugs on the green/yellow protective earth conductors.
-
-
-
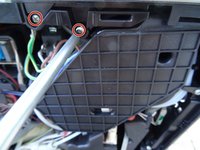
The top is fixed with screws on the left and right, depending on the type. Unscrew them.
-
Now the top can be gently lifted off.
-


Work through the steps in reverse order to reassemble your device.
crwdns2934873:0crwdne2934873:0
100%

crwdns2934883:0shinglecrwdne2934883:0 crwdns2934875:0crwdne2934875:0
crwdns2934877:0crwdne2934877:0 ›