crwdns2915892:0crwdne2915892:0
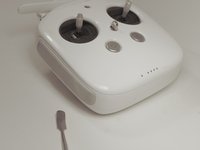
The DJI Phantom 4 is a drone used for photography and videography. This guide will show you how to replace the power button on the Advanced Remote Controller. Make sure the controller is powered off during this process. Finally, keep track of all of your screws and the three different sizes.
crwdns2942213:0crwdne2942213:0
-
-
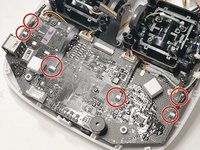
Remove the four screws with a Torx T8 screwdriver to access the back con board.
-
-
-
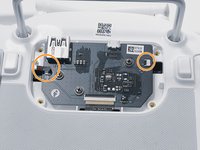
Remove three screws using a Phillips #00 screwdriver.
-
-
crwdns2935267:0crwdne2935267:0Tweezers$4.99
-
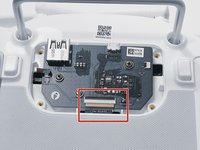
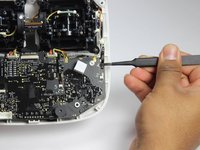
With tweezers, gently remove the large con board tab.
-
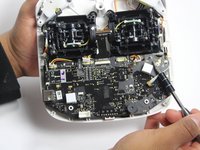
Use your hands to remove the two small clips. Pull out from the socket, in a horizontal direction.
-
-
-
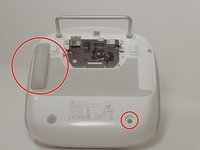
Peel off the rubber grips to access the screw holes.
-
Remove the back board and set it aside.
-
-
-
-
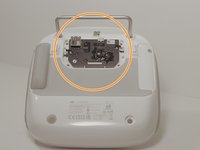
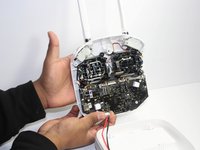
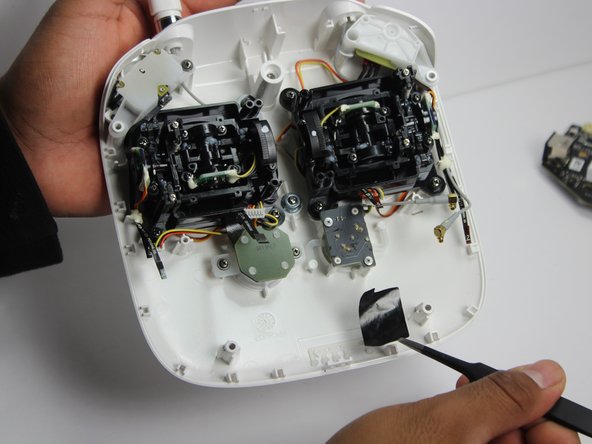
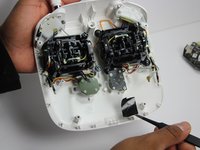
Pull apart the back plastic panel.
-
Once the back panel is off, you will have access to the motherboard.
-
-
-
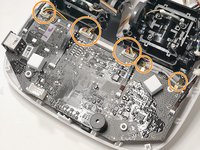
Disconnect ribbon tabs 1,2,5,8G, and 3.
-
Remove ribbon tab by pulling gently along motherboard. Do not pull straight out.
-
Then remove the plugs
-
-
-
With the Phillips #00 screwdriver, remove the two Phillips screws.
-
-
-
Gently lift motherboard out of the case.
-
-
-
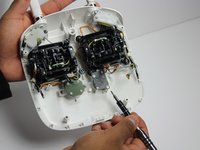
Carefully remove the plastic. This will help you gain access to the power button panel.
-
-
-
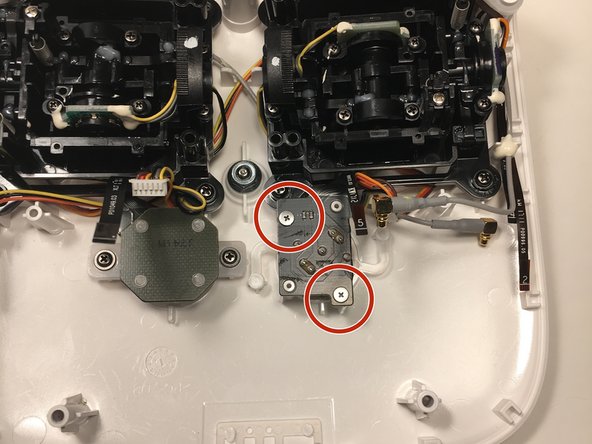
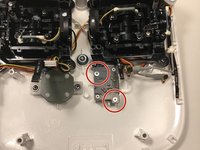
With a Phillips #00 screwdriver, remove the two screws on the power button panel.
-
-
-
Gently pull the power button out from the panel. Replace it with a new one.
-


To reassemble your device, follow these instructions in reverse order.
To reassemble your device, follow these instructions in reverse order.
crwdns2935221:0crwdne2935221:0
crwdns2935229:02crwdne2935229:0
crwdns2915084:0crwdne2915084:0

Linn Benton Community College, Team S1-G4, Johnson Fall 2018 crwdns2935289:0Linn Benton Community College, Team S1-G4, Johnson Fall 2018crwdne2935289:0
LBCC-JOHNSON-F18S1G4
crwdns2931471:03crwdne2931471:0
crwdns2935297:012crwdne2935297:0