crwdns2915892:0crwdne2915892:0
This guide will be used to open the DJI Phantom 3 Standard Remote Controller to access and replace the joysticks. The joysticks are a significant part of the controller because they help steer the drone. If you are having trouble moving the joysticks, refer to this troubleshooting guide before starting any replacements. This repair is tricky because of the number of small components keeping the joysticks in place.
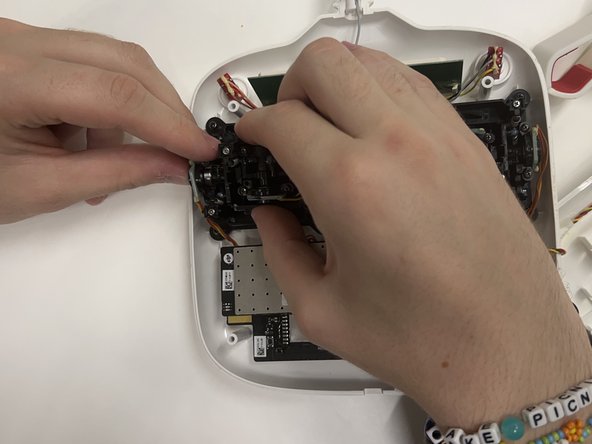
Caution: Once the braces located inside the controller are unscrewed and the housing is lifted, the springs will lose tension and may pop out of place.
crwdns2942213:0crwdne2942213:0
-
-
Position the controller so the back is facing up and the joysticks are resting on the table.
-
Remove the four 11 mm screws that secure the back plate using a JIS #0 screwdriver.
-
Remove the back plate, being mindful of the wires still connected to the device.
-
-
-
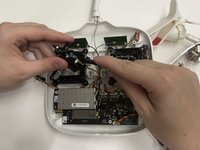
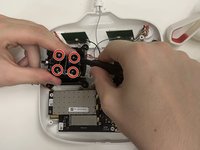
On the inside of the controller, remove the four 11 mm screws that cover the base housing of the joystick.
-
-
-
-
Inside the base housing, remove the two 9 mm screws that secure the joystick brace piece on both the left and right side of the stick.
-
Remove the braces on the left and right sides of the joystick to reach the circuit board piece on the left.
-
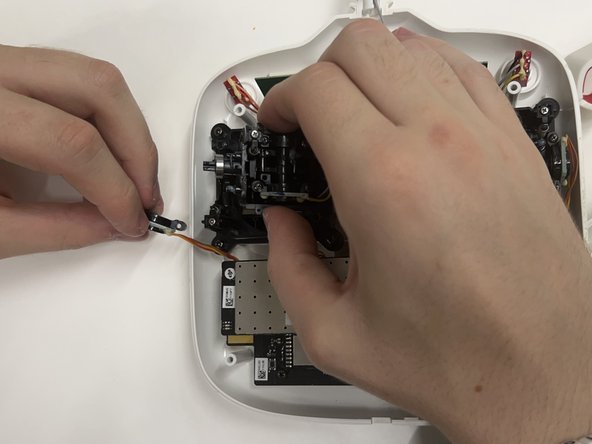
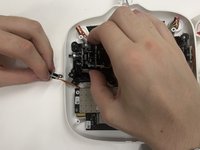
Detach the circuit board piece.
-
-
-
Separate the other circuit board piece from the joystick connection using a plastic spudger.
-
Take the joystick module itself and remove the four 8 mm screws that connect the joystick to the housing.
-
Unscrew the thumb stick from the module if a replacement is not needed.
-
To reassemble your device, follow these instructions in reverse order.


