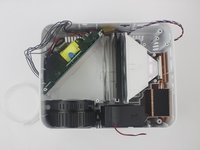
crwdns2915892:0crwdne2915892:0
Follow the remaining steps in this guide in order to locate and replace the speakers locate on the interior bottom of the device housing. Take care not to confuse the speakers with batteries, as they look similar.
crwdns2942213:0crwdne2942213:0
-
-
Flip the device and lay flat.
-
-
-
Remove the four (9 mm) screws with a PH2 screwdriver.
-
Remove the two (7 mm) located with a PH2 screwdriver.
-
-
-
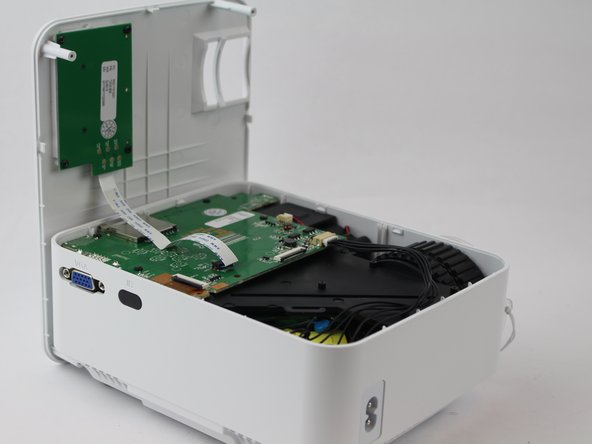
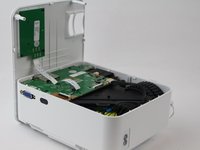
Flip the device over and pry the top off with a plastic opening tool.
-
-
-
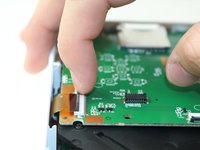
Remove the ribbon cable connecting the motherboard to the button control board by gently pulling it from its connector.
-
-
-
Remove four (6 mm) screws connecting the motherboard using a J0 screwdriver.
-
-
-
-
Remove the two cables connected to the motherboard: black power cable and the red/black fan cable.
-
-
-
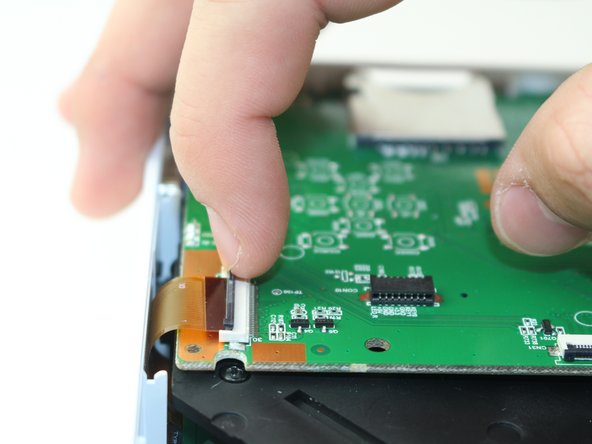
Lift the black latch on the ZIF connector and remove the ribbon cable that attaches the digitizer to the motherboard.
-
-
-
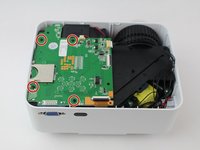
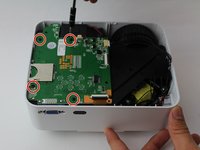
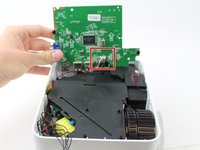
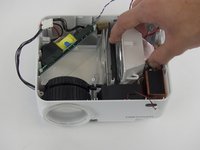
Raise motherboard by lifting sideways and then up to avoid the ports.
-
-
-
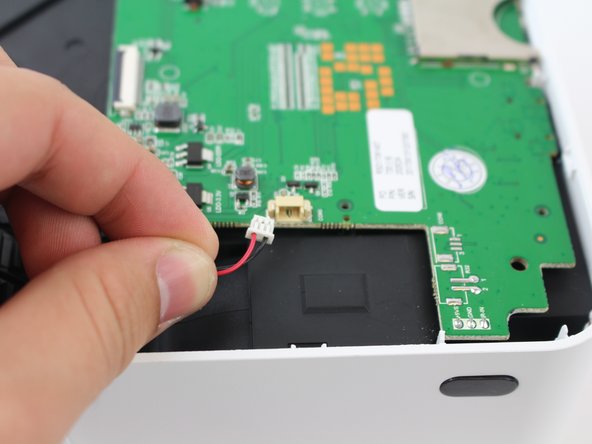
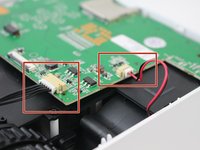
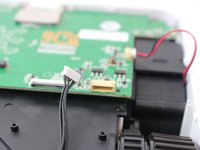
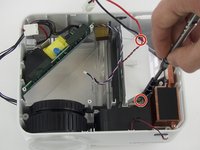
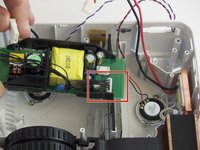
Remove wires attaching the piezoelectric speakers to the motherboard.
-
-
-
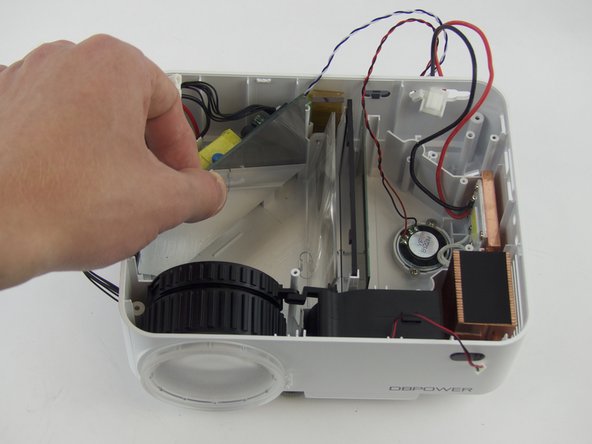
Remove the five screws securing the black plastic cover with a J0 screwdriver.
-
Lift up and out to remove.
-
-
-
Remove the two (3 mm) screws connecting the bracket down and pull out the reflector, using a J0 Philips Head Screwdriver.
-
-
-
Slide the mirror straight up to remove.
-
-
-
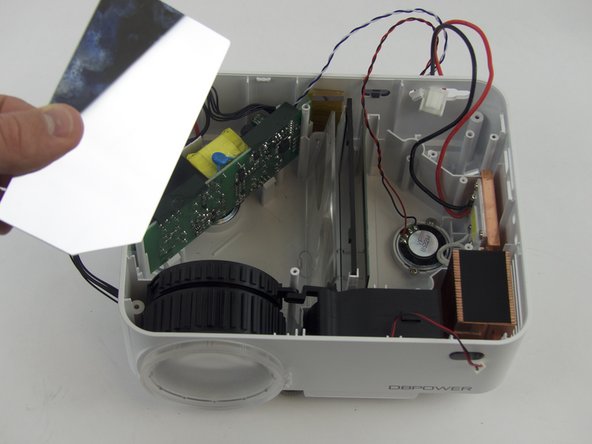
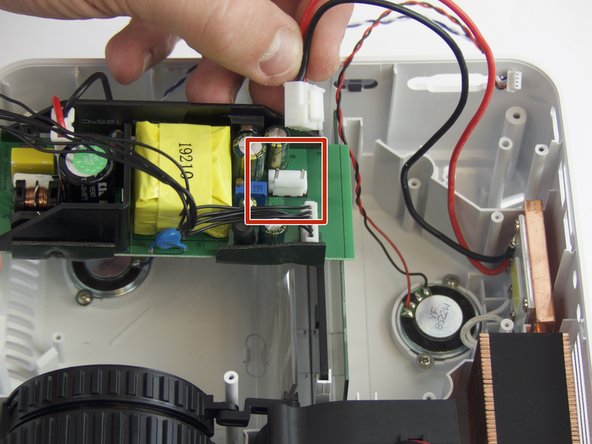
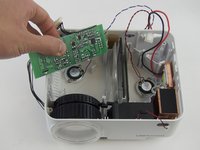
Slide out the power source and disconnect its cables from the power jack and the light.
-
-
-
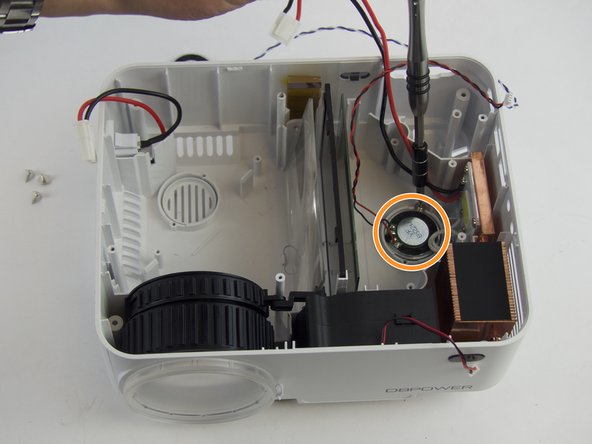
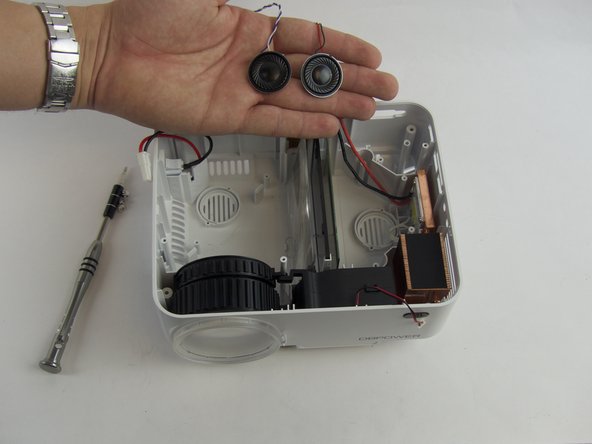
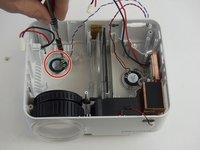
Remove the screws holding down the first speaker with a J0 screwdriver.
-
Remove the screws holding down the second speaker down.
-


To reassemble your device, follow these instructions in reverse order.
To reassemble your device, follow these instructions in reverse order.
crwdns2935221:0crwdne2935221:0
crwdns2935229:02crwdne2935229:0
crwdns2915084:0crwdne2915084:0

USF Tampa, Team S16-G2, Boczar Spring 2018 crwdns2935289:0USF Tampa, Team S16-G2, Boczar Spring 2018crwdne2935289:0
USFT-BOCZAR-S18S16G2
crwdns2931471:05crwdne2931471:0
crwdns2935297:05crwdne2935297:0