crwdns2933423:0crwdne2933423:0

D-Link DCS-5222L Motherboard Replacement

crwdns2942213:0crwdne2942213:0

  1. D-Link DCS-5222L Motherboard Replacement, Motherboard: crwdns2935265:01crwdnd2935265:01crwdnd2935265:02crwdne2935265:0 D-Link DCS-5222L Motherboard Replacement, Motherboard: crwdns2935265:01crwdnd2935265:02crwdnd2935265:02crwdne2935265:0
    • Remove the four rubber feet on the bottom of the camera using your fingers or a pair of tweezers.

  2. D-Link DCS-5222L Motherboard Replacement: crwdns2935265:02crwdnd2935265:01crwdnd2935265:01crwdne2935265:0
    • Using a #1 Phillips screwdriver, remove the four 7mm screws that are exposed by the removed feet.

  3. D-Link DCS-5222L Motherboard Replacement: crwdns2935265:03crwdnd2935265:01crwdnd2935265:02crwdne2935265:0 D-Link DCS-5222L Motherboard Replacement: crwdns2935265:03crwdnd2935265:02crwdnd2935265:02crwdne2935265:0
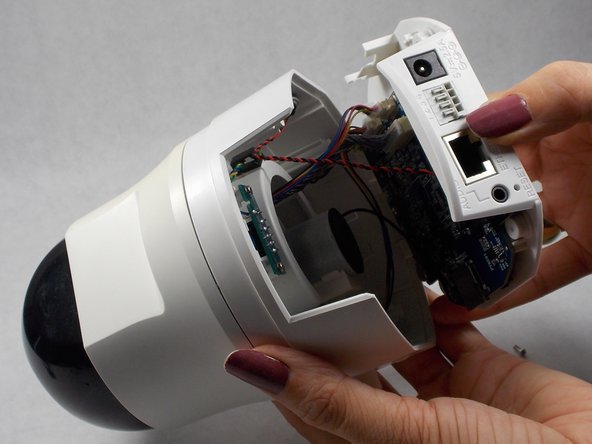
    • Using your hands, open the camera body by wiggling the bottom free from the upper shell.

    • Open the shell carefully, as the motherboard is attached to the bottom of the body; all of the components in the upper body are accordingly connected to the bottom. Likewise, the WiFi antenna is mounted to the upper shell, but a wire connects it to the motherboard on the bottom of the body.

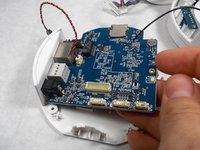
  4. D-Link DCS-5222L Motherboard Replacement: crwdns2935265:04crwdnd2935265:01crwdnd2935265:03crwdne2935265:0 D-Link DCS-5222L Motherboard Replacement: crwdns2935265:04crwdnd2935265:02crwdnd2935265:03crwdne2935265:0 D-Link DCS-5222L Motherboard Replacement: crwdns2935265:04crwdnd2935265:03crwdnd2935265:03crwdne2935265:0
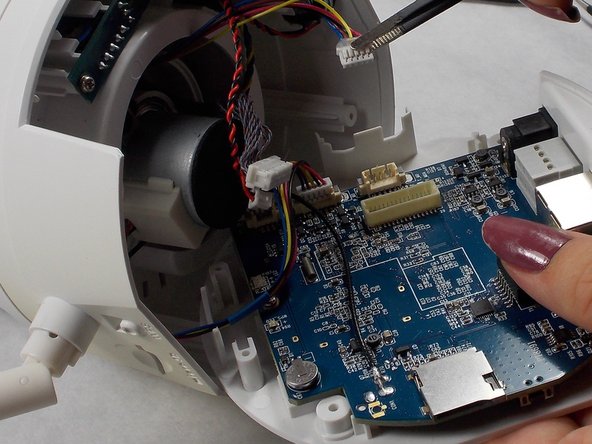
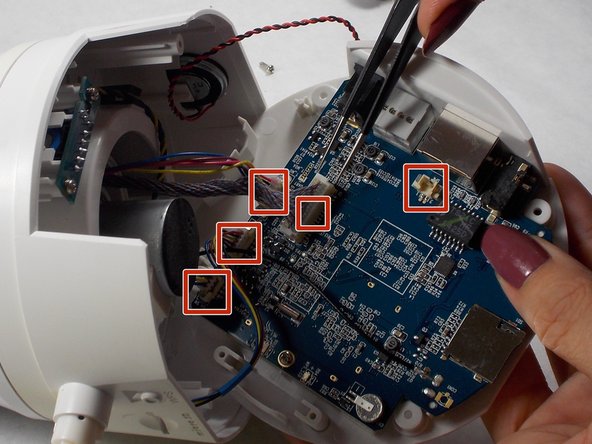
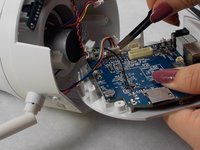
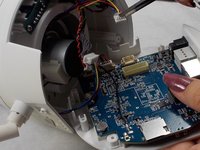
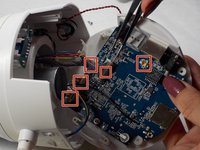
    • Disconnect the five quick connections attaching the various cables to the motherboard with your fingers or blunt ended tweezers.

  5. D-Link DCS-5222L Motherboard Replacement: crwdns2935265:05crwdnd2935265:01crwdnd2935265:02crwdne2935265:0 D-Link DCS-5222L Motherboard Replacement: crwdns2935265:05crwdnd2935265:02crwdnd2935265:02crwdne2935265:0
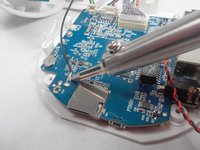
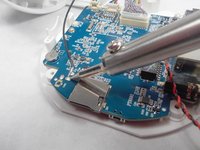
    • Using your soldering iron, heat the antenna contacts on the motherboard until the wire releases.

    • Soldering Irons are hot and can burn you and ignite flammable materials.

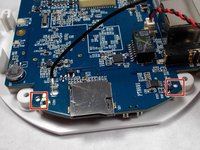
  6. D-Link DCS-5222L Motherboard Replacement: crwdns2935265:06crwdnd2935265:01crwdnd2935265:01crwdne2935265:0
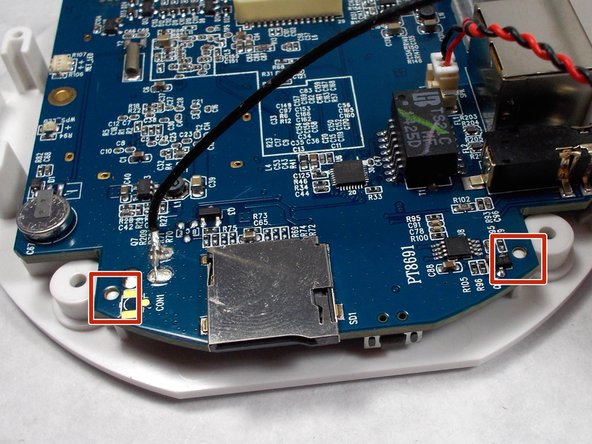
    • Using a #1 Phillips screwdriver, remove the single 7mm screw holding the motherboard in place.

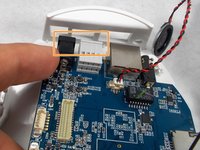
  7. D-Link DCS-5222L Motherboard Replacement: crwdns2935265:07crwdnd2935265:01crwdnd2935265:03crwdne2935265:0 D-Link DCS-5222L Motherboard Replacement: crwdns2935265:07crwdnd2935265:02crwdnd2935265:03crwdne2935265:0 D-Link DCS-5222L Motherboard Replacement: crwdns2935265:07crwdnd2935265:03crwdnd2935265:03crwdne2935265:0
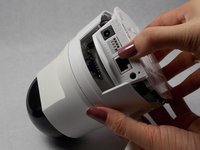
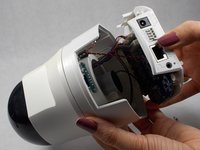
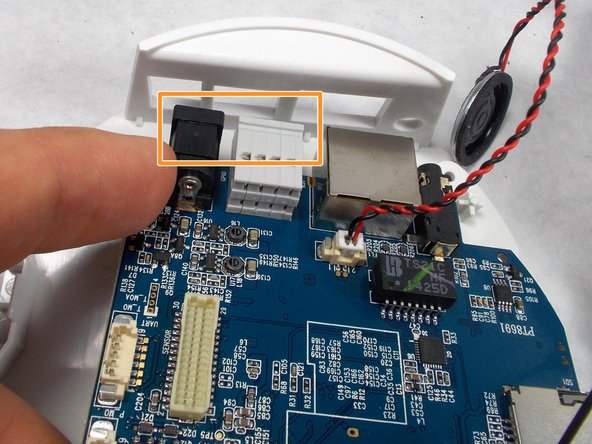
    • Wiggle free the motherboard from the bottom of the body.

    • There are two pegs that limit the motherboard's rotation. Have some patience when wiggling it free.

    • The power and ethernet ports have ledges along their top surface. These must be removed from the body at an angle relative to the horizontal.

crwdns2915888:0crwdne2915888:0

To reassemble your device, follow these instructions in reverse order.

Ryan Null

crwdns2935283:010/26/18crwdne2935283:0

377 crwdns2915208:0crwdne2915208:0

crwdns2935297:02crwdne2935297:0

crwdns2915084:0crwdne2915084:0

UMass Dartmouth, Team S2-G5, Peak Fall 2018 crwdns2935289:0UMass Dartmouth, Team S2-G5, Peak Fall 2018crwdne2935289:0

UMASSD-PEAK-F18S2G5

crwdns2931471:03crwdne2931471:0

crwdns2935297:010crwdne2935297:0

crwdns2944067:00crwdne2944067:0

crwdns2917038:0crwdne2917038:0

crwdns2936625:0crwdne2936625:0:

crwdns2936751:024crwdne2936751:0 0

crwdns2936753:07crwdne2936753:0 5

crwdns2936753:030crwdne2936753:0 17

crwdns2942667:0crwdne2942667:0 1,042