crwdns2915892:0crwdne2915892:0
Before replacing the headphone jack, see the troubleshooting section for the Creative Zen V Plus. You'll also need to know how to desolder and solder components so be sure to learn how with How To Solder and Desolder Connections!
crwdns2942213:0crwdne2942213:0
-
-
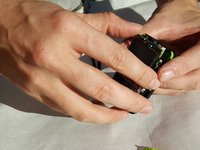
Find the grooves around the buttons on the front and carefully remove the panel. This can be done without the use of any tools.
-
-
-
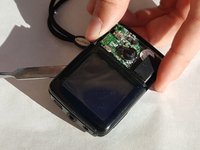
Using a plastic opening tool, place the skinny flat end between the groove running along side of the device.
-
Using a twisting motion, detach the control panel from the device
-
-
-
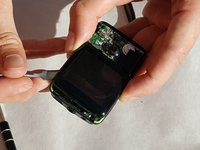
Find the groove around the outside of the green section. Use an ESD safe spudger to slowly lift the plastic panel up.
-
-
-
-
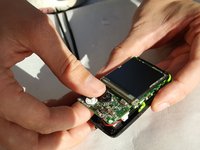
After removing the green section, find the groove around the display. Insert a ESD safe spudger and carefully lift the display.
-
-
-
The display can lift up the display but be sure not to damage any of the cables connecting it to the mother board.
-
Remove the screw located under the display using the 00 Phillips head screwdriver.
-
-
-
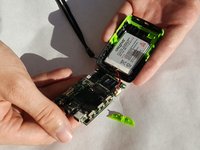
Pull up on the motherboard and display. It is glued to the base so it will require a little force. Be careful though, as the board is fragile.
-
-
-
Locate the circles of metal holding the headphone jack to the logic board. Using a soldering iron, de-solder these circles and remove the headphone jack.
-


To reassemble your device, follow these instructions in reverse order.
To reassemble your device, follow these instructions in reverse order.
crwdns2915084:0crwdne2915084:0

IUPUI, Team 2-5, Baechle Fall 2016 crwdns2935289:0IUPUI, Team 2-5, Baechle Fall 2016crwdne2935289:0
IUPUI-BAECHLE-F16S2G5
crwdns2931471:04crwdne2931471:0
crwdns2935297:07crwdne2935297:0