crwdns2942213:0crwdne2942213:0
-
-
Flip the device upside down and remove all of the Phillips #1 screws.
-
-
-
Use an opening tool to push on the retaining hooks to disengage them while prying slightly.
-
Remove the panel.
-
-
-
Use a Phillips #1 screwdriver to remove all four screws.
-
Lift off the bracket.
-
-
-
-
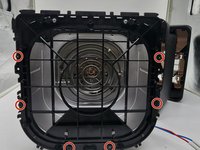
Use a Phillips #0 screwdriver to remove all the screws connecting to the shell.
-
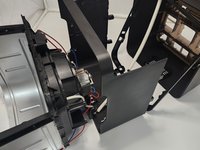
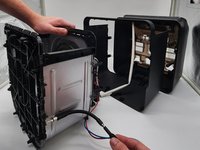
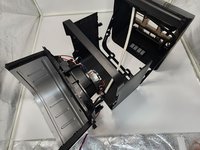
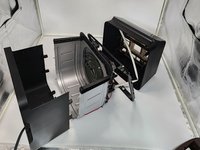
Dissemble the shell going up to separate the basket holder.
-
-
-
Use a Phillips #0 screwdriver and the 150 mm Flex Extension to unscrew the bottom plastic connecting to the basket holder.
-
-
-
Pull the bottom shell down pulling at the sides to get them over screw holes.
-
-
-
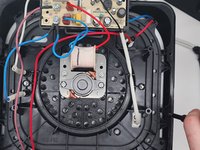
Remove the screws holding the cables into the distribution board with a Phillips #2 screwdriver.
-
Remove the 2 cables that connect the heating coil to the distribution board on the top of the cooking chamber, there should be one blue and one white cable, both with a white shroud leading into the cooking chamber.
-
-
-
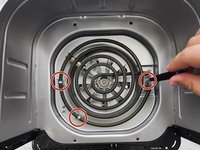
Flip the device backward so the metal walls appear in a U-shape.
-
Remove the 3 screws inside the cooking chamber that hold the heating coil in place using a 2 Philips screwdriver.
-
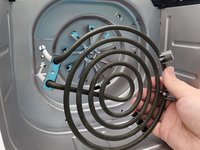
Remove the heating coil.
-
To reassemble your device, follow these instructions in reverse order.
To reassemble your device, follow these instructions in reverse order.
crwdns2935221:0crwdne2935221:0
crwdns2935229:02crwdne2935229:0
crwdns2947412:02crwdne2947412:0
Le ventilateur démarre pas , c’est quoi le problème ?
Does anyone know what´s reference of ic1 is on the distribution board? IC1 Image


