crwdns2915892:0crwdne2915892:0
For sticky cold/hold buttons, you may only need to clean the button. This guide will show you how to fully remove and replace the button.
Note: This guide requires soldering skills. If you don't know how to solder or want to brush up on your skills check out this handy tutorial.
crwdns2942213:0crwdne2942213:0
-
-
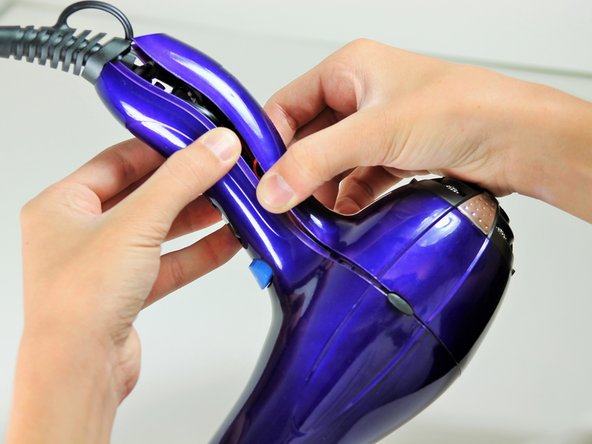
Hold the hair dryer by the handle so that the back panel faces up.
-
-
-
Remove the two 15.875 mm Phillips #2 screws from the back panel.
-
-
-
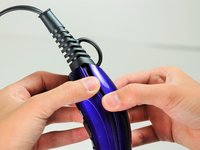
Starting from where the cord attaches to the handle, pull apart the two plastic panels.
-
Continue separating the back panel, working along the seam.
-
With moderate force, completely remove the back panel from the hair dryer.
-
-
-
-
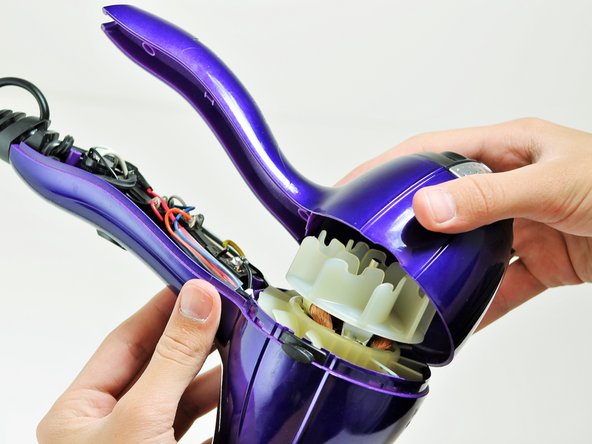
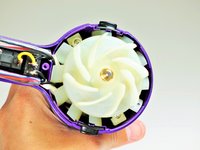
Hold the hair dryer by the nozzle so that the handle points to the left.
-
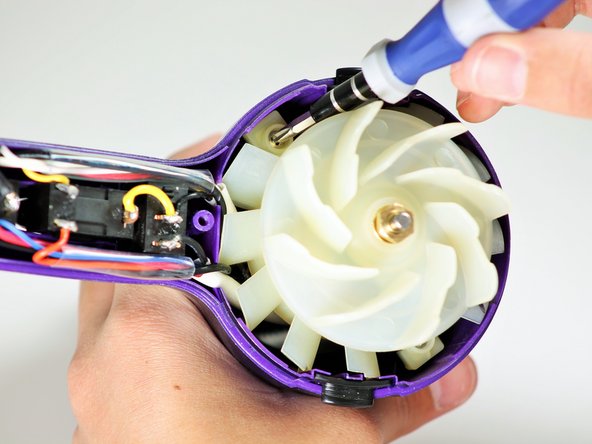
Remove the two 1-inch Phillips #2 screws from the back of the fan motor.
-
-
-
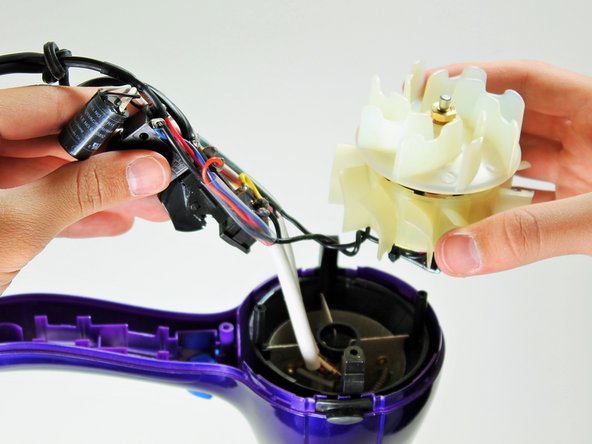
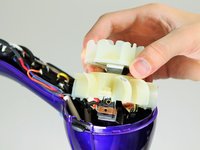
Pull on the back of the fan motor to gently lift the motor out of the hair dryer.
-
Lift the attached electrical wiring and heat shield completely out of the hair dryer.
-
-
-
Hold the electrical switches so that the wires are facing upwards.
-
-
-
Focus on the middle of the three buttons.
-
Desolder the button at the circled locations.
-


To reassemble your device, follow these instructions in reverse order.
To reassemble your device, follow these instructions in reverse order.
crwdns2935221:0crwdne2935221:0
crwdns2935229:02crwdne2935229:0
crwdns2915084:0crwdne2915084:0

Cal Poly, Team 10-58, Amido Spring 2014 crwdns2935289:0Cal Poly, Team 10-58, Amido Spring 2014crwdne2935289:0
CPSU-AMIDO-S14S10G58
crwdns2931471:04crwdne2931471:0
crwdns2935297:014crwdne2935297:0
crwdns2947412:02crwdne2947412:0
so where do you buy parts???
That's not a capacitor, that's an ion generator like this one https://www.goldmine-elec-products.com/p...