crwdns2933423:0crwdne2933423:0

Conair Infiniti PRO Curling Iron Motherboard Replacement

crwdns2942213:0crwdne2942213:0

  1. Conair Infiniti PRO Curling Iron Motherboard Replacement, Housing: crwdns2935265:01crwdnd2935265:01crwdnd2935265:01crwdne2935265:0
    • Remove the Philips #1 28 mm.

    • Make sure device is unplugged and cool before attempting to replace parts.

  2. Conair Infiniti PRO Curling Iron Motherboard Replacement: crwdns2935265:02crwdnd2935265:01crwdnd2935265:01crwdne2935265:0
    • Remove the Philips #1 22 mm screws.

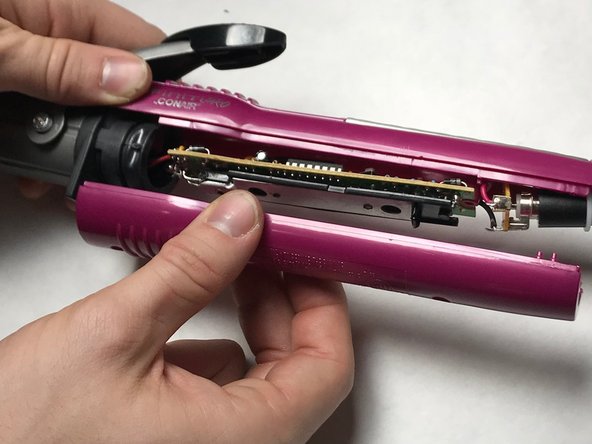
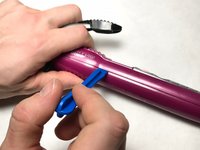
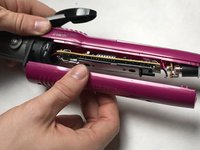
  3. Conair Infiniti PRO Curling Iron Motherboard Replacement: crwdns2935265:03crwdnd2935265:01crwdnd2935265:03crwdne2935265:0 Conair Infiniti PRO Curling Iron Motherboard Replacement: crwdns2935265:03crwdnd2935265:02crwdnd2935265:03crwdne2935265:0 Conair Infiniti PRO Curling Iron Motherboard Replacement: crwdns2935265:03crwdnd2935265:03crwdnd2935265:03crwdne2935265:0
    • Pry off the housing using a plastic spudger.

  4. Conair Infiniti PRO Curling Iron Motherboard Replacement, Power Cord: crwdns2935265:04crwdnd2935265:01crwdnd2935265:01crwdne2935265:0
    • Pull power chord out.

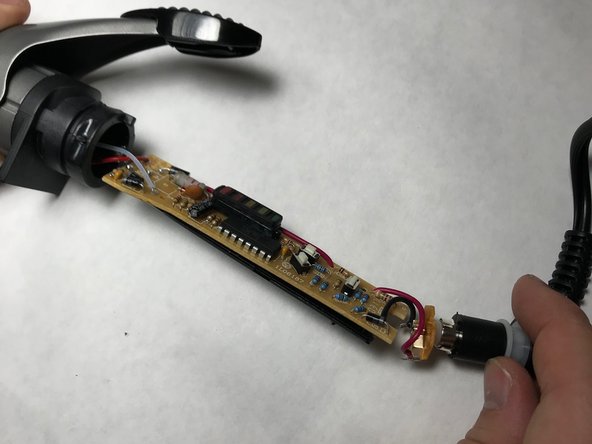
  5. Conair Infiniti PRO Curling Iron Motherboard Replacement, Motherboard: crwdns2935265:05crwdnd2935265:01crwdnd2935265:01crwdne2935265:0
    • Heat up your soldering gun and desolder the red wire from the motherboard as shown.

    • Note the location of wire attachment.

  6. Conair Infiniti PRO Curling Iron Motherboard Replacement: crwdns2935265:06crwdnd2935265:01crwdnd2935265:01crwdne2935265:0
    crwdns2935267:0crwdne2935267:0
    Desoldering Pump
    $3.99
    crwdns2942207:0crwdne2942207:0
    • With your soldering gun, desolder the white wire from the motherboard as shown.

    • Note the location of wire attachment.

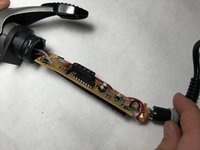
  7. Conair Infiniti PRO Curling Iron Motherboard Replacement: crwdns2935265:07crwdnd2935265:01crwdnd2935265:01crwdne2935265:0
    • Once both wires are desoldered the motherboard can be removed.

crwdns2915888:0crwdne2915888:0

To reassemble your device, follow these instructions in reverse order, making sure to resolder the wires correctly into the replacement motherboard.

crwdns2935229:02crwdne2935229:0
Jonathon Bruer

crwdns2935283:011/09/17crwdne2935283:0

607 crwdns2915208:0crwdne2915208:0

crwdns2935297:05crwdne2935297:0

crwdns2915084:0crwdne2915084:0

IUPUI, Team S7-G5, Baechle Fall 2017 crwdns2935289:0IUPUI, Team S7-G5, Baechle Fall 2017crwdne2935289:0

IUPUI-BAECHLE-F17S7G5

crwdns2931471:03crwdne2931471:0

crwdns2935297:05crwdne2935297:0

crwdns2944067:00crwdne2944067:0

crwdns2917038:0crwdne2917038:0

crwdns2936625:0crwdne2936625:0:

crwdns2936751:024crwdne2936751:0 0

crwdns2936753:07crwdne2936753:0 4

crwdns2936753:030crwdne2936753:0 18

crwdns2942667:0crwdne2942667:0 605