crwdns2915892:0crwdne2915892:0
If your device has received water damage or experienced a similarly devastating event, the motherboard may have become damaged or even destroyed.
This guide will take you through the necessary steps to access and replace the motherboard.
crwdns2942213:0crwdne2942213:0
-
-
Look for the release button on the back of the radio.
-
Press the button and pull down on the battery at the same time. The battery will come free.
-
-
-
Twist the antenna counter-clockwise to unscrew it from the antenna jack.
-
-
-
Pull up on the dials to remove them from the underlying pegs.
-
-
-
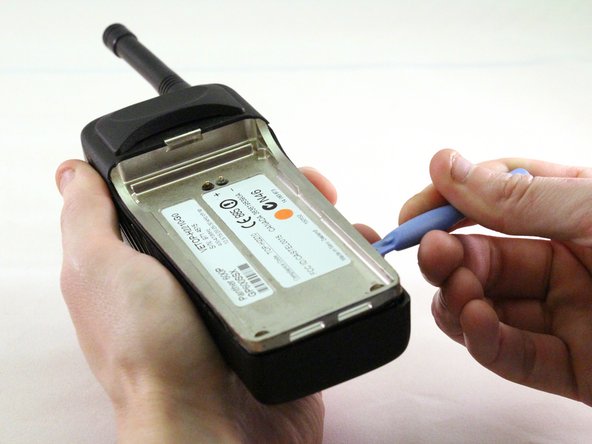
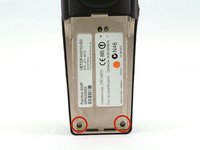
Using a T15 Torx screwdriver, unscrew the two screws.
-
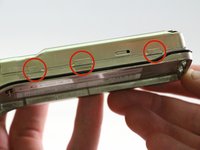
Using a plastic opening tool, pry the internal case from the external case.
-
-
-
-
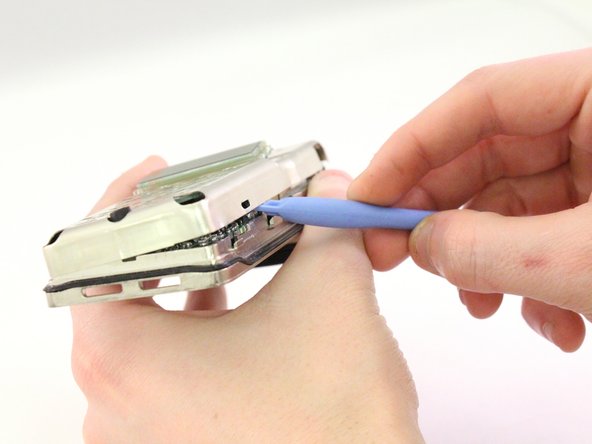
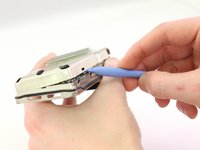
Using the plastic opening tool, pry the case apart.
-
-
crwdns2935267:0crwdne2935267:0Tweezers$4.99
-
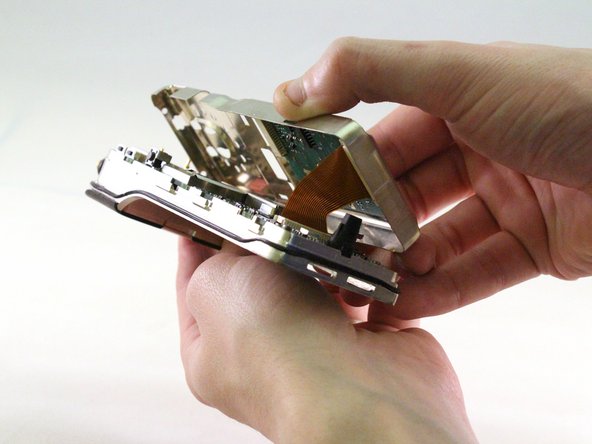
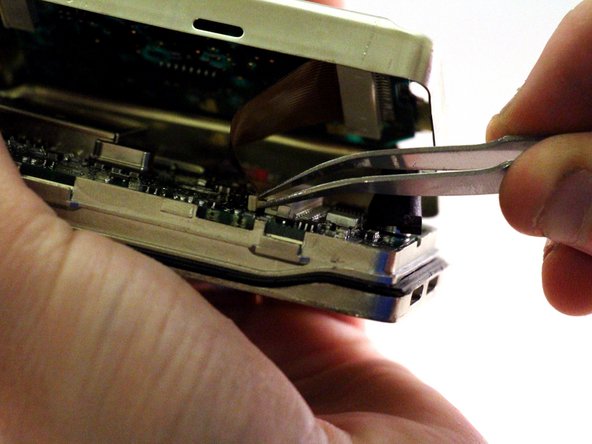
Pull ribbon with tweezers to detach from back panel.
-
-
-
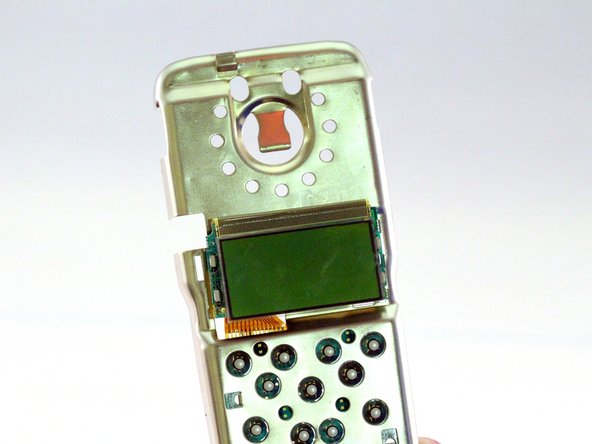
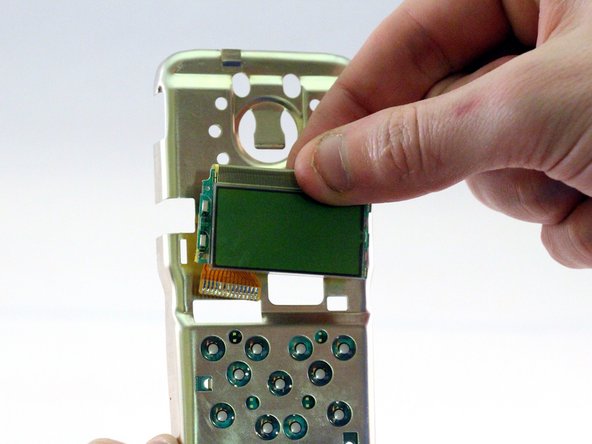
Pull screen up and away from motherboard to detach.
-
-
-
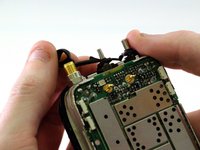
Remove the rubber O-rings from the antenna jack, volume switch, and channel switch.
-
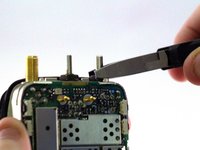
Once the rubber O-rings have been removed, use small needle nose pliers to unscrew the nuts on the antenna jack, volume switch, and channel switch.
-
-
-
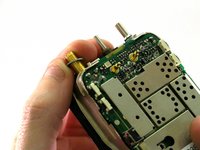
Using a T15 Torx screwdriver, unscrew the 3.8mm screw from the case.
-
-
-
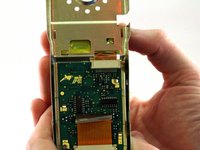
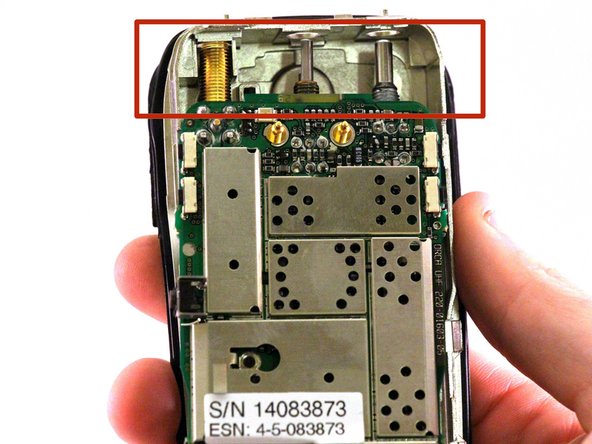
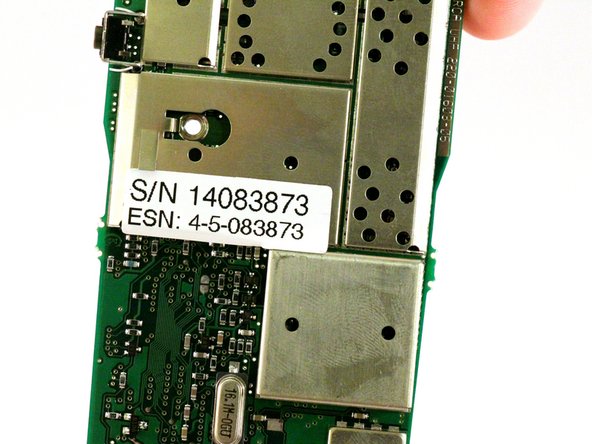
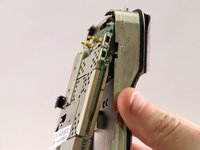
Using any convenient hand-placement, pull the motherboard away from the case.
-
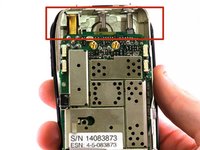
The antenna jack, volume dial, and channel dial are attached to the motherboard. Be sure to pull the motherboard downward so they clear their respective slots in the case.
-
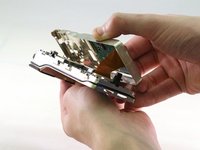
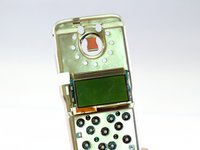
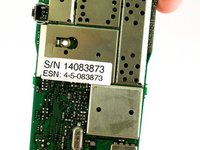
Lift the motherboard completely free of the case.
-


To reassemble your device, follow these instructions in reverse order.
To reassemble your device, follow these instructions in reverse order.
crwdns2915084:0crwdne2915084:0

Eastern Washington University, Team 1-2, Carnegie Winter 2015 crwdns2935289:0Eastern Washington University, Team 1-2, Carnegie Winter 2015crwdne2935289:0
EWU-CARNEGIE-W15S1G2
crwdns2931471:04crwdne2931471:0
crwdns2935297:06crwdne2935297:0