crwdns2933423:0crwdne2933423:0

ColecoVision Controller Port Replacement

crwdns2942213:0crwdne2942213:0

  1. ColecoVision Controller Port Replacement, Controller Port: crwdns2935265:01crwdnd2935265:01crwdnd2935265:01crwdne2935265:0
    • Flip the ColecoVision over with the pegs facing the ceiling.

    • Remove the eight 15mm screws holding the bottom of the ColecoVision in place using the Phillips #1 screwdriver.

  2. ColecoVision Controller Port Replacement: crwdns2935265:02crwdnd2935265:01crwdnd2935265:02crwdne2935265:0 ColecoVision Controller Port Replacement: crwdns2935265:02crwdnd2935265:02crwdnd2935265:02crwdne2935265:0
    • Carefully remove the bottom of the ColecoVision out of the top.

    • I would recommend running a metal spudger along the rim of the case to remove the bottom.

  3. ColecoVision Controller Port Replacement: crwdns2935265:03crwdnd2935265:01crwdnd2935265:02crwdne2935265:0 ColecoVision Controller Port Replacement: crwdns2935265:03crwdnd2935265:02crwdnd2935265:02crwdne2935265:0
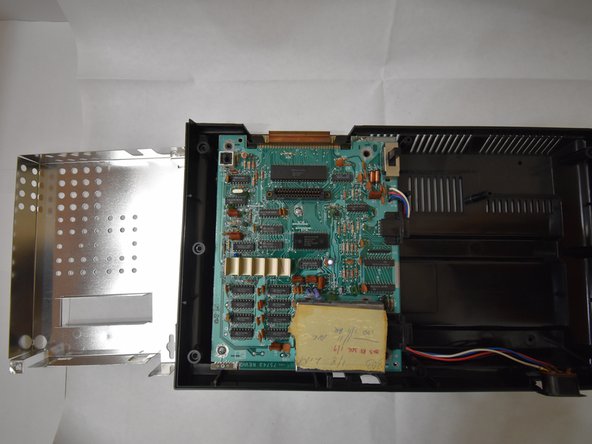
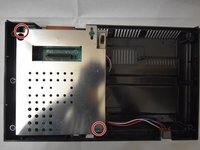
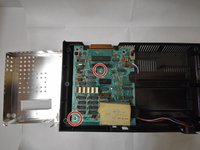
    • Remove the two 15mm screws holding the casing in place using the Phillips #1 screwdriver.

    • Remove the casing and put it to the side.

  4. ColecoVision Controller Port Replacement: crwdns2935265:04crwdnd2935265:01crwdnd2935265:02crwdne2935265:0 ColecoVision Controller Port Replacement: crwdns2935265:04crwdnd2935265:02crwdnd2935265:02crwdne2935265:0
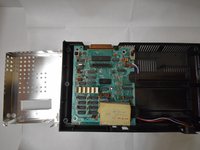
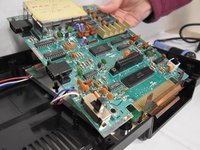
    • Remove the two 15mm screws on the motherboard with a Phillips #1 screwdriver.

    • Pull the entire motherboard towards the back of the system and carefully lift the entire motherboard.

  5. ColecoVision Controller Port Replacement: crwdns2935265:05crwdnd2935265:01crwdnd2935265:03crwdne2935265:0 ColecoVision Controller Port Replacement: crwdns2935265:05crwdnd2935265:02crwdnd2935265:03crwdne2935265:0 ColecoVision Controller Port Replacement: crwdns2935265:05crwdnd2935265:03crwdnd2935265:03crwdne2935265:0
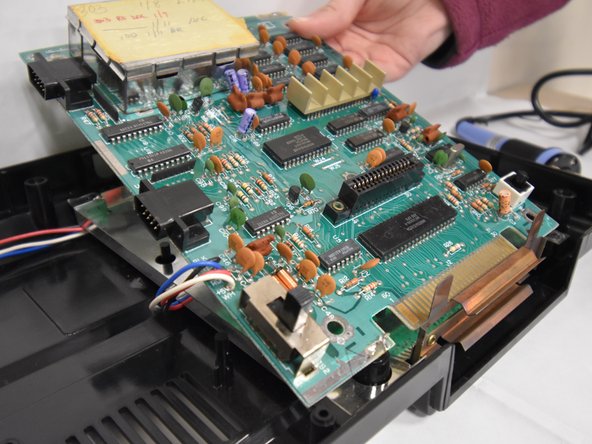
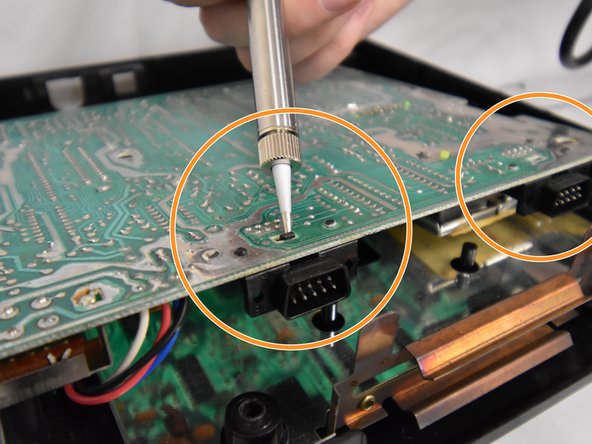
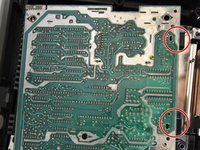
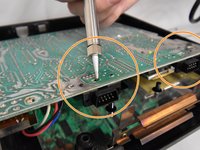
    • Flip the motherboard over and locate the two controller ports.

    • Using a soldering iron, desolder the controller ports.

    • Refer to this soldering technique guide for reference.

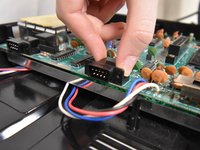
    • After waiting for controller ports to cool down, flip motherboard back over and carefully lift controller ports to remove.

crwdns2915888:0crwdne2915888:0

To reassemble your device, follow these instructions in reverse order.

Bobby

crwdns2935283:010/17/18crwdne2935283:0

380 crwdns2915208:0crwdne2915208:0

crwdns2935297:02crwdne2935297:0

crwdns2915084:0crwdne2915084:0

UW Tacoma, Team S1-G2, Rose Fall 2018 crwdns2935289:0UW Tacoma, Team S1-G2, Rose Fall 2018crwdne2935289:0

UWT-ROSE-F18S1G2

crwdns2931471:04crwdne2931471:0

crwdns2935297:012crwdne2935297:0

crwdns2944067:00crwdne2944067:0

crwdns2917038:0crwdne2917038:0

crwdns2936625:0crwdne2936625:0:

crwdns2936751:024crwdne2936751:0 3

crwdns2936753:07crwdne2936753:0 10

crwdns2936753:030crwdne2936753:0 29

crwdns2942667:0crwdne2942667:0 850