crwdns2933423:0crwdne2933423:0
crwdns2947577:0crwdnd2947577:0crwdne2947577:0

Coby DVD-R11000 Fuse Replacement

crwdns2942213:0crwdne2942213:0

    1. Coby DVD-R11000 Fuse Replacement, Outer Casing: crwdns2935265:01crwdnd2935265:01crwdnd2935265:03crwdne2935265:0 Coby DVD-R11000 Fuse Replacement, Outer Casing: crwdns2935265:01crwdnd2935265:02crwdnd2935265:03crwdne2935265:0 Coby DVD-R11000 Fuse Replacement, Outer Casing: crwdns2935265:01crwdnd2935265:03crwdnd2935265:03crwdne2935265:0
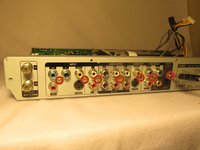
      • Remove the four 1cm screws, two on each side, of the DVD player with the Phillips #1 screwdriver.

      • Remove the five 1cm screws on the back of the DVD player with the Phillips #1 screwdriver.

      • It is not required to remove the other seven screws in the middle between the I/O ports.

      crwdns2952109:0crwdne2952109:0

      crwdns2917038:0crwdne2917038:0

    2. Coby DVD-R11000 Fuse Replacement: crwdns2935265:02crwdnd2935265:01crwdnd2935265:03crwdne2935265:0 Coby DVD-R11000 Fuse Replacement: crwdns2935265:02crwdnd2935265:02crwdnd2935265:03crwdne2935265:0 Coby DVD-R11000 Fuse Replacement: crwdns2935265:02crwdnd2935265:03crwdnd2935265:03crwdne2935265:0
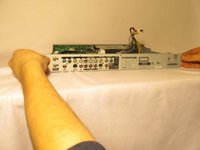
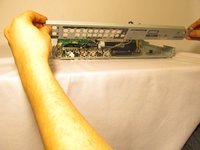
      • Position the DVD player so that the back is facing you

      • Grab underneath the sides of the DVD player and lift the front of it upwards.

      • Carefully pull the top of the casing off

      crwdns2952109:0crwdne2952109:0

      crwdns2917038:0crwdne2917038:0

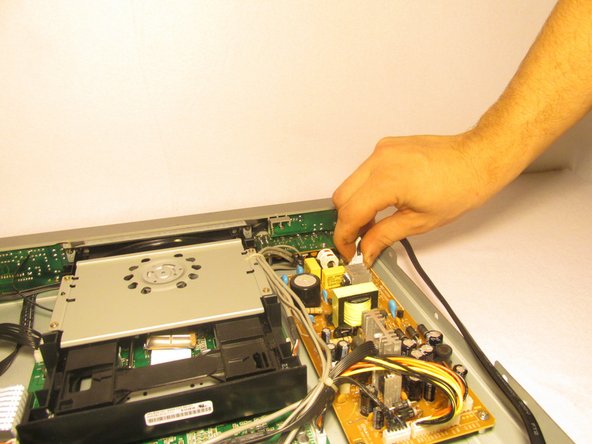
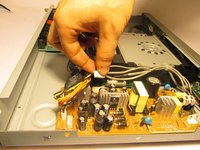
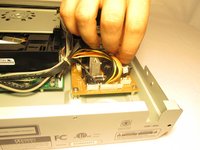
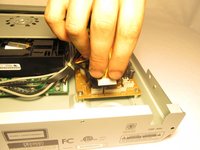
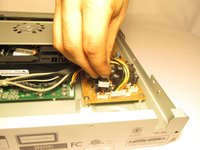
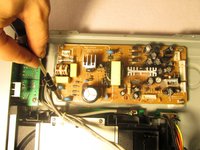
    1. Coby DVD-R11000 Fuse Replacement, 3-Pin Power Cable: crwdns2935265:03crwdnd2935265:01crwdnd2935265:02crwdne2935265:0 Coby DVD-R11000 Fuse Replacement, 3-Pin Power Cable: crwdns2935265:03crwdnd2935265:02crwdnd2935265:02crwdne2935265:0
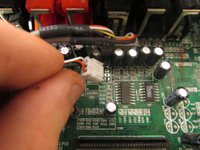
      • Gently pinch the 3-pin white adapter of the wire connecting the power cord to the circuit board.

      • Remove the wire from the circuit board.

      crwdns2952109:0crwdne2952109:0

      crwdns2917038:0crwdne2917038:0

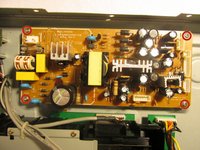
    1. Coby DVD-R11000 Fuse Replacement, Circuit Boards: crwdns2935265:04crwdnd2935265:01crwdnd2935265:02crwdne2935265:0 Coby DVD-R11000 Fuse Replacement, Circuit Boards: crwdns2935265:04crwdnd2935265:02crwdnd2935265:02crwdne2935265:0
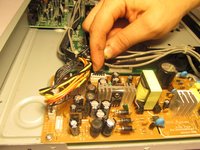
      • Position the DVD player so that the side with golden circuit board, where the power cord was plugged into, is closest to you.

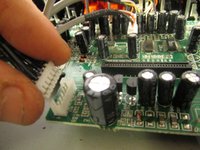
      • Remove the black wire with the 6-pin white adapter, which is adjacent to the other three pin adapter wires on the golden circuit board.

      crwdns2952109:0crwdne2952109:0

      crwdns2917038:0crwdne2917038:0

    2. Coby DVD-R11000 Fuse Replacement: crwdns2935265:05crwdnd2935265:01crwdnd2935265:03crwdne2935265:0 Coby DVD-R11000 Fuse Replacement: crwdns2935265:05crwdnd2935265:02crwdnd2935265:03crwdne2935265:0 Coby DVD-R11000 Fuse Replacement: crwdns2935265:05crwdnd2935265:03crwdnd2935265:03crwdne2935265:0
      • Position the DVD player so that the back panel is facing you.

      • Remove the three wires with the white pin adapters from the golden circuit board.

      crwdns2952109:0crwdne2952109:0

      crwdns2917038:0crwdne2917038:0

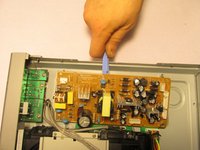
    3. Coby DVD-R11000 Fuse Replacement: crwdns2935265:06crwdnd2935265:01crwdnd2935265:03crwdne2935265:0 Coby DVD-R11000 Fuse Replacement: crwdns2935265:06crwdnd2935265:02crwdnd2935265:03crwdne2935265:0 Coby DVD-R11000 Fuse Replacement: crwdns2935265:06crwdnd2935265:03crwdnd2935265:03crwdne2935265:0
      • Remove the four half inch screws, located at each corner of the golden circuit board, using the Phillips #1 screwdriver.

      • Place the blue plastic tool opener underneath the side of the circuit board and carefully remove it from the DVD player.

      crwdns2952109:0crwdne2952109:0

      crwdns2917038:0crwdne2917038:0

    4. Coby DVD-R11000 Fuse Replacement: crwdns2935265:07crwdnd2935265:01crwdnd2935265:03crwdne2935265:0 Coby DVD-R11000 Fuse Replacement: crwdns2935265:07crwdnd2935265:02crwdnd2935265:03crwdne2935265:0 Coby DVD-R11000 Fuse Replacement: crwdns2935265:07crwdnd2935265:03crwdnd2935265:03crwdne2935265:0
      crwdns2935267:0crwdne2935267:0
      Tweezers
      $4.99
      • Position the DVD player so that the front is facing you.

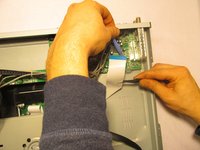
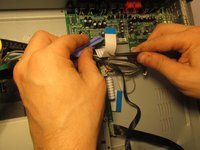
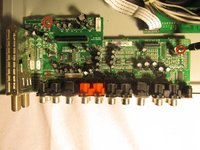
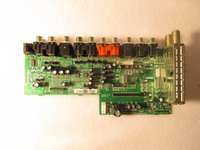
      • Using the tweezers and the blue plastic opening tool, disconnect the ribbon cables from the green circuit board where the I/O ports are attach to.

      crwdns2952109:0crwdne2952109:0

      crwdns2917038:0crwdne2917038:0

    5. Coby DVD-R11000 Fuse Replacement: crwdns2935265:08crwdnd2935265:01crwdnd2935265:03crwdne2935265:0 Coby DVD-R11000 Fuse Replacement: crwdns2935265:08crwdnd2935265:02crwdnd2935265:03crwdne2935265:0 Coby DVD-R11000 Fuse Replacement: crwdns2935265:08crwdnd2935265:03crwdnd2935265:03crwdne2935265:0
      • Remove the three wires with the white pin adapters from the green circuit board that you just disconnected the ribbon wires from.

      crwdns2952109:0crwdne2952109:0

      crwdns2917038:0crwdne2917038:0

    6. Coby DVD-R11000 Fuse Replacement: crwdns2935265:09crwdnd2935265:01crwdnd2935265:03crwdne2935265:0 Coby DVD-R11000 Fuse Replacement: crwdns2935265:09crwdnd2935265:02crwdnd2935265:03crwdne2935265:0 Coby DVD-R11000 Fuse Replacement: crwdns2935265:09crwdnd2935265:03crwdnd2935265:03crwdne2935265:0
      • Remove the seven 1cm screws located on the back panel of the outer casing, in between the I/O ports, with the Phillips #1 screwdriver

      • Grab the sides of the back panel and remove it from the DVD player.

      crwdns2952109:0crwdne2952109:0

      crwdns2917038:0crwdne2917038:0

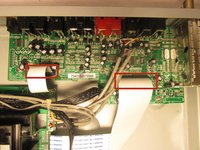
    7. Coby DVD-R11000 Fuse Replacement: crwdns2935265:010crwdnd2935265:01crwdnd2935265:02crwdne2935265:0 Coby DVD-R11000 Fuse Replacement: crwdns2935265:010crwdnd2935265:02crwdnd2935265:02crwdne2935265:0
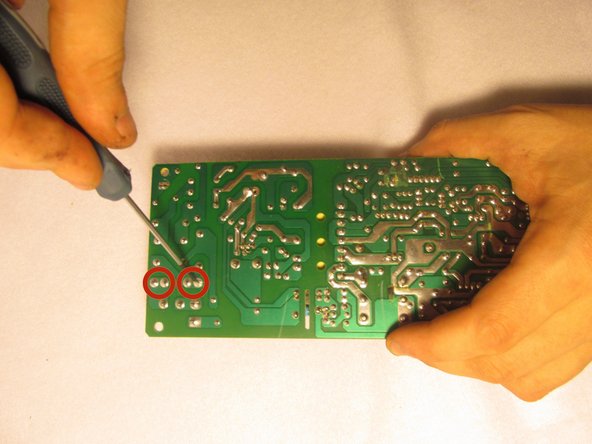
      • Remove the two 1cm screws that are circled in red.

      • Place the blue plastic tool opener underneath the side of the circuit board and carefully remove it from the DVD player.

      crwdns2952109:0crwdne2952109:0

      crwdns2917038:0crwdne2917038:0

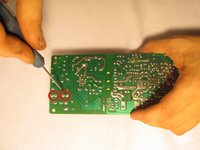
    1. Coby DVD-R11000 Fuse Replacement, Fuse: crwdns2935265:011crwdnd2935265:01crwdnd2935265:02crwdne2935265:0 Coby DVD-R11000 Fuse Replacement, Fuse: crwdns2935265:011crwdnd2935265:02crwdnd2935265:02crwdne2935265:0
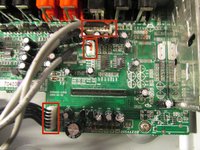
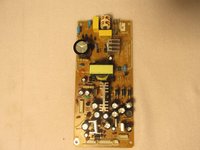
      • De-solder the electronic components that are circled in red from the golden circuit board, which is the first one you removed.

      crwdns2952109:0crwdne2952109:0

      crwdns2917038:0crwdne2917038:0

crwdns2915888:0crwdne2915888:0

To reassemble your device, follow these instructions in reverse order.

crwdns2935221:0crwdne2935221:0

Andrew

crwdns2935283:010/22/14crwdne2935283:0

501 crwdns2915208:0crwdne2915208:0

crwdns2935297:05crwdne2935297:0

crwdns2935287:0crwdne2935287:0

UMass Dartmouth, Team 1-6, Shastany Fall 2014 crwdns2935289:0UMass Dartmouth, Team 1-6, Shastany Fall 2014crwdne2935289:0

UMASSD-SHASTANY-F14S1G6

crwdns2931471:04crwdne2931471:0

crwdns2935297:060crwdne2935297:0

crwdns2947412:00crwdne2947412:0

crwdns2917038:0crwdne2917038:0

crwdns2936625:0crwdne2936625:0:

crwdns2936751:024crwdne2936751:0 0

crwdns2936753:07crwdne2936753:0 8

crwdns2936753:030crwdne2936753:0 22

crwdns2942667:0crwdne2942667:0 806