crwdns2915892:0crwdne2915892:0
How to access the camera within the device for a replacement.
crwdns2942213:0crwdne2942213:0
-
-
Insert a plastic opening tool into the space between the screen and the back side.
-
-
-
Press the plastic opening tool in until you hear a “click” and that part of the tablet opens.
-
Press and slide the plastic opening tool around all sides of the tablet until all sides pop off.
-
-
-
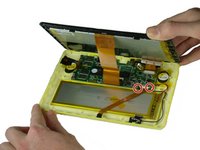
Lift the detached screen from the camera side until you can see the inside of the tablet.
-
-
-
-
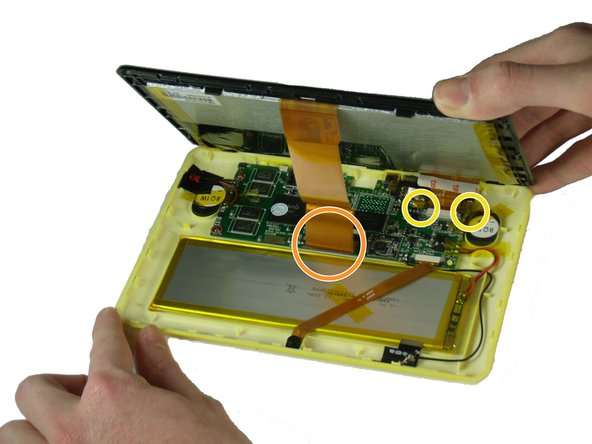
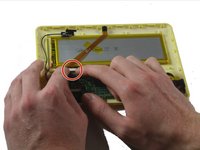
There is a black tab behind the long ribbon cable. Lift up the black tab.
-
For the ribbon cable in the back, pull the black tabs on the side out.
-
Detach the ribbon cables connecting the screen to the motherboard.
-
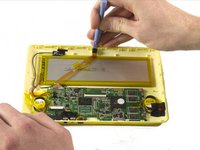
Remove any tape that is holding down the ribbon cables. Set it aside.
-
-
-
Pull off the tape that holds the ribbon cable to the battery.
-
-
-
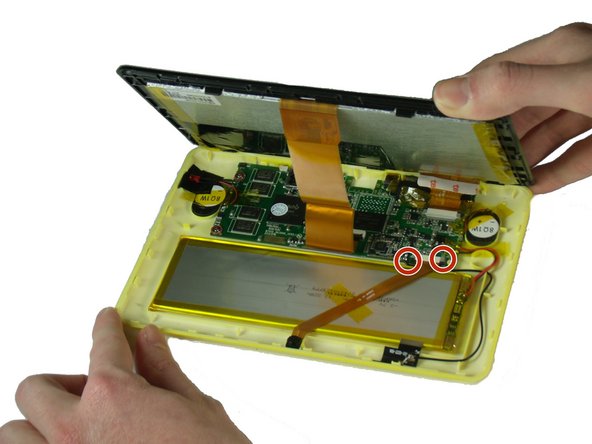
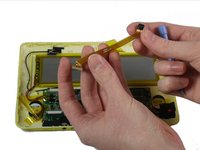
Pull out the two black ends of the base on the motherboard.
-
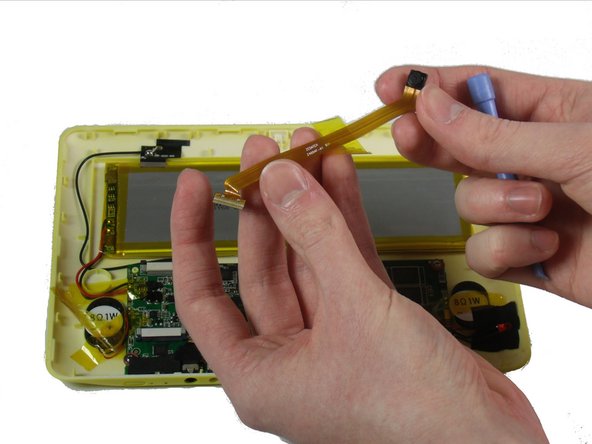
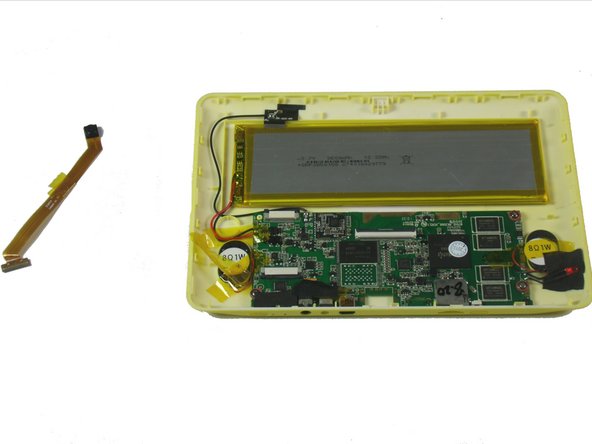
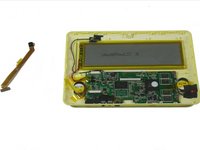
Slide out the camera’s ribbon cable once the ends are loosened.
-
-
-
Use a plastic opening tool to pry the camera out of its place.
-
To reassemble your device, follow these instructions in reverse order.
crwdns2935221:0crwdne2935221:0
crwdns2935227:0crwdne2935227:0


