crwdns2933423:0crwdne2933423:0

Cleaning the Controller Buttons

crwdns2942213:0crwdne2942213:0

  1. Cleaning the Controller Buttons, Cleaning the Controller Buttons: crwdns2935265:01crwdnd2935265:01crwdnd2935265:02crwdne2935265:0 Cleaning the Controller Buttons, Cleaning the Controller Buttons: crwdns2935265:01crwdnd2935265:02crwdnd2935265:02crwdne2935265:0
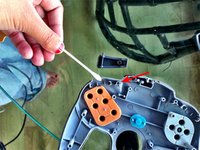
    • Remove the 9 external screws (4.8 mm Phillips head) on the back of the controller.

    • Remove the back panel from the controller.

  2. Cleaning the Controller Buttons: crwdns2935265:02crwdnd2935265:01crwdnd2935265:03crwdne2935265:0 Cleaning the Controller Buttons: crwdns2935265:02crwdnd2935265:02crwdnd2935265:03crwdne2935265:0 Cleaning the Controller Buttons: crwdns2935265:02crwdnd2935265:03crwdnd2935265:03crwdne2935265:0
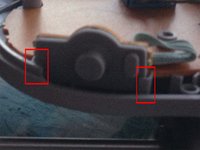
    • Remove the 3 screws (4.8 mm Phillips head) from the back of the white box.

    • Remove the back panel of the joystick box.

    • There are many small plastic components loose in this box; be careful not to lose these.

    • Separate the rubber pads and plastic buttons from the controller.

  3. Cleaning the Controller Buttons: crwdns2935265:03crwdnd2935265:01crwdnd2935265:02crwdne2935265:0 Cleaning the Controller Buttons: crwdns2935265:03crwdnd2935265:02crwdnd2935265:02crwdne2935265:0
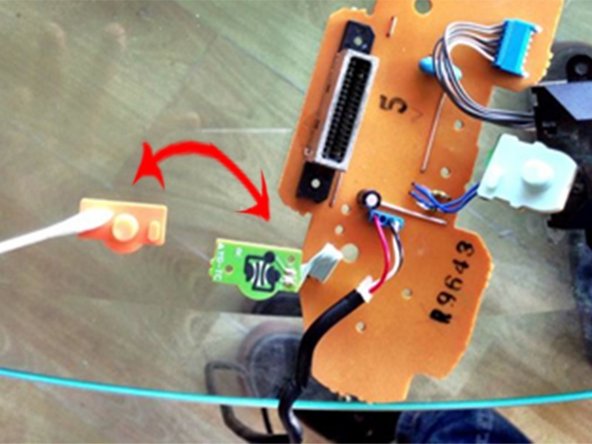
    • Using a soft cleaning material, clean the plastic buttons.

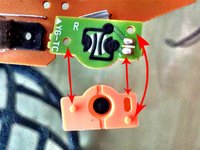
    • Using a toothpick, clean the pole slot, shown at the right of the Q-Tip.

  4. Cleaning the Controller Buttons: crwdns2935265:04crwdnd2935265:01crwdnd2935265:02crwdne2935265:0 Cleaning the Controller Buttons: crwdns2935265:04crwdnd2935265:02crwdnd2935265:02crwdne2935265:0
    • Using a damp, soft cleaning material, clean the rubber button pads.

    • To ensure that no electrical damage occurs, ensure that you dry the pieces completely after cleaning them.

  5. Cleaning the Controller Buttons, Put it back together: crwdns2935265:05crwdnd2935265:01crwdnd2935265:01crwdne2935265:0
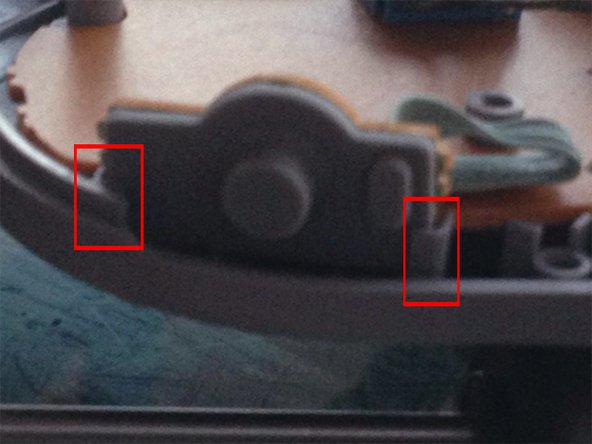
    • Reinsert the buttons, ensuring that the rubber, cylindrical pieces protruding from the buttons are lined up with their corresponding circuits.

crwdns2915888:0crwdne2915888:0

Follow these steps in reverse order to reassemble your device.

crwdns2935229:07crwdne2935229:0

Jason Gittler

crwdns2935283:007/22/13crwdne2935283:0

132 crwdns2915208:0crwdne2915208:0

crwdns2935295:0crwdne2935295:0

crwdns2915084:0crwdne2915084:0

UC Santa Barbara, Team 1-3, Bradley Spring 2013 crwdns2935289:0UC Santa Barbara, Team 1-3, Bradley Spring 2013crwdne2935289:0

UCSB-BRADLEY-S13S1G3

crwdns2931471:02crwdne2931471:0

crwdns2935303:01crwdne2935303:0

crwdns2944067:00crwdne2944067:0

crwdns2917038:0crwdne2917038:0

crwdns2936625:0crwdne2936625:0:

crwdns2936751:024crwdne2936751:0 1

crwdns2936753:07crwdne2936753:0 8

crwdns2936753:030crwdne2936753:0 23

crwdns2942667:0crwdne2942667:0 5,480