crwdns2933423:0crwdne2933423:0

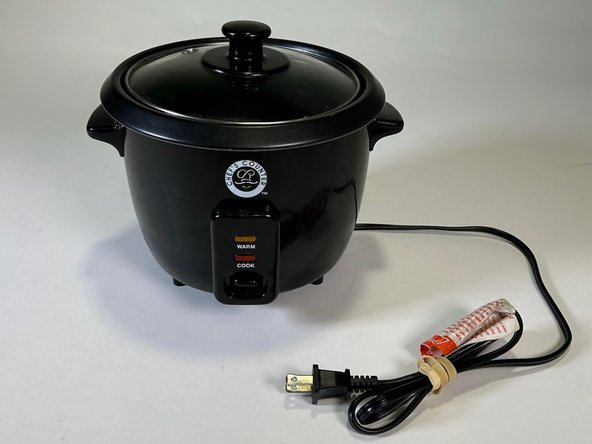
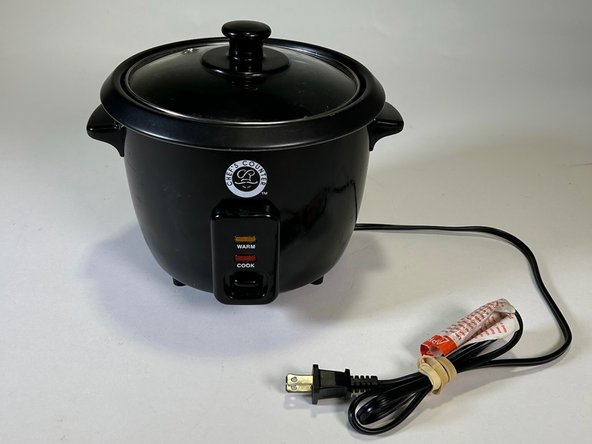
Chef’s Counter Rice Cooker RC-3 Disassembly

crwdns2942213:0crwdne2942213:0

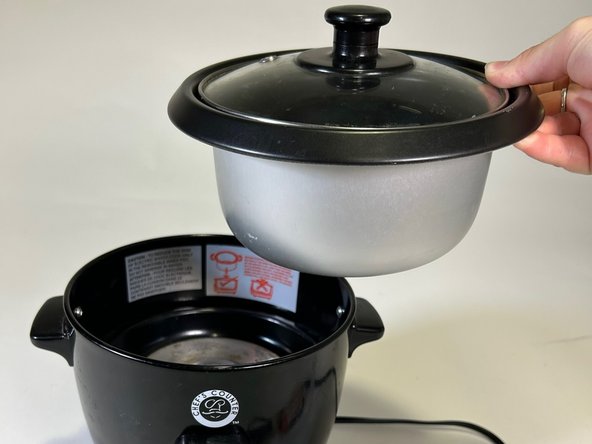
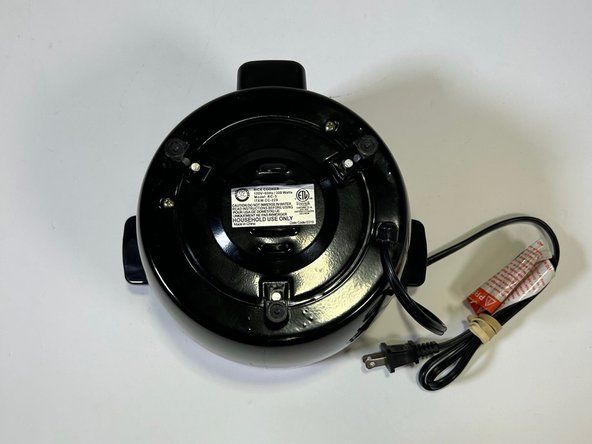
  1. Chef’s Counter Rice Cooker RC-3 Disassembly, Chef’s Counter Rice Cooker RC-3: crwdns2935265:01crwdnd2935265:01crwdnd2935265:03crwdne2935265:0 Chef’s Counter Rice Cooker RC-3 Disassembly, Chef’s Counter Rice Cooker RC-3: crwdns2935265:01crwdnd2935265:02crwdnd2935265:03crwdne2935265:0 Chef’s Counter Rice Cooker RC-3 Disassembly, Chef’s Counter Rice Cooker RC-3: crwdns2935265:01crwdnd2935265:03crwdnd2935265:03crwdne2935265:0
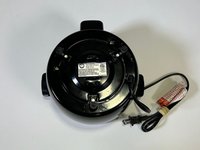
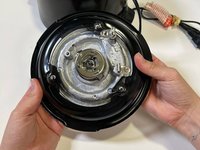
    • Unplug the rice cooker.

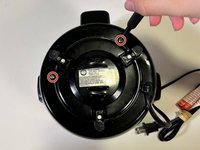
    • Remove the bowl and lid from the device and place the device upside down on a flat surface.

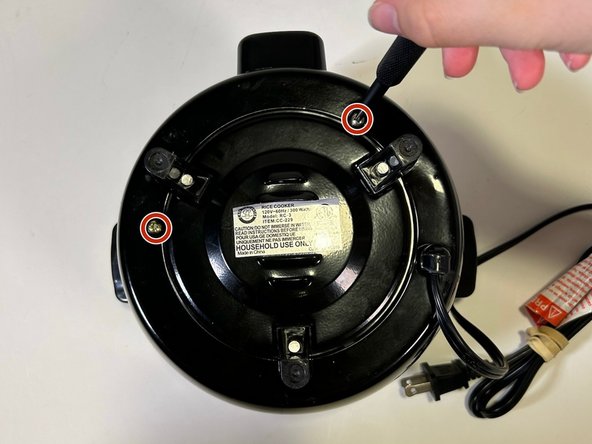
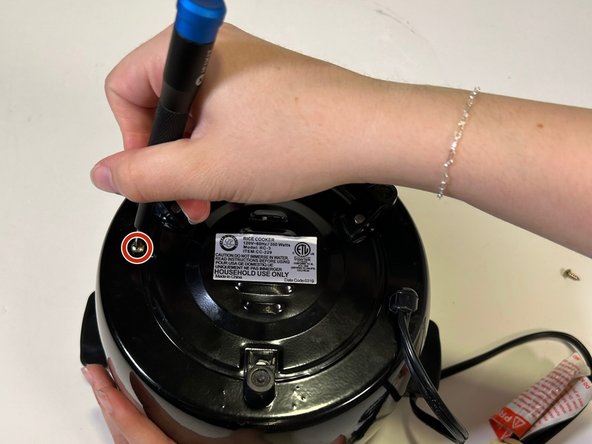
  2. Chef’s Counter Rice Cooker RC-3 Disassembly: crwdns2935265:02crwdnd2935265:01crwdnd2935265:03crwdne2935265:0 Chef’s Counter Rice Cooker RC-3 Disassembly: crwdns2935265:02crwdnd2935265:02crwdnd2935265:03crwdne2935265:0 Chef’s Counter Rice Cooker RC-3 Disassembly: crwdns2935265:02crwdnd2935265:03crwdnd2935265:03crwdne2935265:0
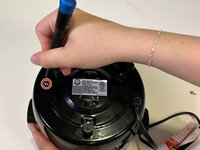
    • Remove the two 13 mm screws from the bottom using a Phillips #1 screwdriver.

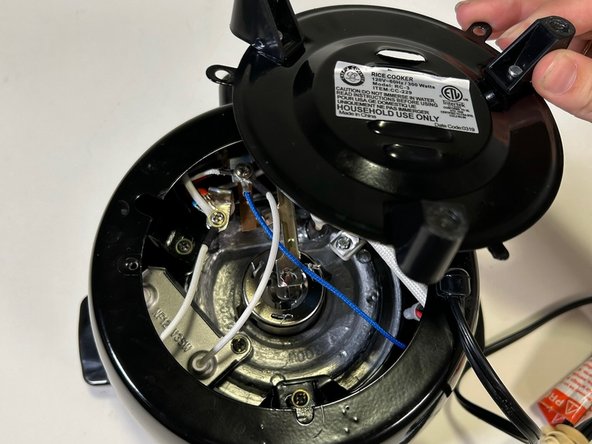
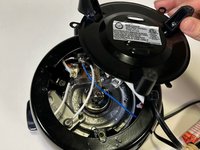
    • Remove the base plate.

  3. Chef’s Counter Rice Cooker RC-3 Disassembly: crwdns2935265:03crwdnd2935265:01crwdnd2935265:03crwdne2935265:0 Chef’s Counter Rice Cooker RC-3 Disassembly: crwdns2935265:03crwdnd2935265:02crwdnd2935265:03crwdne2935265:0 Chef’s Counter Rice Cooker RC-3 Disassembly: crwdns2935265:03crwdnd2935265:03crwdnd2935265:03crwdne2935265:0
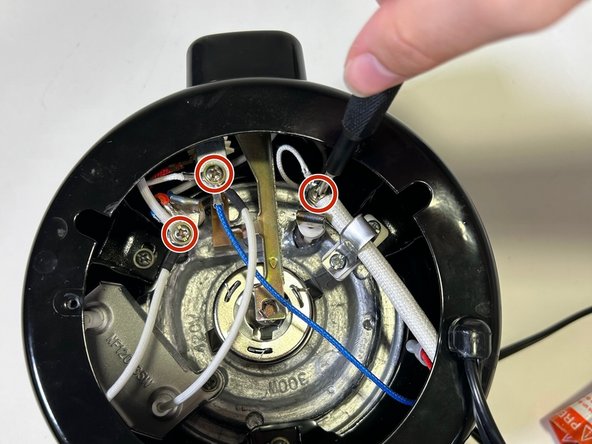
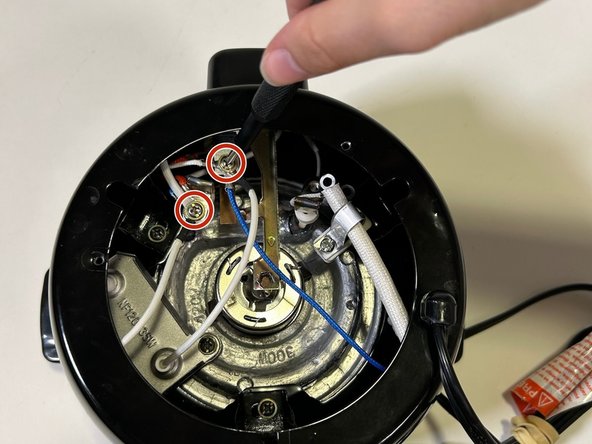
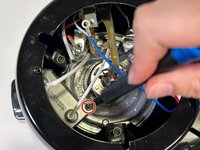
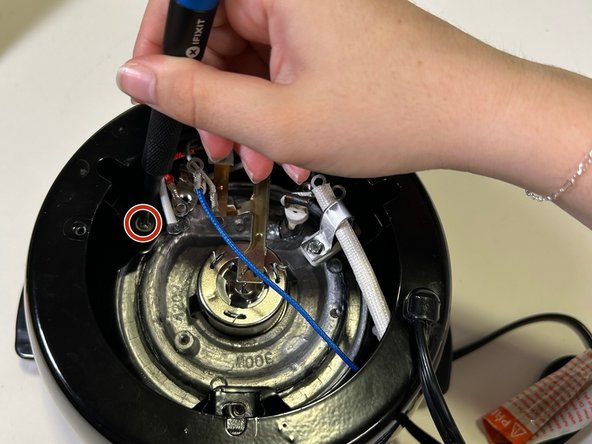
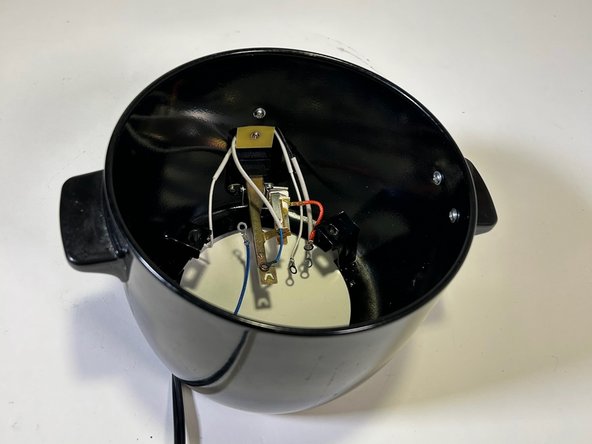
    • Remove the three 10 mm gold screws holding the wires in place using a Phillips #1 screwdriver.

  4. Chef’s Counter Rice Cooker RC-3 Disassembly: crwdns2935265:04crwdnd2935265:01crwdnd2935265:03crwdne2935265:0 Chef’s Counter Rice Cooker RC-3 Disassembly: crwdns2935265:04crwdnd2935265:02crwdnd2935265:03crwdne2935265:0 Chef’s Counter Rice Cooker RC-3 Disassembly: crwdns2935265:04crwdnd2935265:03crwdnd2935265:03crwdne2935265:0
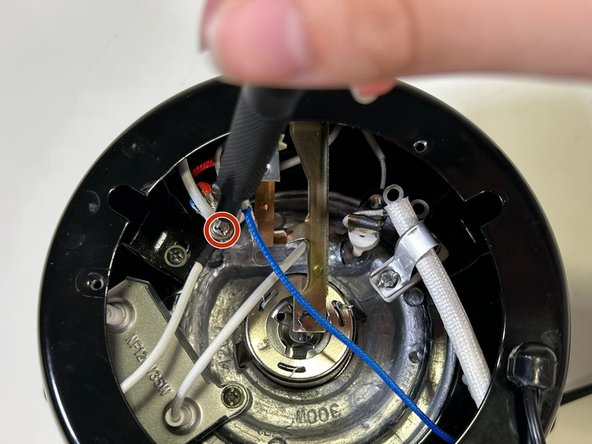
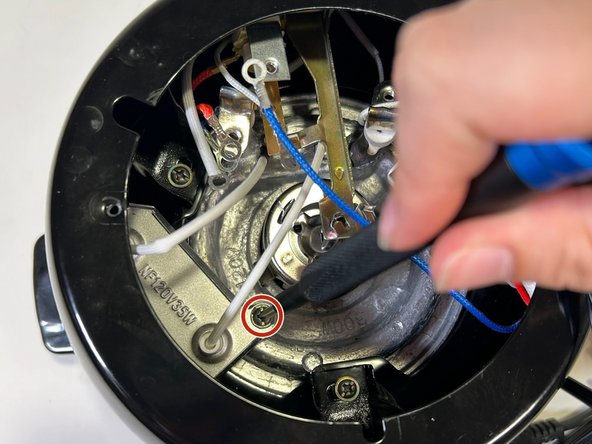
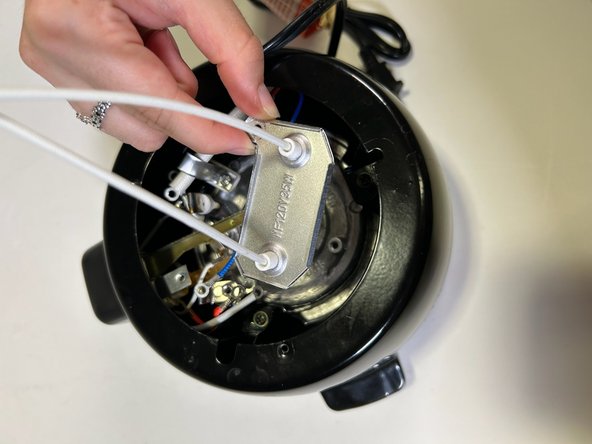
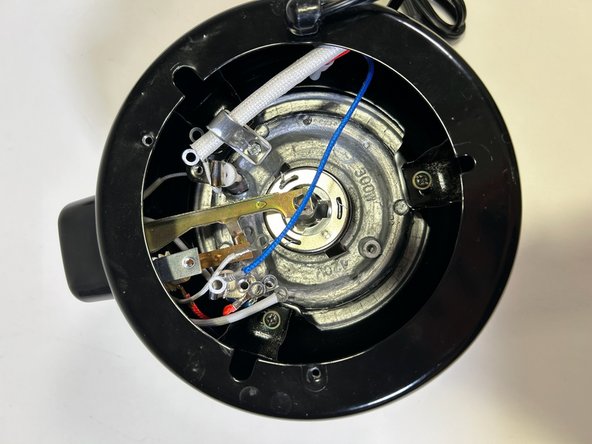
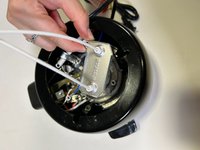
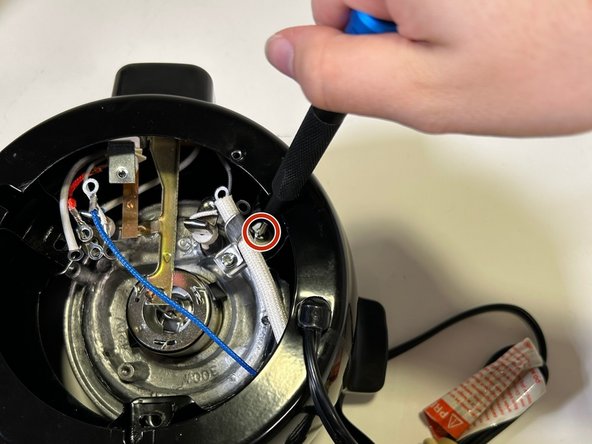
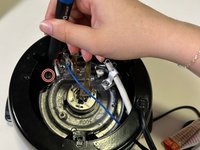
    • Remove the single 10 mm screw from the metal plate using a Phillips #1 screwdriver.

    • Remove the metal plate.

  5. Chef’s Counter Rice Cooker RC-3 Disassembly: crwdns2935265:05crwdnd2935265:01crwdnd2935265:03crwdne2935265:0 Chef’s Counter Rice Cooker RC-3 Disassembly: crwdns2935265:05crwdnd2935265:02crwdnd2935265:03crwdne2935265:0 Chef’s Counter Rice Cooker RC-3 Disassembly: crwdns2935265:05crwdnd2935265:03crwdnd2935265:03crwdne2935265:0
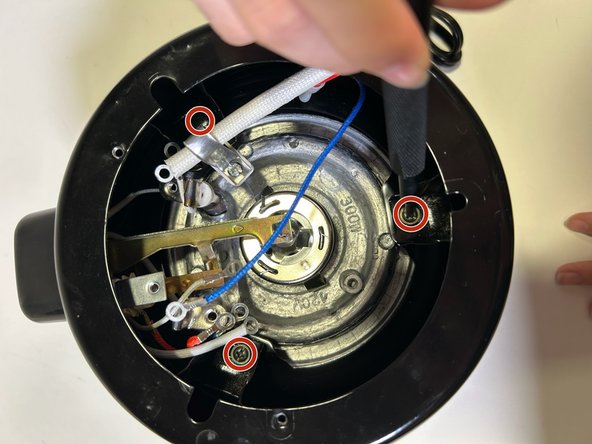
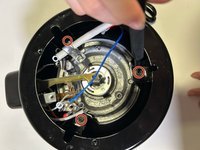
    • Remove the three perimeter screws holding the heating plate in place using a Phillips #1 screwdriver.

    • One screw has a length of 14 mm and two screws are 10 mm.

  6. Chef’s Counter Rice Cooker RC-3 Disassembly: crwdns2935265:06crwdnd2935265:01crwdnd2935265:03crwdne2935265:0 Chef’s Counter Rice Cooker RC-3 Disassembly: crwdns2935265:06crwdnd2935265:02crwdnd2935265:03crwdne2935265:0 Chef’s Counter Rice Cooker RC-3 Disassembly: crwdns2935265:06crwdnd2935265:03crwdnd2935265:03crwdne2935265:0
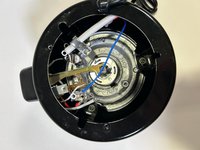
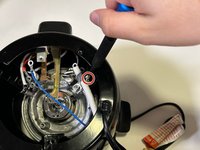
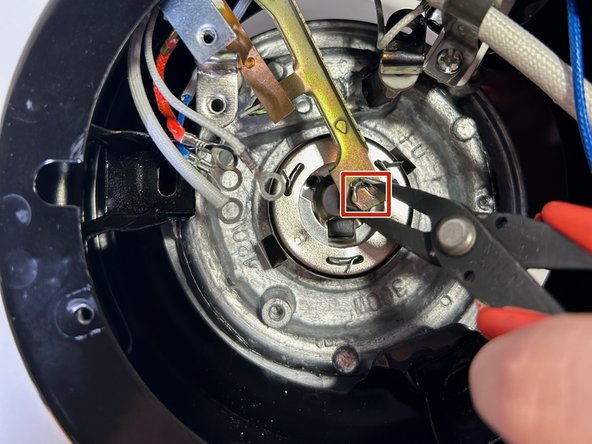
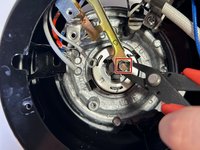
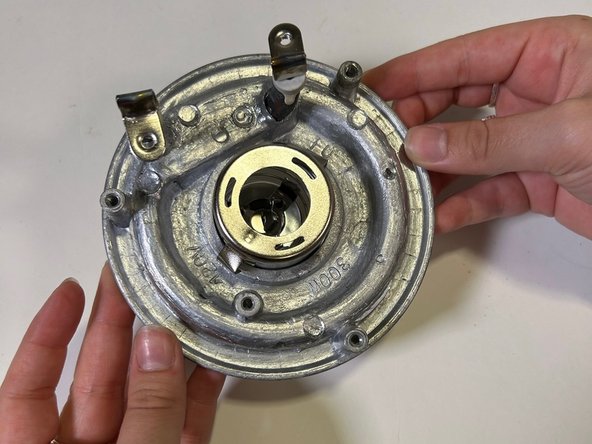
    • Use pliers to pinch the metal V in the center.

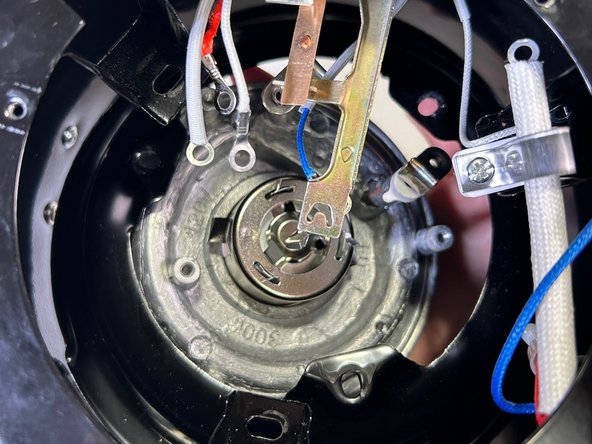
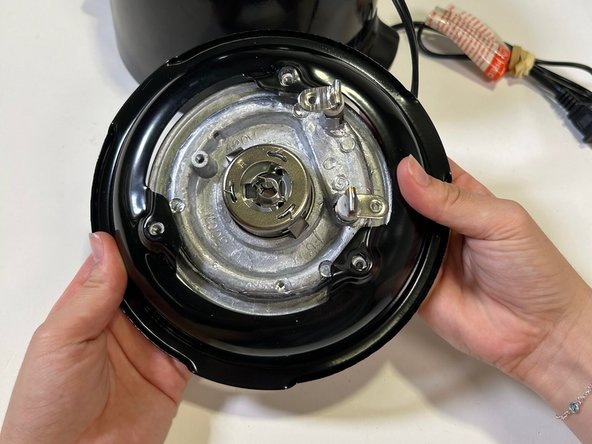
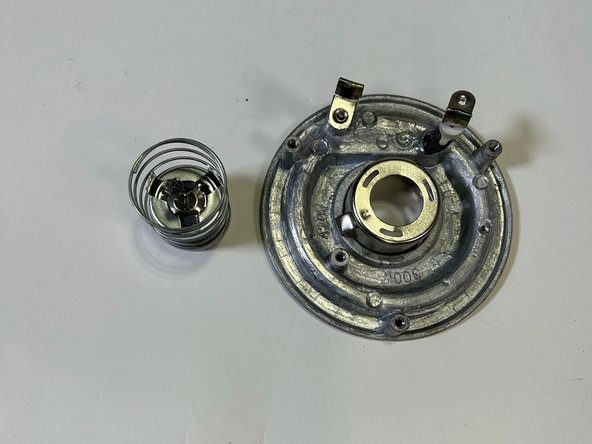
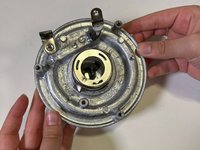
    • Slide out the silver heating component and black support ring.

  7. Chef’s Counter Rice Cooker RC-3 Disassembly: crwdns2935265:07crwdnd2935265:01crwdnd2935265:03crwdne2935265:0 Chef’s Counter Rice Cooker RC-3 Disassembly: crwdns2935265:07crwdnd2935265:02crwdnd2935265:03crwdne2935265:0 Chef’s Counter Rice Cooker RC-3 Disassembly: crwdns2935265:07crwdnd2935265:03crwdnd2935265:03crwdne2935265:0
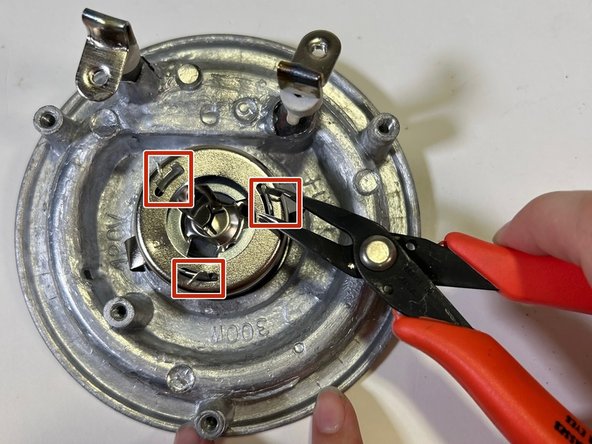
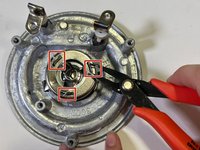
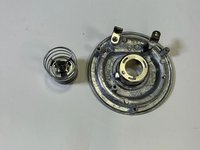
    • Use the pliers to pinch the three metal flaps flat and remove the spring.

  8. Chef’s Counter Rice Cooker RC-3 Disassembly: crwdns2935265:08crwdnd2935265:01crwdnd2935265:02crwdne2935265:0 Chef’s Counter Rice Cooker RC-3 Disassembly: crwdns2935265:08crwdnd2935265:02crwdnd2935265:02crwdne2935265:0
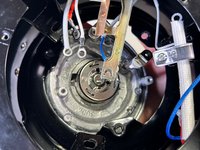
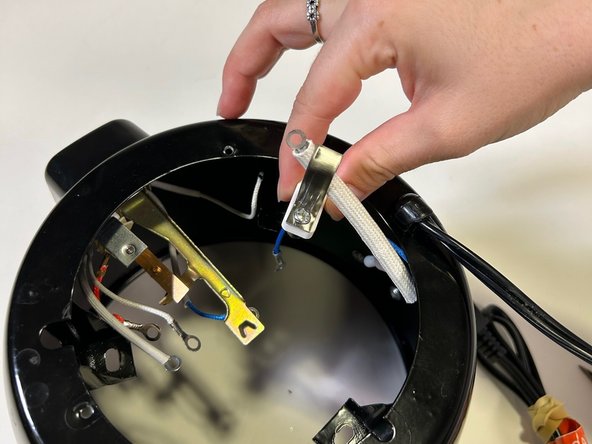
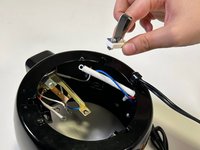
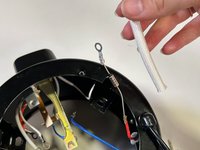
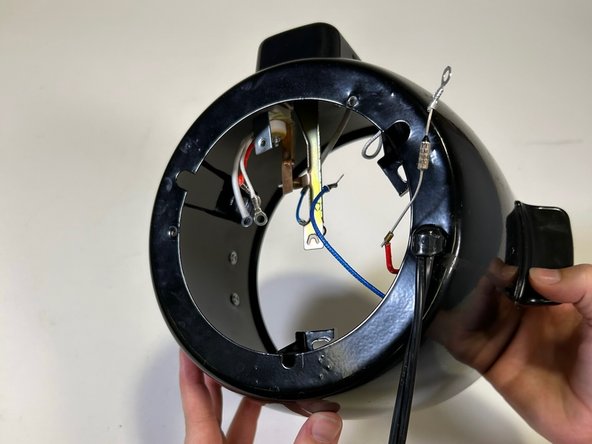
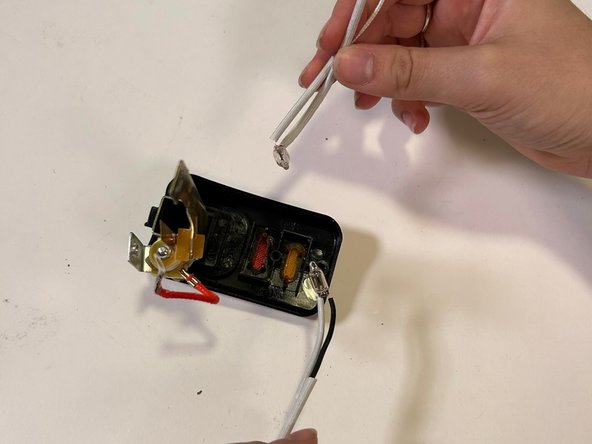
    • Remove the metal hook that is over the thick white wire cover.

  9. Chef’s Counter Rice Cooker RC-3 Disassembly: crwdns2935265:09crwdnd2935265:01crwdnd2935265:02crwdne2935265:0 Chef’s Counter Rice Cooker RC-3 Disassembly: crwdns2935265:09crwdnd2935265:02crwdnd2935265:02crwdne2935265:0
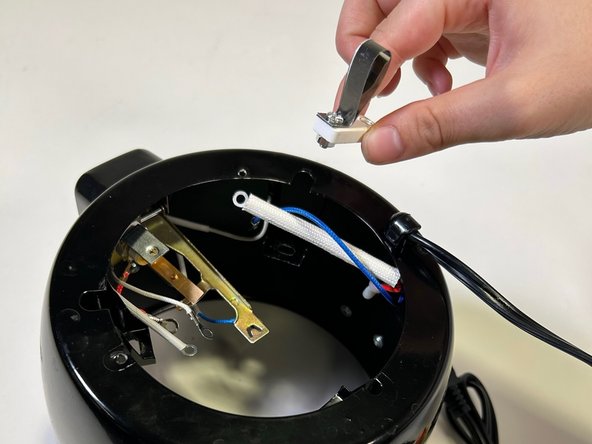
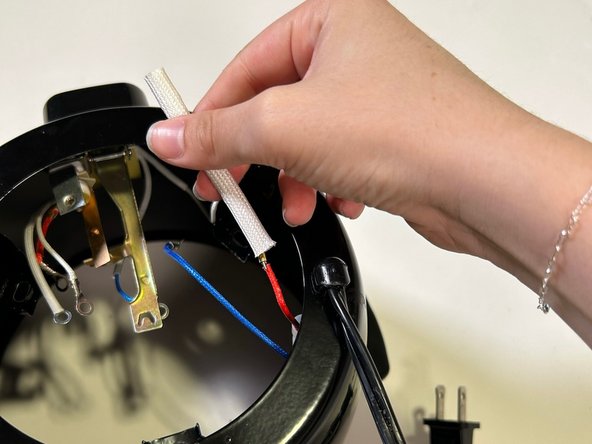
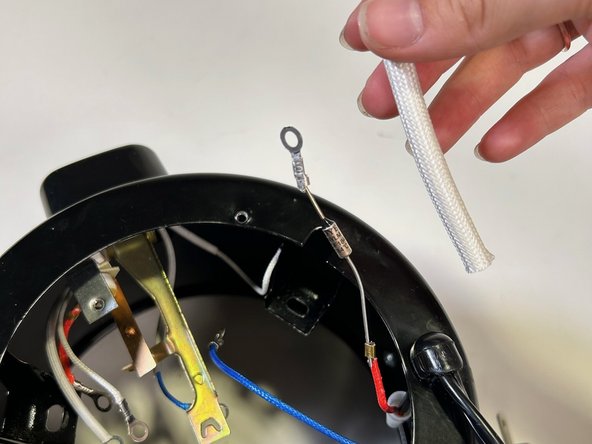
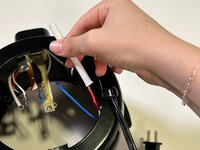
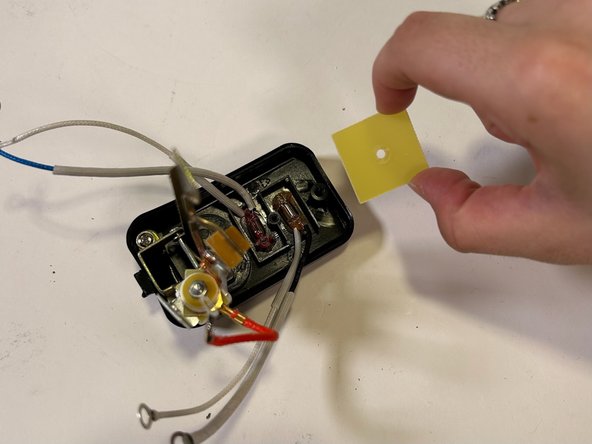
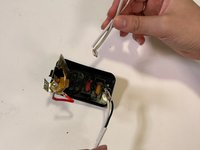
    • Remove the thick white wire cover uncovering the thermal cutoff fuse.

  10. Chef’s Counter Rice Cooker RC-3 Disassembly: crwdns2935265:010crwdnd2935265:01crwdnd2935265:02crwdne2935265:0 Chef’s Counter Rice Cooker RC-3 Disassembly: crwdns2935265:010crwdnd2935265:02crwdnd2935265:02crwdne2935265:0
    • Flip over the rice cooker so it is right side up.

  11. Chef’s Counter Rice Cooker RC-3 Disassembly: crwdns2935265:011crwdnd2935265:01crwdnd2935265:03crwdne2935265:0 Chef’s Counter Rice Cooker RC-3 Disassembly: crwdns2935265:011crwdnd2935265:02crwdnd2935265:03crwdne2935265:0 Chef’s Counter Rice Cooker RC-3 Disassembly: crwdns2935265:011crwdnd2935265:03crwdnd2935265:03crwdne2935265:0
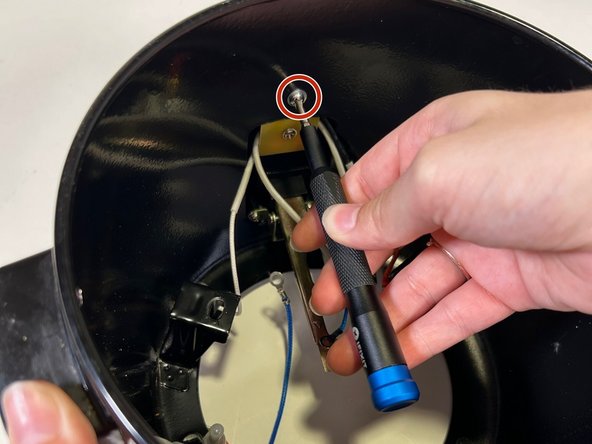
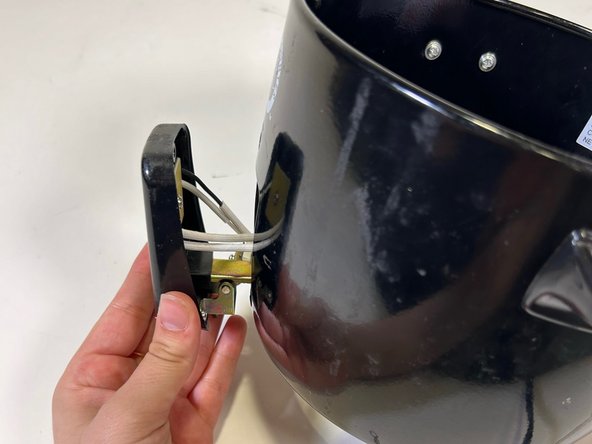
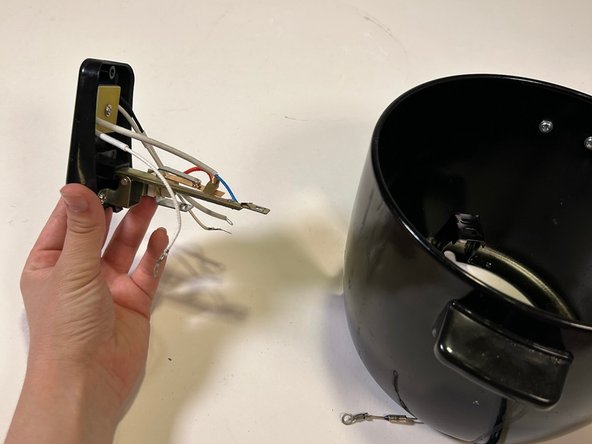
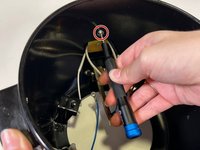
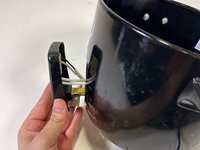
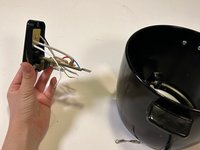
    • Remove the single 10 mm screw from the outer control panel using a Phillips #1 screwdriver.

    • Remove the plastic outer control panel.

  12. Chef’s Counter Rice Cooker RC-3 Disassembly: crwdns2935265:012crwdnd2935265:01crwdnd2935265:03crwdne2935265:0 Chef’s Counter Rice Cooker RC-3 Disassembly: crwdns2935265:012crwdnd2935265:02crwdnd2935265:03crwdne2935265:0 Chef’s Counter Rice Cooker RC-3 Disassembly: crwdns2935265:012crwdnd2935265:03crwdnd2935265:03crwdne2935265:0
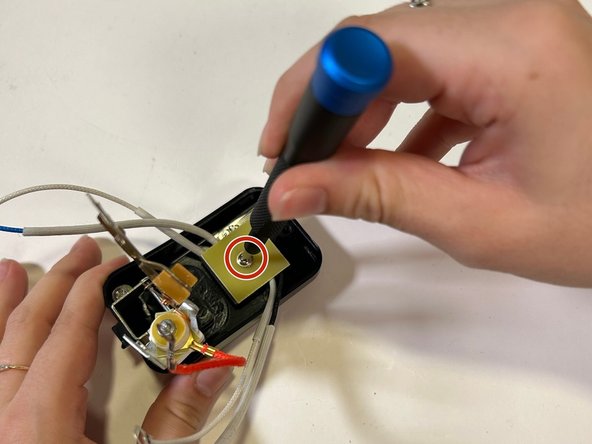
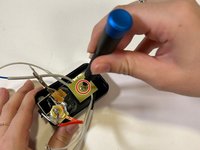
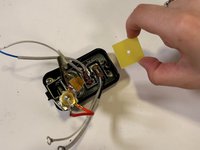
    • Remove the single 10 mm screw using a Phillips #1 screwdriver to reveal the LED lights.

  13. Chef’s Counter Rice Cooker RC-3 Disassembly: crwdns2935265:013crwdnd2935265:01crwdnd2935265:03crwdne2935265:0 Chef’s Counter Rice Cooker RC-3 Disassembly: crwdns2935265:013crwdnd2935265:02crwdnd2935265:03crwdne2935265:0 Chef’s Counter Rice Cooker RC-3 Disassembly: crwdns2935265:013crwdnd2935265:03crwdnd2935265:03crwdne2935265:0
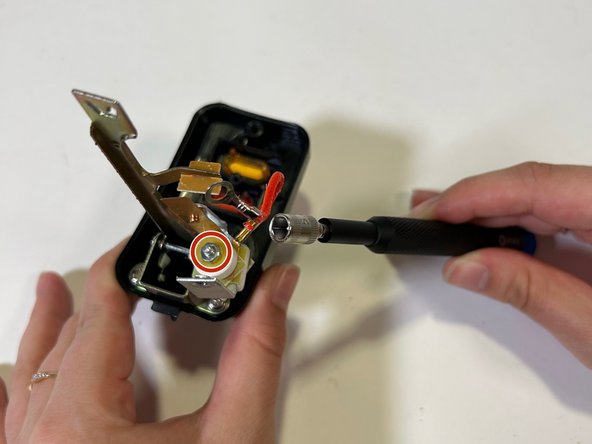
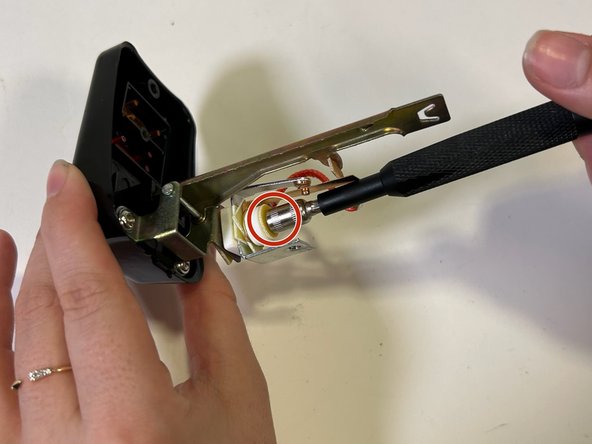
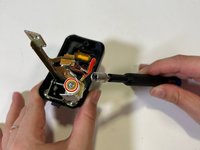
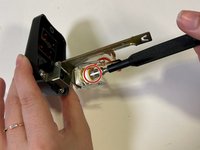
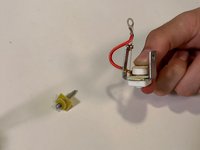
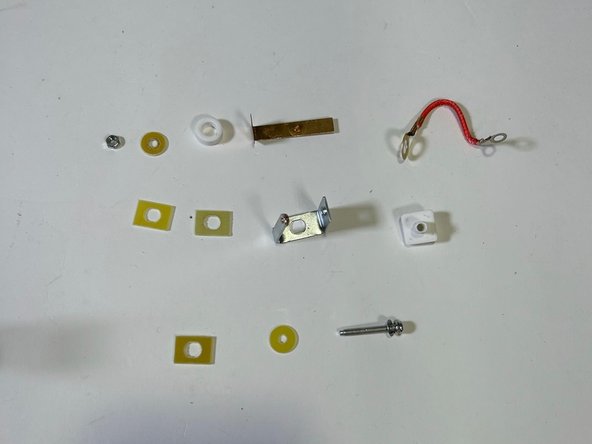
    • Remove the single 27 mm screw using a hex 5.5 screwdriver.

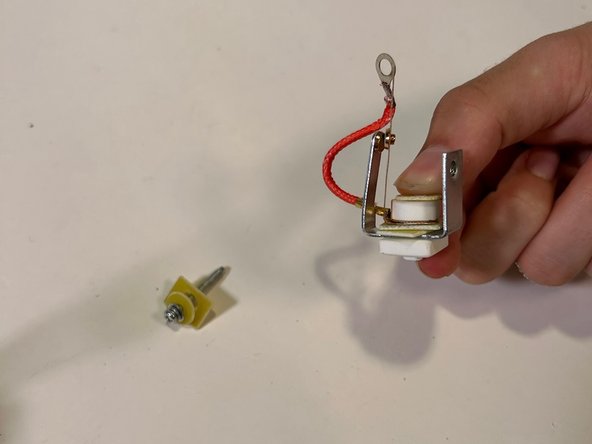
    • Extra hands are helpful because this component will easily fall apart.

  14. Chef’s Counter Rice Cooker RC-3 Disassembly: crwdns2935265:014crwdnd2935265:01crwdnd2935265:02crwdne2935265:0 Chef’s Counter Rice Cooker RC-3 Disassembly: crwdns2935265:014crwdnd2935265:02crwdnd2935265:02crwdne2935265:0
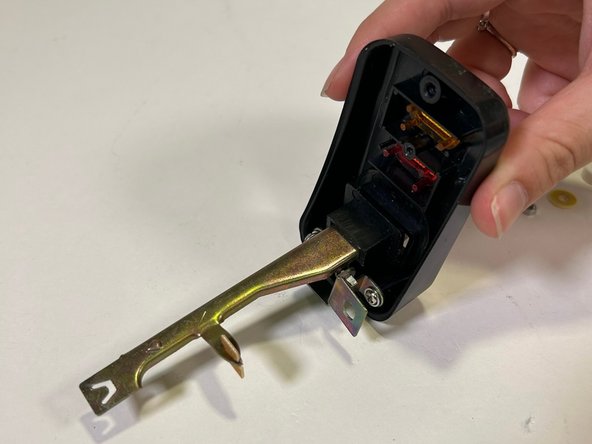
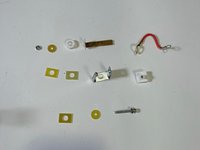
    • Inspect the outer control panel, mechanical lever, and the components of the stack.

  15. Chef’s Counter Rice Cooker RC-3 Disassembly: crwdns2935265:015crwdnd2935265:01crwdnd2935265:01crwdne2935265:0
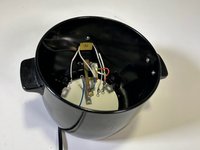
    • Now that the device is disassembled you can get a better understanding on how it works.

    • The rice cooker receives constant power when plugged in. A mechanical lever is used to switch between warm and cook settings. The settings are indicated by white LED lights with orange and red plastic coverings on the outer control panel.

    • A DF184S Thermal Cutoff Fuse is in place to protect the device by disconnecting the circuit in the event of a heating element malfunction.

crwdns2915888:0crwdne2915888:0

To reassemble your device, follow these instructions in reverse order.
Korinna Spirko

crwdns2935283:009/10/24crwdne2935283:0

291 crwdns2915208:0crwdne2915208:0

crwdns2935295:0crwdne2935295:0

crwdns2915084:0crwdne2915084:0

Tufts University School of Engineering, Team 1-4, Carlson Fall 2024 crwdns2935289:0Tufts University School of Engineering, Team 1-4, Carlson Fall 2024crwdne2935289:0

TUFTS-CARLSON-F24S1G4

crwdns2931471:02crwdne2931471:0

crwdns2935303:01crwdne2935303:0

crwdns2947412:00crwdne2947412:0

crwdns2917038:0crwdne2917038:0

crwdns2936625:0crwdne2936625:0:

crwdns2936751:024crwdne2936751:0 1

crwdns2936753:07crwdne2936753:0 2

crwdns2936753:030crwdne2936753:0 12

crwdns2942667:0crwdne2942667:0 125