crwdns2915892:0crwdne2915892:0
This repair fixes a common issue on this device, after a few months of use the screen slowly gets dimmer before dying.
crwdns2942213:0crwdne2942213:0
-
-
Remove both T2 screws
-
Slide off the plastic piece by lifting out and then up
-
Slide plastic and spring assembly off the rail
-
-
-
Insert a razor blade between the glass and the body
-
Keep going around the rim of the display until loose
-
-
-
Lift the display then battery up gently
-
Remove battery connector
-
-
-
-
Remove two P2 screws
-
Remove T2 screw
-
Liftoff metal shield
-
-
-
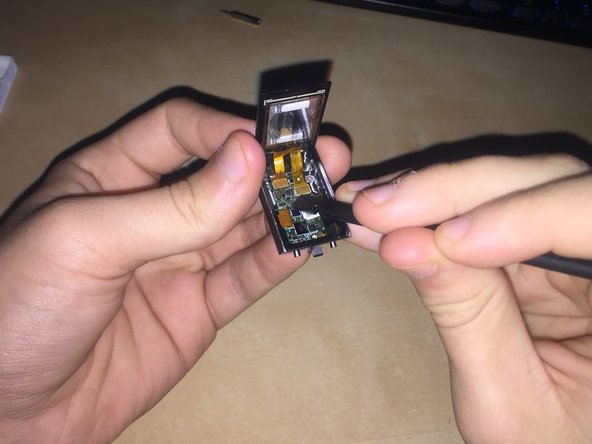
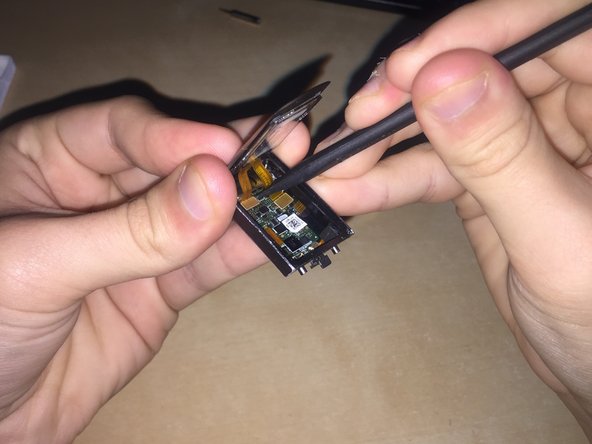
Liftoff both display connectors
-
Remove Display Assembly
-
-
-
Connect The new screen (basically step 6 in reverse)
-
Then perform the step 5 in reverse to put the metal shield back in
-
-
-
Reconnect battery connector
-
Put the battery back in place
-
-
-
Add a thin layer of E-6000 glue around the casing
-
-
-
Flip down the screen and remove any extra glue that squeezes out
-
Take a rubber band and wrap it around the device, this will ensure the display stays in place until the glue cures
-
With the rubber bands on go to step 1 and reverse the steps to reinstall the band release
-
-
-
When the glue is fully cured remove the rubber bands
-
And voila you now have a repaired Fitbit Charge 3
-
Thanks to ShellingRook27's Original Dissasembly I Was Able to Make this Guide And Bring a new life to my old device.
crwdns2935221:0crwdne2935221:0
crwdns2935229:02crwdne2935229:0


