crwdns2915892:0crwdne2915892:0
Use this guide to replace the power supply board of the device. This includes detaching the power cables connected to the logic board, which requires desoldering.
crwdns2942213:0crwdne2942213:0
-
-
Lay the device on its back, and rotate so the base is facing away from you.
-
-
-
Grip the frame with your fingers under the edge of the frame, and thumbs pushing down on the front of the device.
-
-
-
Lift up the frame with your fingers and push down the rest of the device with your thumbs.
-
-
-
Remove the frame and matte from the device.
-
-
-
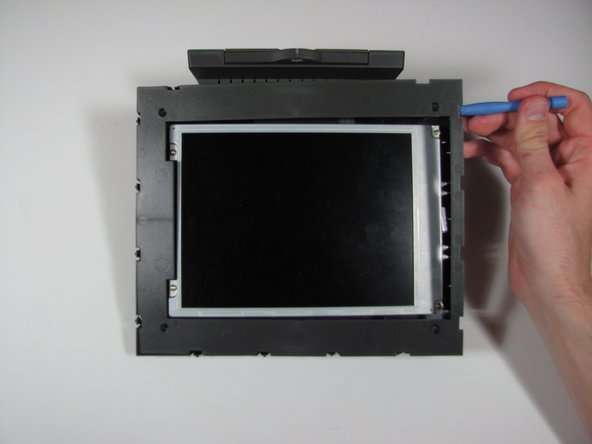
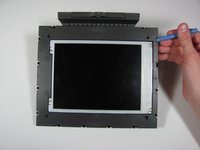
Remove the four 7mm Torx T6 screws.
-
-
-
-
Using the plastic opening tool or your fingers, lift up the frame from any edge.
-
Remove the frame from the device.
-
-
-
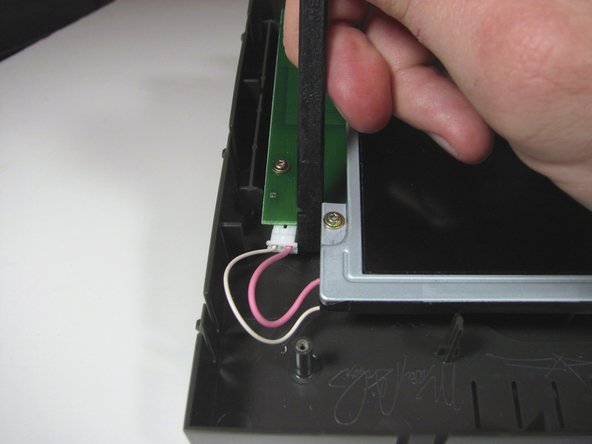
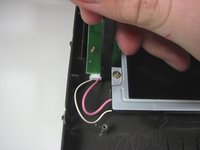
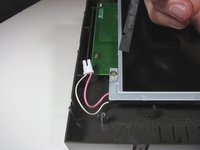
Unplug the cable connecting the display to the power supply using the flat end of the spudger to pry the connector away from the circuit board.
-
-
-
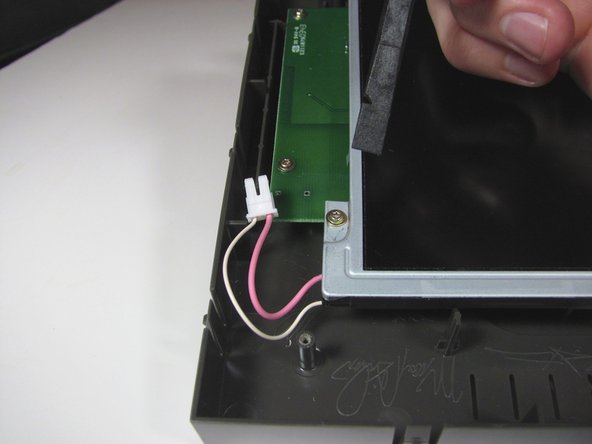
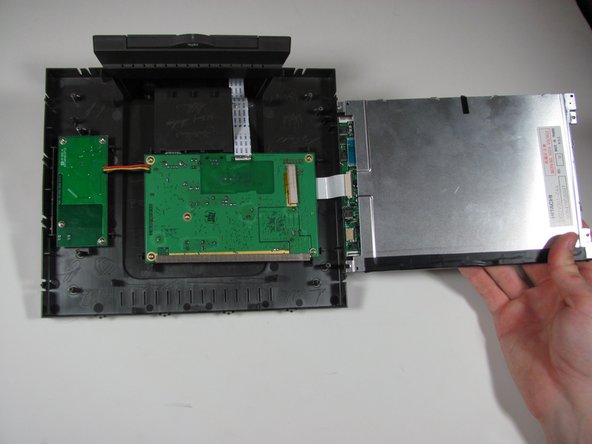
Lift up the display from the left edge and flip display over.
-
-
-
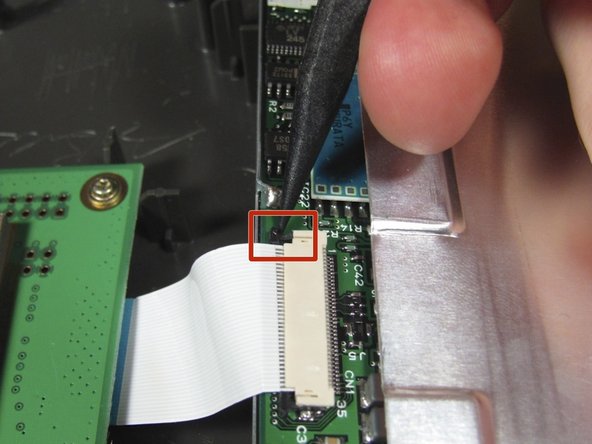
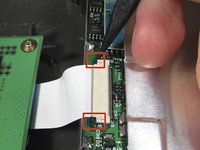
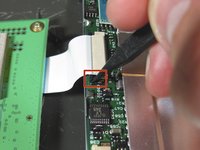
Use the spudger to disconnect the ribbon cable from the display by the black pins away from the connector. There is a pin on either side of the connector.
-
Once both pins are released, the ribbon cable should slide easily out.
-
-
-
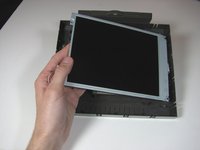
Remove the display assembly from the device.
-
-
-
Remove the four 7mm Torx T6 screws.
-
-
-
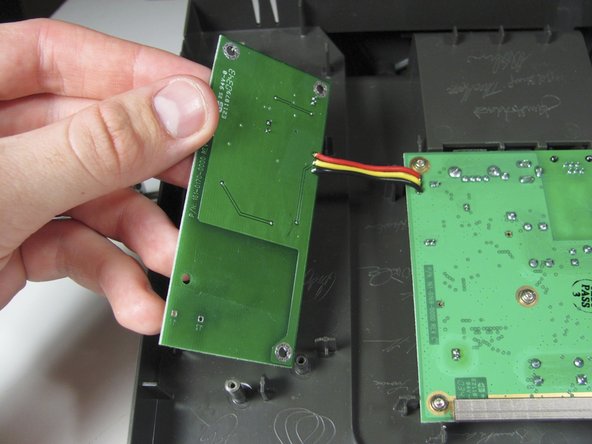
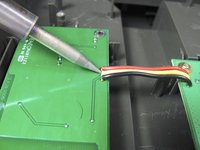
Desolder the 3 wires attached to the board.
-
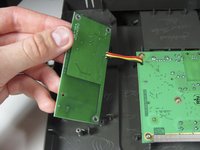
Remove the power supply board from the device.
-


To reassemble your device, follow these instructions in reverse order.
To reassemble your device, follow these instructions in reverse order.
crwdns2935221:0crwdne2935221:0
crwdns2935227:0crwdne2935227:0
crwdns2915084:0crwdne2915084:0

Cal Poly, Team 9-25, Maness Winter 2014 crwdns2935289:0Cal Poly, Team 9-25, Maness Winter 2014crwdne2935289:0
CPSU-MANESS-W14S9G25
crwdns2931471:04crwdne2931471:0
crwdns2935297:05crwdne2935297:0