crwdns2915892:0crwdne2915892:0
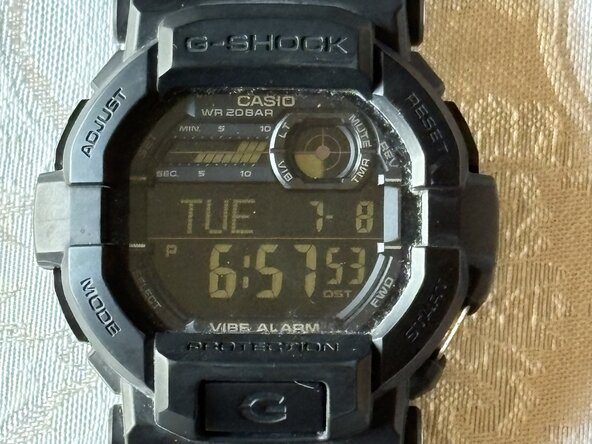
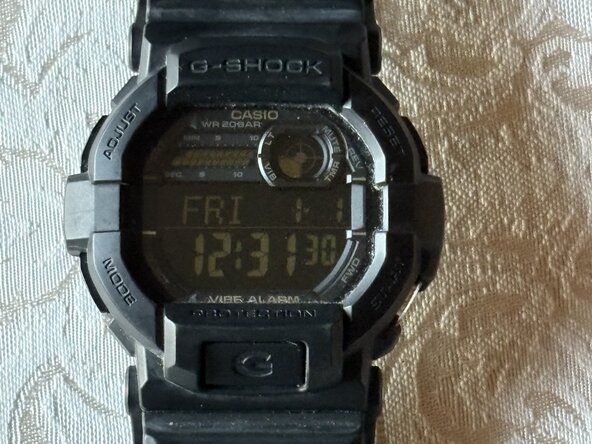
Is your G-Shock telling you the battery is low? This guide will demonstrate how to replace the battery for a Casio G-Shock GD-350 watch. This particular watch has a negative display, but the steps are the same whether your watch has a positive or negative display.
The steps for this guide should be a straightforward process without needing any special skills. Many of the basic tools for this guide may already be at your disposal, and if not, they're accessible to acquire. Latex or nitrile gloves should be used. Gloves are recommended for this guide to protect any of the components from the watch being shorted or damaged.
crwdns2942213:0crwdne2942213:0
-
-
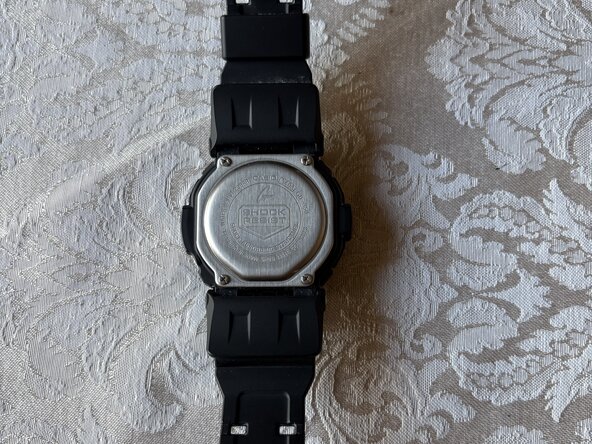
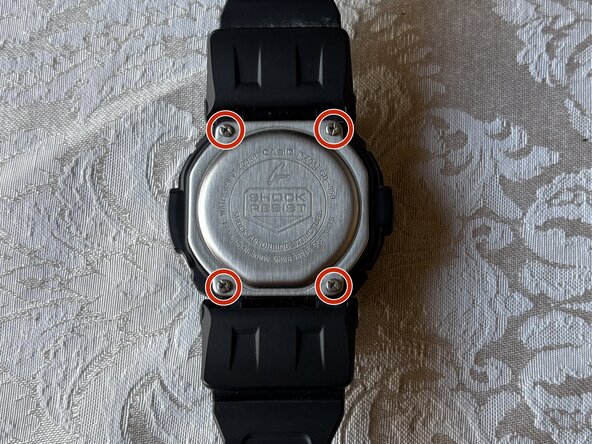
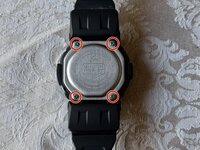
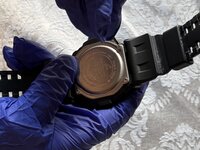
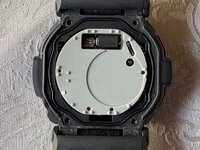
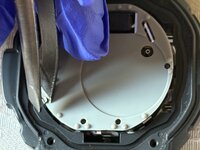
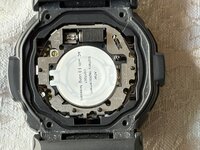
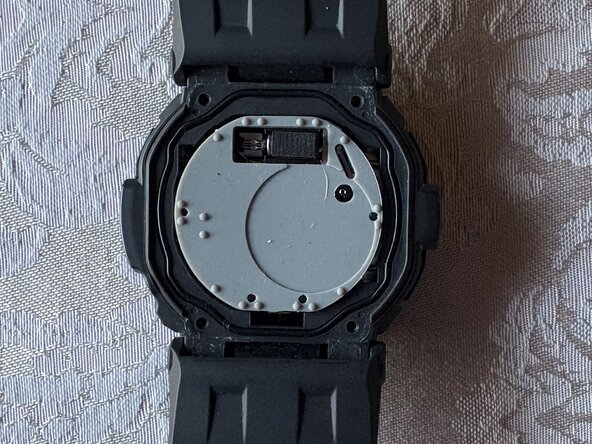
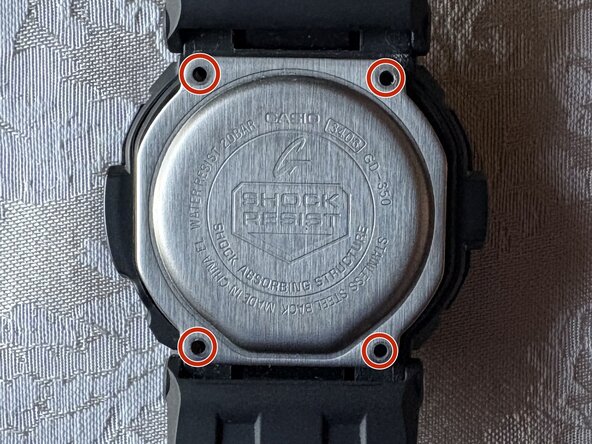
Flip your watch over so the bottom is facing up.
-
-
-
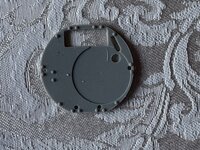
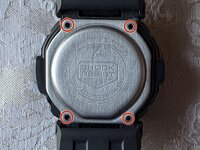
Use a small Phillips screwdriver to remove four screws from the caseback, and place the caseback and screws to the side for later.
-
-
-
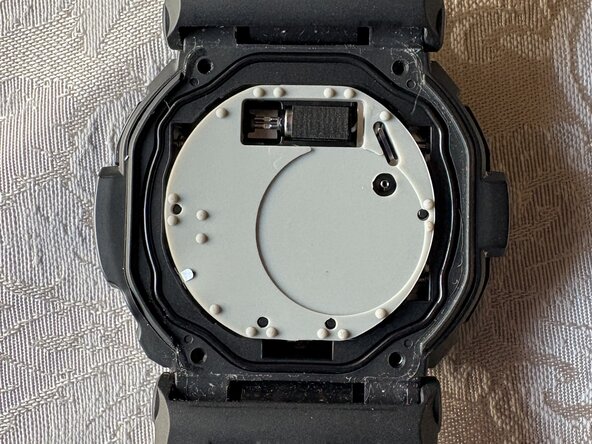
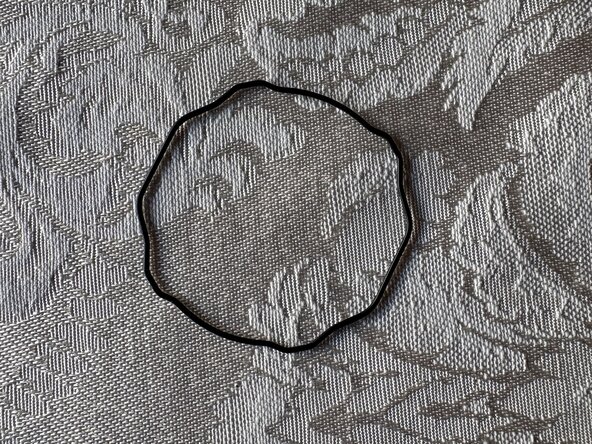
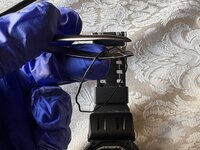
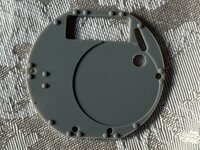
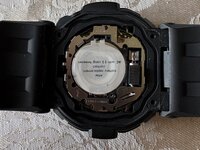
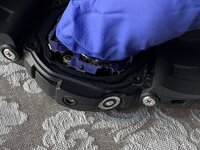
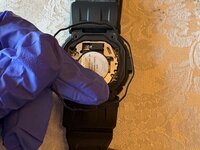
Use tweezers to remove the black gasket surrounding the rubber cover.
-
-
-
Use tweezers to lift the metal tab and remove the rubber cover from the watch and place it to the side.
-
-
-
-
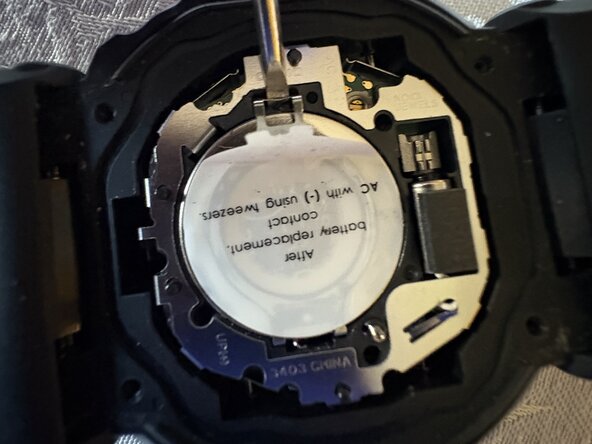
From the prong side, peel the sticker halfway or just enough to create an opening for the next step.
-
-
-
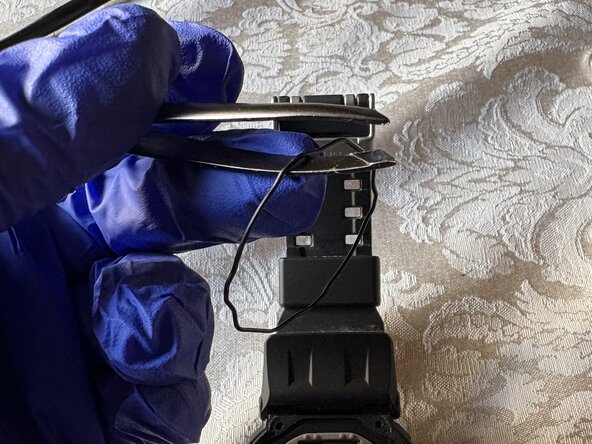
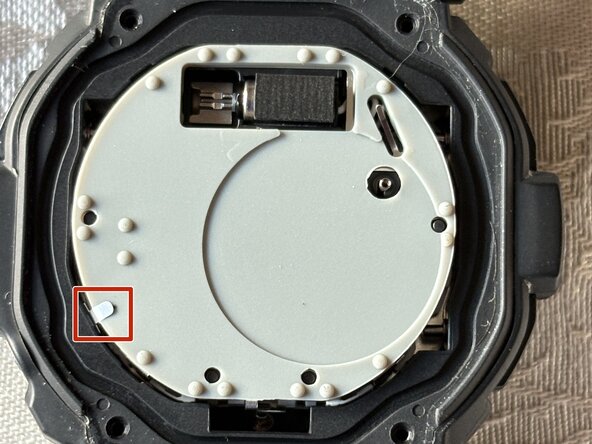
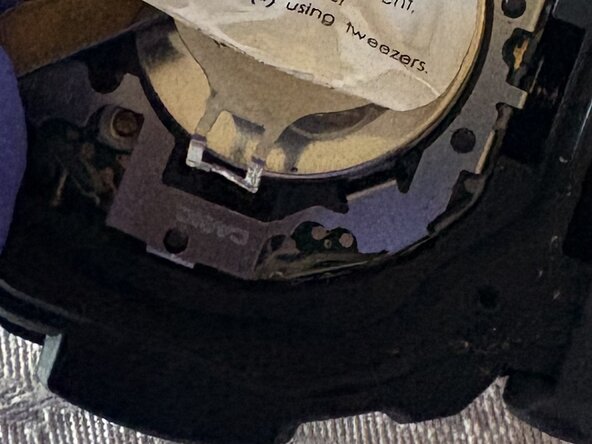
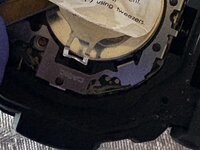
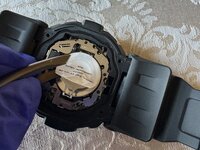
Place the pointed end of a spudger into the notch or gap of the silver latch that secures the battery, and gently pull the latch up.
-
-
-
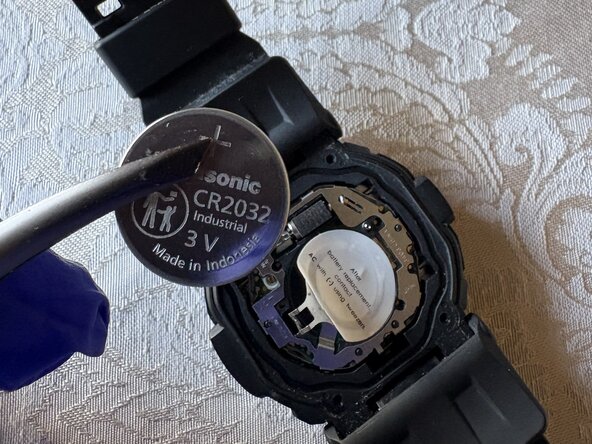
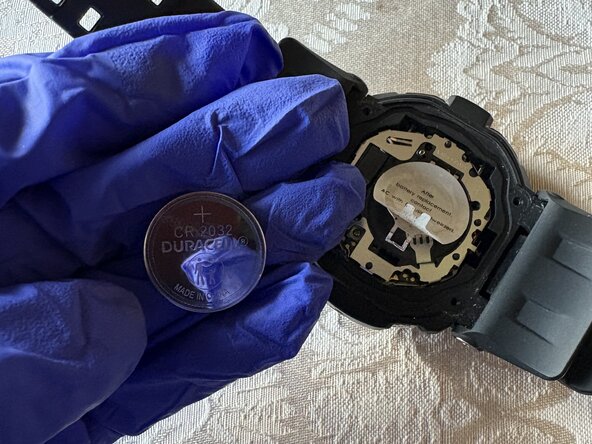
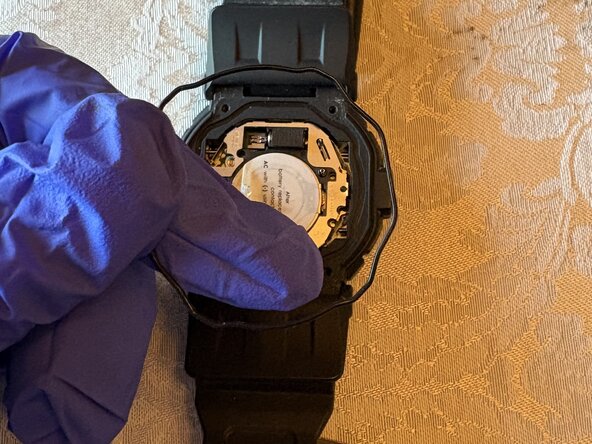
After lifting the latch, remove the battery with tweezers.
-
-
-
Use your hand to place the new battery underneath the clamp.
-
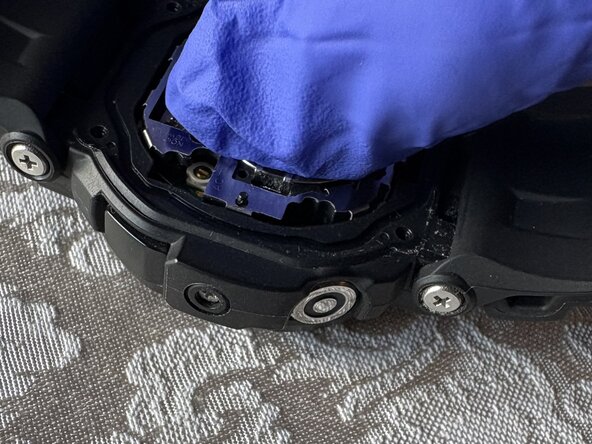
Close the clamp after installing the new battery.
-
-
-
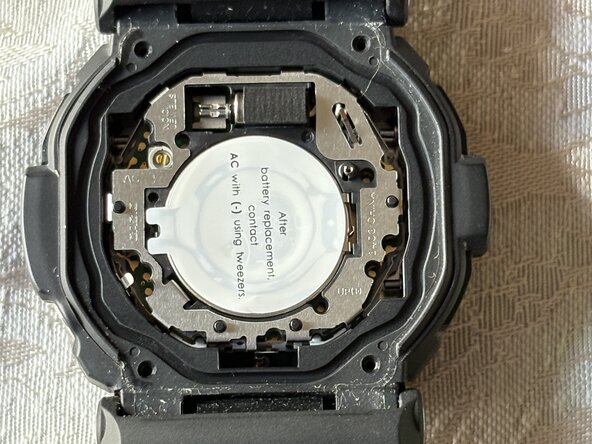
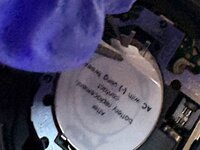
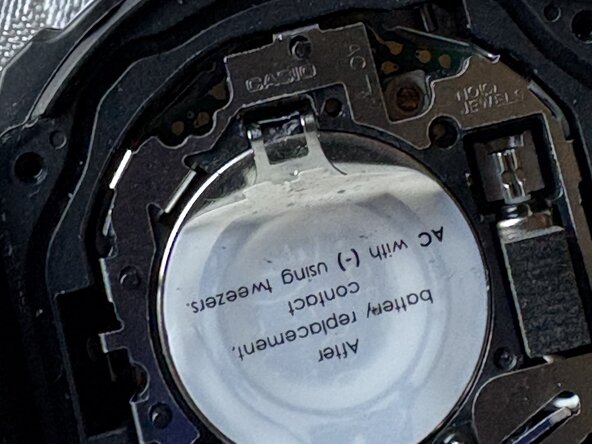
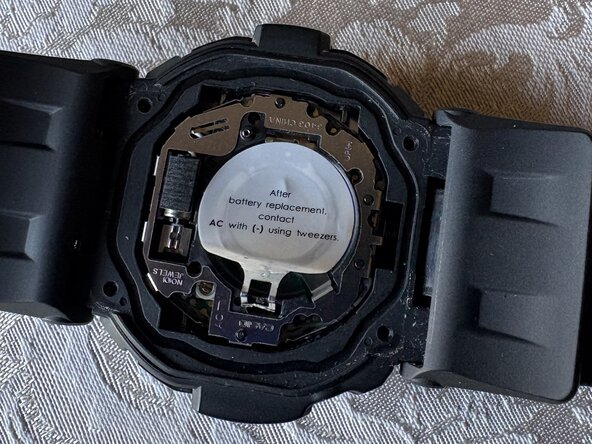
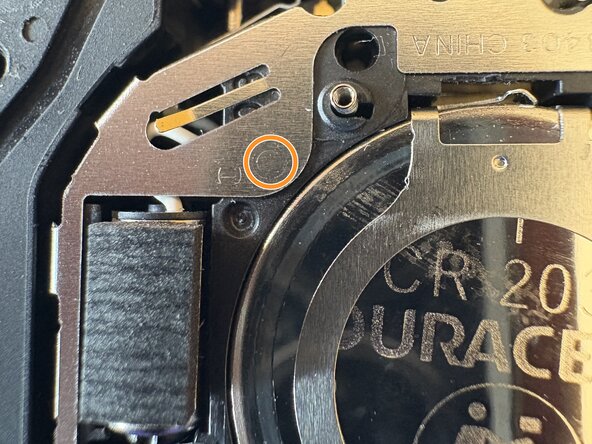
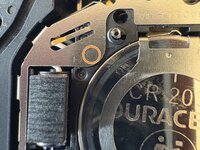
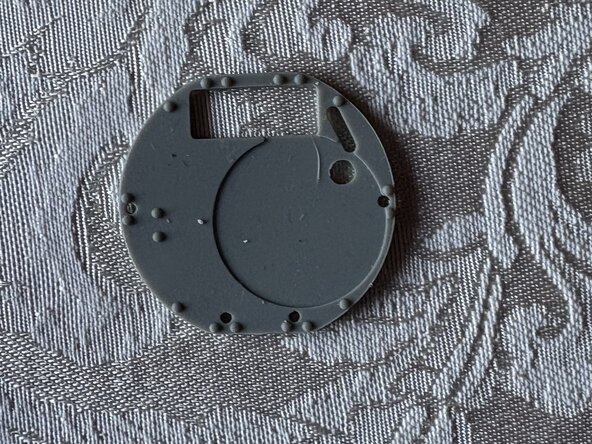
Find the AC sign and the arrow that points to a hole, then look for a (-) sign.
-
Stick one end of the tweezers on the hole where the AC sign points to, then another end of the tweezers on the circle next to the (-) sign, and hold it for 2 seconds.
-
-
-
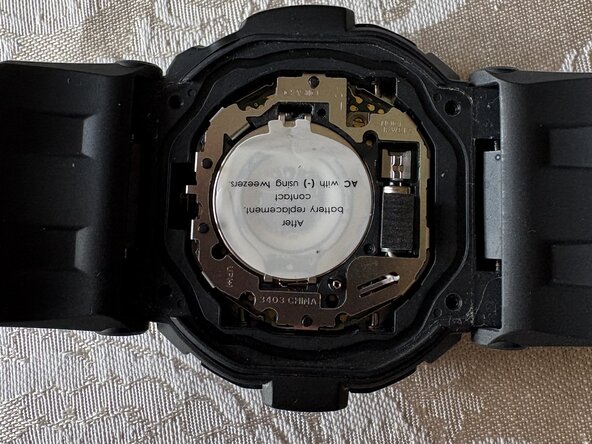
Place the black gasket and rubber cover back on the watch.
-
-
-
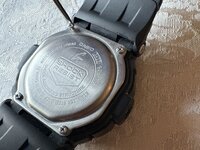
Place the caseback on the watch.
-
Use a Phillips screwdriver to replace the four screws that secure it.
-


To reassemble your device, follow these instructions in reverse order.
To reassemble your device, follow these instructions in reverse order.
crwdns2915084:0crwdne2915084:0

University of North Texas, Team 40-1, Kilpatrick Summer 2025 crwdns2935289:0University of North Texas, Team 40-1, Kilpatrick Summer 2025crwdne2935289:0
UNT-KILPATRICK-SU25S40G1
crwdns2934841:01crwdne2934841:0
crwdns2935303:01crwdne2935303:0