crwdns2933423:0crwdne2933423:0

Casio FX-991CW Battery Replacement

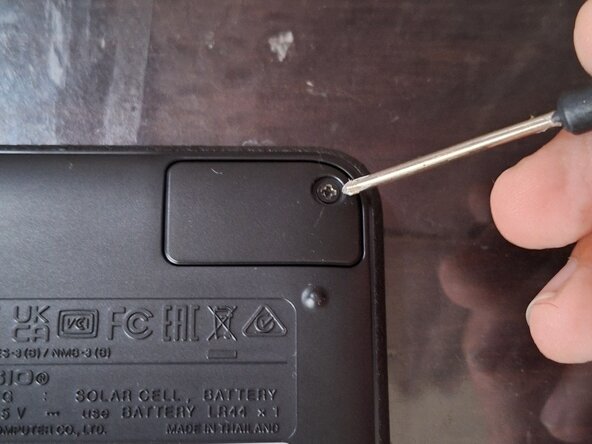
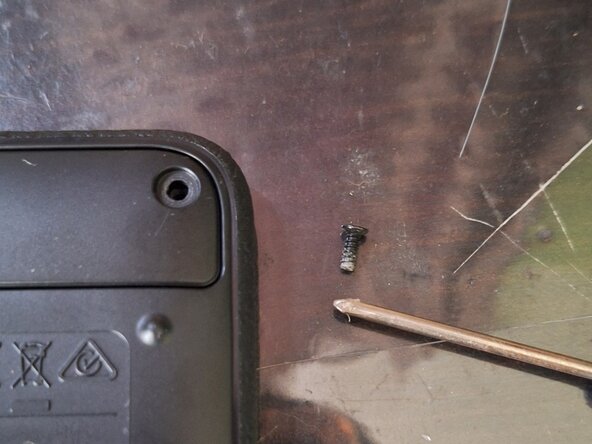
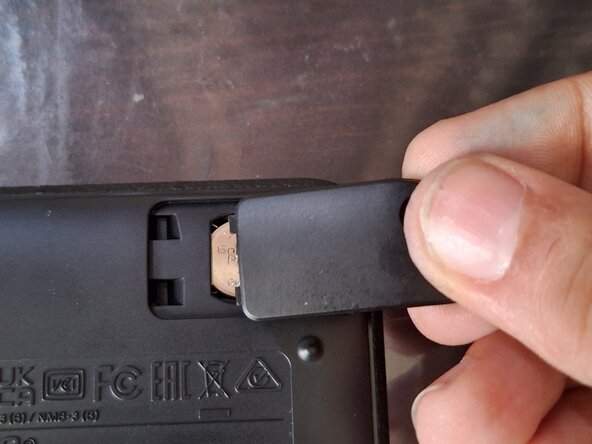
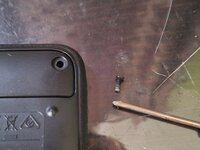
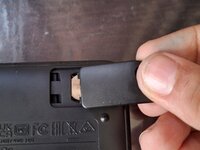
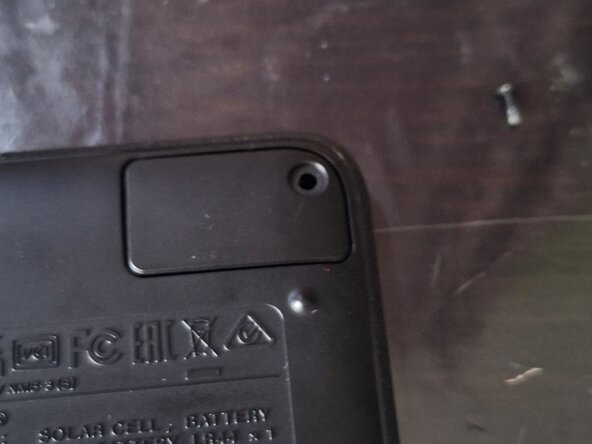
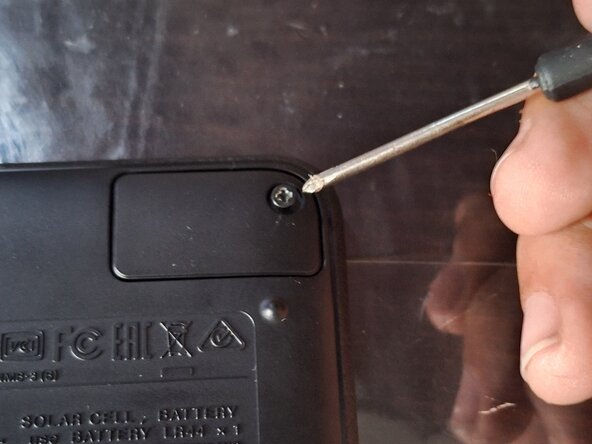
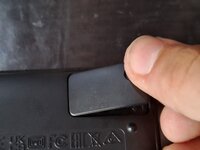
  1. Casio FX-991CW Battery Replacement, Removing the Battery Cover: crwdns2935265:01crwdnd2935265:01crwdnd2935265:03crwdne2935265:0 Casio FX-991CW Battery Replacement, Removing the Battery Cover: crwdns2935265:01crwdnd2935265:02crwdnd2935265:03crwdne2935265:0 Casio FX-991CW Battery Replacement, Removing the Battery Cover: crwdns2935265:01crwdnd2935265:03crwdnd2935265:03crwdne2935265:0
    • First, take the protective cover off the calculator.

    • Then, turn the calculator over.

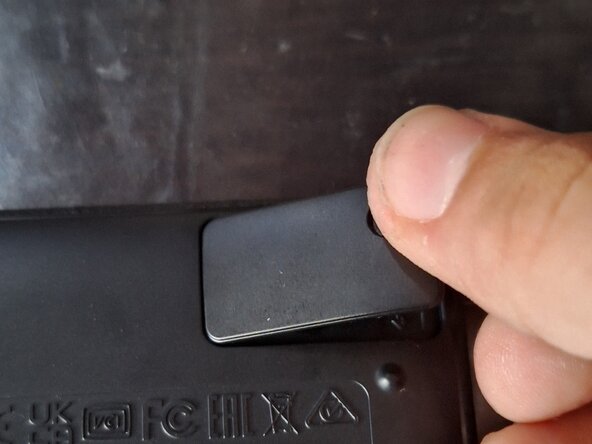
    • Remove the Philips screw that holds the battery cover in place in the top-right corner.

    • Then lift the cover off by lifting the right side of the cover up, and slide it out.

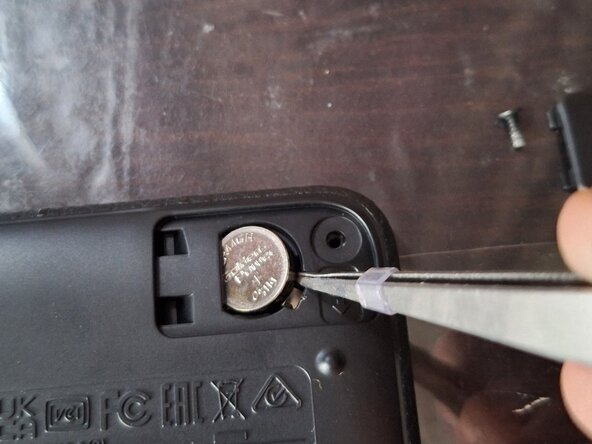
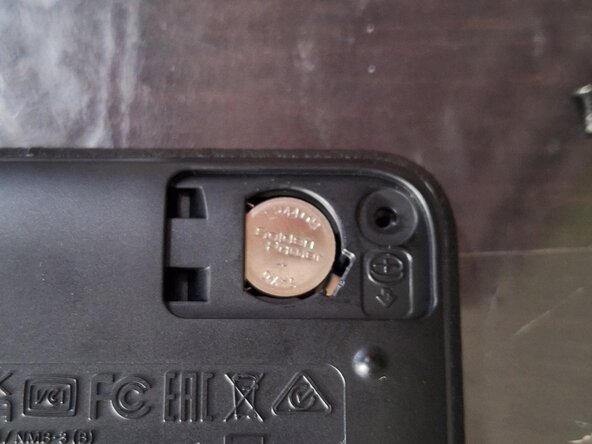
  2. Casio FX-991CW Battery Replacement, Removing the Battery: crwdns2935265:02crwdnd2935265:01crwdnd2935265:02crwdne2935265:0 Casio FX-991CW Battery Replacement, Removing the Battery: crwdns2935265:02crwdnd2935265:02crwdnd2935265:02crwdne2935265:0
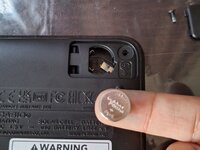
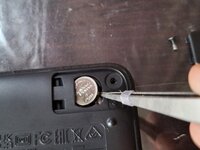
    • Take a pointy, flat tool, like a flathead screwdriver, to pry the battery out of the compartment.

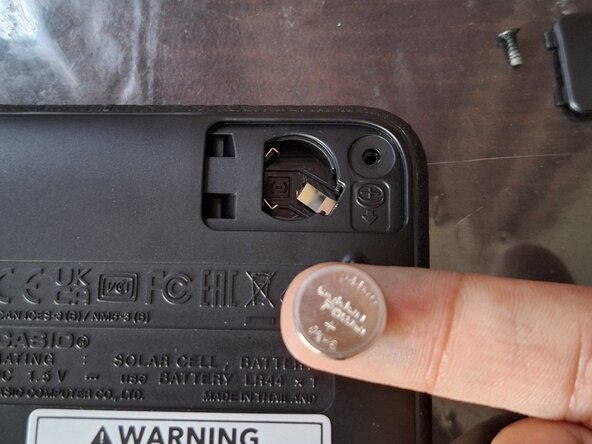
  3. Casio FX-991CW Battery Replacement, Installing the Battery: crwdns2935265:03crwdnd2935265:01crwdnd2935265:02crwdne2935265:0 Casio FX-991CW Battery Replacement, Installing the Battery: crwdns2935265:03crwdnd2935265:02crwdnd2935265:02crwdne2935265:0
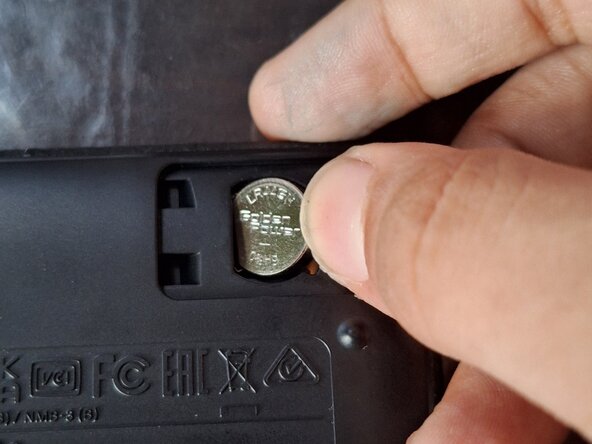
    • Insert the new battery into the calculator by sliding it into place, then pushing it down, to ensure a good connection.

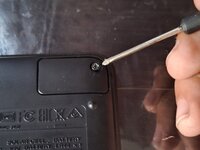
  4. Casio FX-991CW Battery Replacement, Installing the Cover: crwdns2935265:04crwdnd2935265:01crwdnd2935265:03crwdne2935265:0 Casio FX-991CW Battery Replacement, Installing the Cover: crwdns2935265:04crwdnd2935265:02crwdnd2935265:03crwdne2935265:0 Casio FX-991CW Battery Replacement, Installing the Cover: crwdns2935265:04crwdnd2935265:03crwdnd2935265:03crwdne2935265:0
    • Slide the battery cover into place.

    • Then install the screw.

    • Tighten the screw.

    • NOTE: BELOW THIS GUIDE, THERE IS A NOTE THAT SAYS "TO REASSEMBLE THIS DEVICE, FOLLOW THESE DIRECTIONS IN REVERSE ORDER." DO NOT FOLLOW THAT STEP, AS THIS GUIDE IS COMPLETE!

crwdns2915888:0crwdne2915888:0

To reassemble your device, follow these instructions in reverse order.

crwdns2935227:0crwdne2935227:0
Musa Umar

crwdns2935283:008/26/25crwdne2935283:0

109 crwdns2915208:0crwdne2915208:0

crwdns2935295:0crwdne2935295:0

crwdns2947412:00crwdne2947412:0

crwdns2917038:0crwdne2917038:0

crwdns2936625:0crwdne2936625:0:

crwdns2936751:024crwdne2936751:0 0

crwdns2936753:07crwdne2936753:0 7

crwdns2936753:030crwdne2936753:0 19

crwdns2942667:0crwdne2942667:0 26