crwdns2915892:0crwdne2915892:0
In order to fully investigate what is going wrong in the camera, the casing might need to be removed. This guide will take you through step-by-step directions in revealing the inner parts of the camera.
crwdns2942213:0crwdne2942213:0
-
-
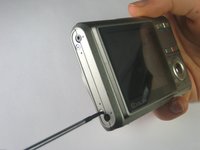
Remove the strap from the camera by pulling the thin cord out, creating a small loop, then pushing the thicker cord back through this loop.
-
-
-
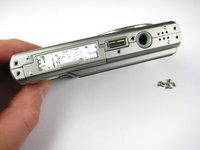
Remove the two Phillips screws (2.83 mm) from the left side panel of the camera casing.
-
The left panel can now be removed. However, one piece of tape attaches it to the camera, so a spudger may be required to ease the panels off.
-
Repeat for the right side panel of the camera.
-
-
-
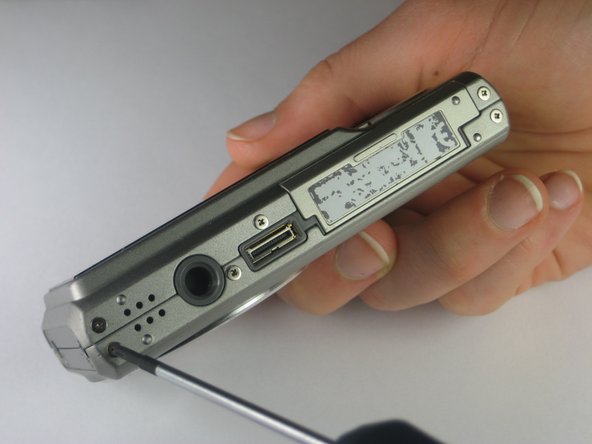
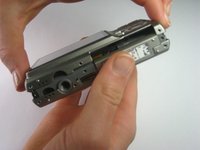
Remove the six Phillips screws (3.69 mm) from the bottom of the camera casing.
-
-
-
-
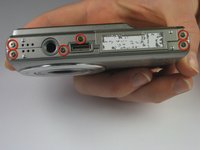
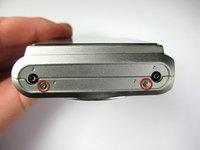
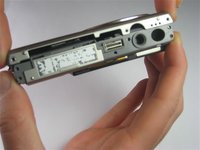
Remove the two Phillips screws (2.79 mm) on the left side of the camera where the metal panel used to be.
-
Repeat for the two Phillips screws (2.79 mm) right side of the camera.
-
-
-
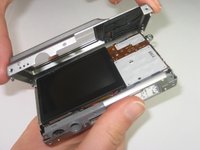
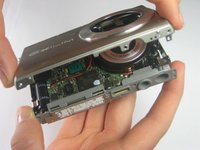
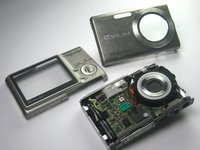
With the LCD screen facing up towards you, start at the bottom of the camera and gently pull off the back of the casing.
-
-
-
With the front side (with the lens) facing up towards you, start at the bottom of the camera and gently pull off the front of the casing.
-
-
-
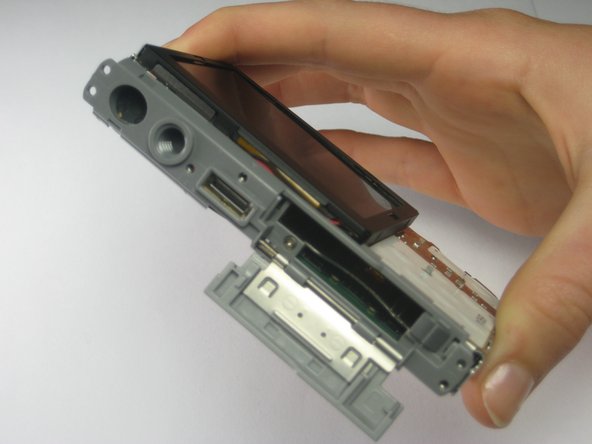
Slide the labeled piece toward the LCD screen and release.
-
The tab will spring open.
-
-
-
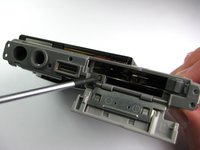
Look at the bottom of the camera. Take out the Phillips screw (1.77 mm) holding on the bottom plastic piece.
-
The bottom plastic piece is held on to the main frame of the camera only by two thin wires.
-


To reassemble your device, follow these instructions in reverse order.
crwdns2935221:0crwdne2935221:0
crwdns2935229:02crwdne2935229:0
crwdns2935287:0crwdne2935287:0

Cal Poly, Team 17-28, Amido Spring 2012 crwdns2935289:0Cal Poly, Team 17-28, Amido Spring 2012crwdne2935289:0
CPSU-AMIDO-S12S17G28
crwdns2931471:04crwdne2931471:0
crwdns2935297:014crwdne2935297:0