crwdns2933423:0crwdne2933423:0

Carrier Performance™ 17 2-Stage AC Unit Capacitor Replacement

crwdns2942213:0crwdne2942213:0

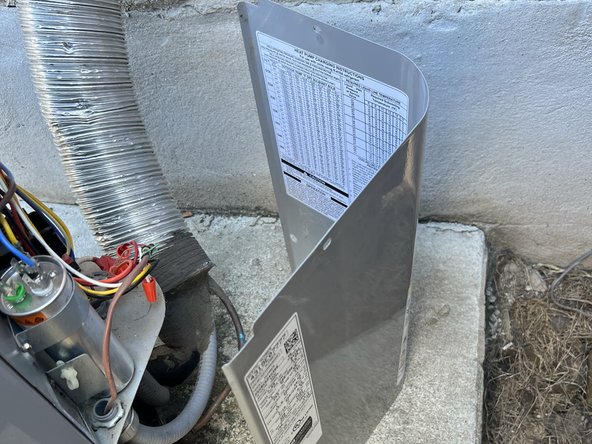
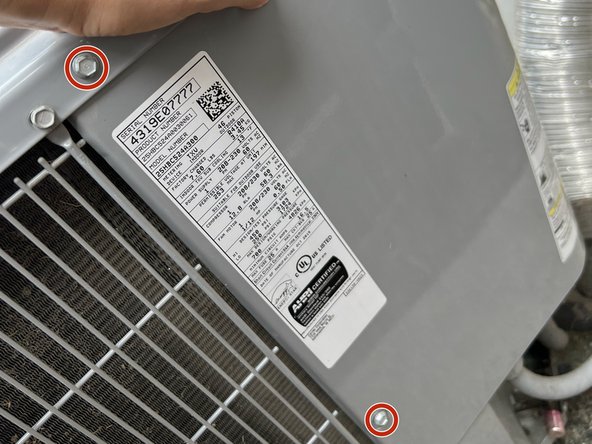
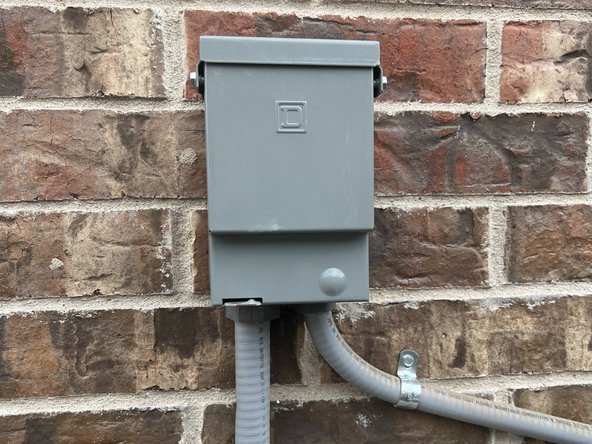
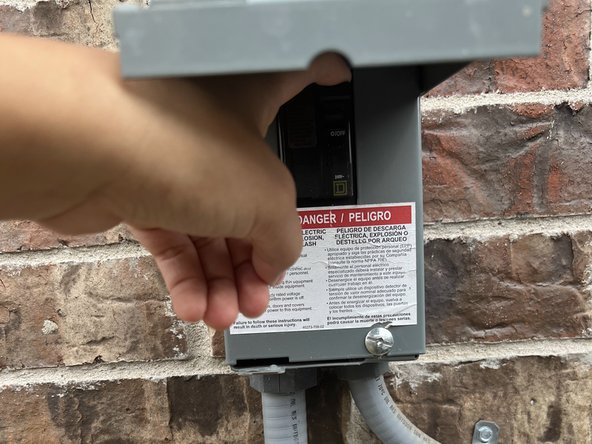
  1. Carrier Performance™ 17 2-Stage AC Unit Capacitor Replacement, Capacitor: crwdns2935265:01crwdnd2935265:01crwdnd2935265:03crwdne2935265:0 Carrier Performance™ 17 2-Stage AC Unit Capacitor Replacement, Capacitor: crwdns2935265:01crwdnd2935265:02crwdnd2935265:03crwdne2935265:0 Carrier Performance™ 17 2-Stage AC Unit Capacitor Replacement, Capacitor: crwdns2935265:01crwdnd2935265:03crwdnd2935265:03crwdne2935265:0
    • To ensure complete safety, turn off the power supply from the electrical panel or disconnect switch.

    • Wait for a few minutes to allow any electrical charge to dissipate. This will ensure safety and prevent any potential hazards.

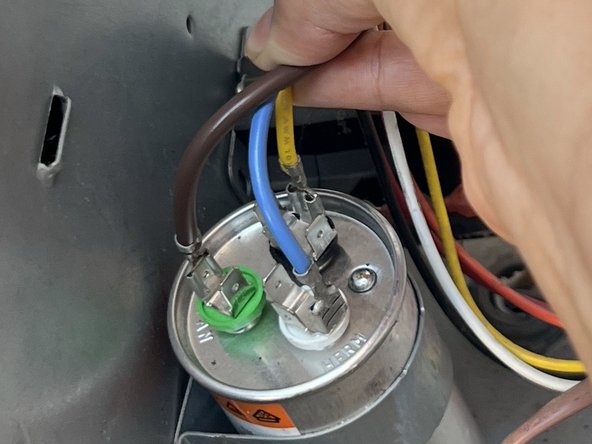
  2. Carrier Performance™ 17 2-Stage AC Unit Capacitor Replacement: crwdns2935265:02crwdnd2935265:01crwdnd2935265:03crwdne2935265:0 Carrier Performance™ 17 2-Stage AC Unit Capacitor Replacement: crwdns2935265:02crwdnd2935265:02crwdnd2935265:03crwdne2935265:0 Carrier Performance™ 17 2-Stage AC Unit Capacitor Replacement: crwdns2935265:02crwdnd2935265:03crwdnd2935265:03crwdne2935265:0
    • Use an insulated socket wrench to remove the four 38 mm bolts that secure the access panel to your AC unit.

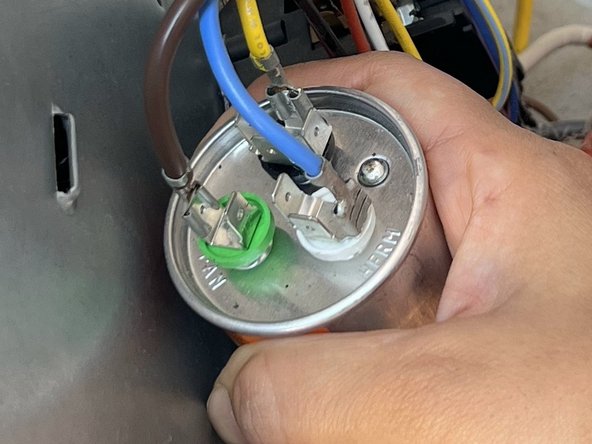
  3. Carrier Performance™ 17 2-Stage AC Unit Capacitor Replacement: crwdns2935265:03crwdnd2935265:01crwdnd2935265:03crwdne2935265:0 Carrier Performance™ 17 2-Stage AC Unit Capacitor Replacement: crwdns2935265:03crwdnd2935265:02crwdnd2935265:03crwdne2935265:0 Carrier Performance™ 17 2-Stage AC Unit Capacitor Replacement: crwdns2935265:03crwdnd2935265:03crwdnd2935265:03crwdne2935265:0
    • Open the panel carefully.

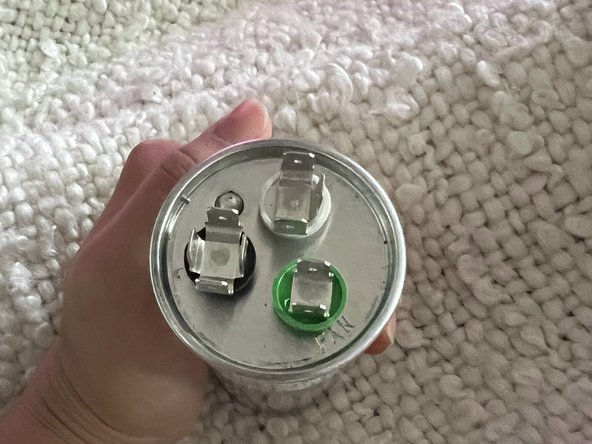
    • Capacitors are usually cylindrical in shape and come in different sizes.

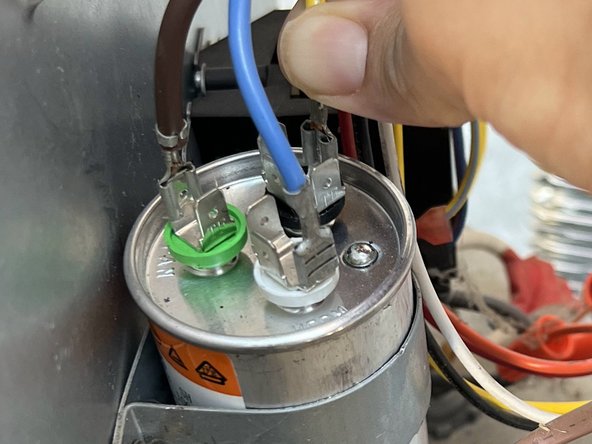
    • It's a good idea to either take a photo or make a note of the wiring for future reference.

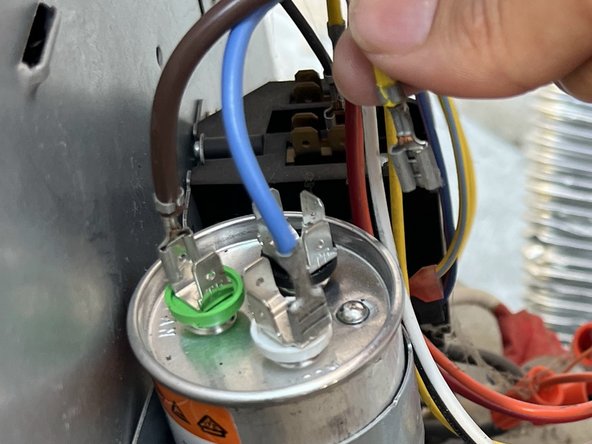
  4. Carrier Performance™ 17 2-Stage AC Unit Capacitor Replacement: crwdns2935265:04crwdnd2935265:01crwdnd2935265:03crwdne2935265:0 Carrier Performance™ 17 2-Stage AC Unit Capacitor Replacement: crwdns2935265:04crwdnd2935265:02crwdnd2935265:03crwdne2935265:0 Carrier Performance™ 17 2-Stage AC Unit Capacitor Replacement: crwdns2935265:04crwdnd2935265:03crwdnd2935265:03crwdne2935265:0
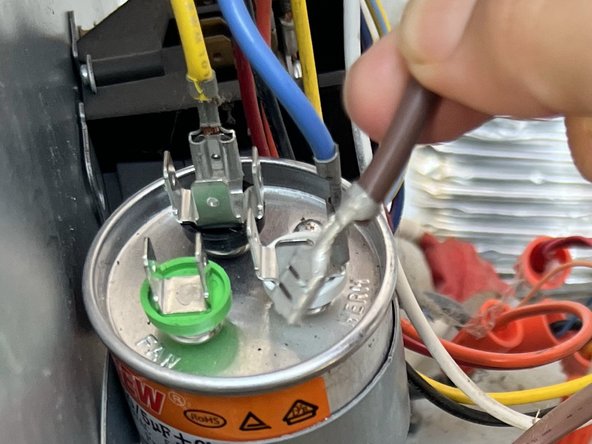
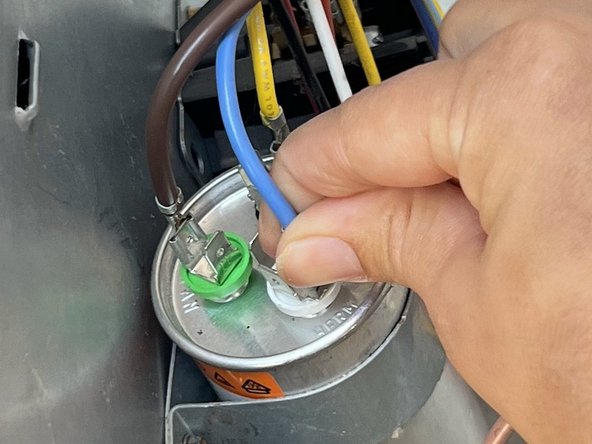
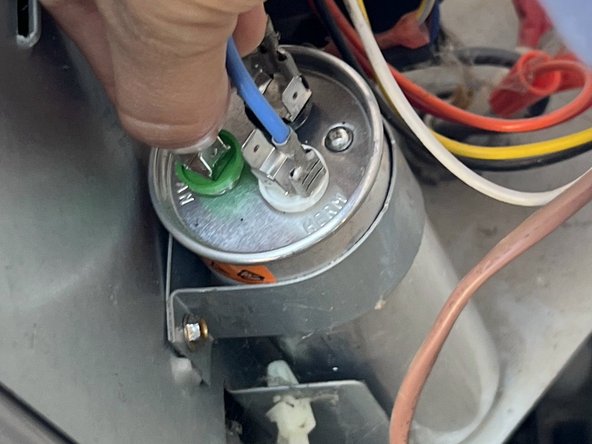
    • To remove the old capacitor, carefully unscrew the mounting brackets and disconnect the wires.

    • When you disconnect the wires, make sure to wear safety gloves.

    • Make sure to take note of the exact location where each wire connects.

  5. Carrier Performance™ 17 2-Stage AC Unit Capacitor Replacement: crwdns2935265:05crwdnd2935265:01crwdnd2935265:03crwdne2935265:0 Carrier Performance™ 17 2-Stage AC Unit Capacitor Replacement: crwdns2935265:05crwdnd2935265:02crwdnd2935265:03crwdne2935265:0 Carrier Performance™ 17 2-Stage AC Unit Capacitor Replacement: crwdns2935265:05crwdnd2935265:03crwdnd2935265:03crwdne2935265:0
    • To remove the old capacitor, first unscrew or unclamp it from its mount.

    • If the capacitor is secured with screws, use a screwdriver to carefully remove them. If it's clamped in place, use an appropriate tool to unclamp it.

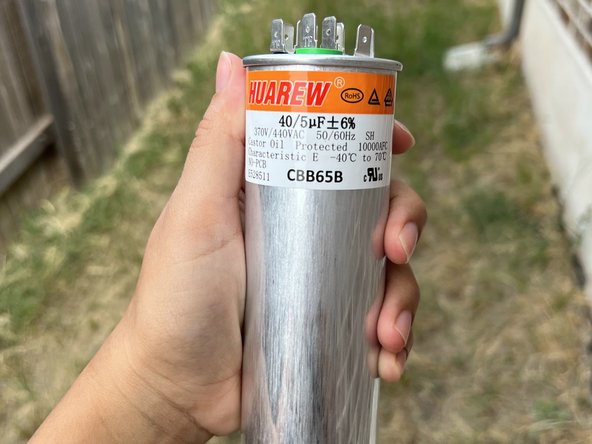
    • Carefully note down the specifications of the old capacitor for the replacement.

  6. Carrier Performance™ 17 2-Stage AC Unit Capacitor Replacement: crwdns2935265:06crwdnd2935265:01crwdnd2935265:03crwdne2935265:0 Carrier Performance™ 17 2-Stage AC Unit Capacitor Replacement: crwdns2935265:06crwdnd2935265:02crwdnd2935265:03crwdne2935265:0 Carrier Performance™ 17 2-Stage AC Unit Capacitor Replacement: crwdns2935265:06crwdnd2935265:03crwdnd2935265:03crwdne2935265:0
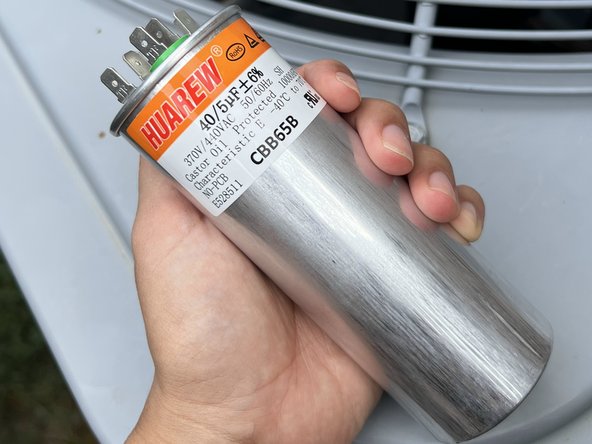
    • Secure the new capacitor and make sure it is securely mounted or clamped in place.

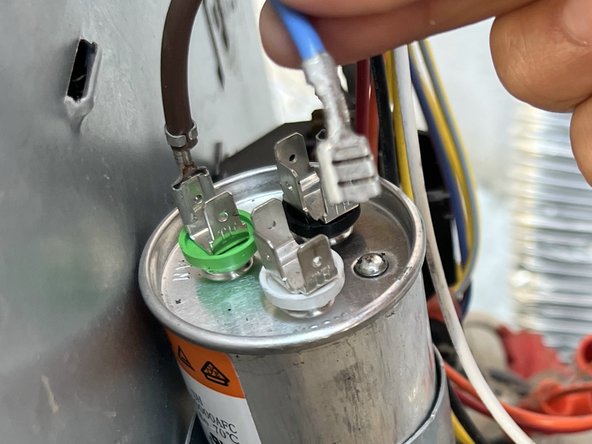
    • Carefully reconnect the wires to the corresponding terminals on the new capacitor.

    • It is crucial to connect the wires correctly by matching the color-coded or labeled wires to the appropriate terminals on the capacitor.

    • Wear gloves when handling the capacitor to prevent electrical shocks.

  7. Carrier Performance™ 17 2-Stage AC Unit Capacitor Replacement: crwdns2935265:07crwdnd2935265:01crwdnd2935265:03crwdne2935265:0 Carrier Performance™ 17 2-Stage AC Unit Capacitor Replacement: crwdns2935265:07crwdnd2935265:02crwdnd2935265:03crwdne2935265:0 Carrier Performance™ 17 2-Stage AC Unit Capacitor Replacement: crwdns2935265:07crwdnd2935265:03crwdnd2935265:03crwdne2935265:0
    • Place the access panel cover securely back onto your AC unit.

    • Use a socket wrench to insert and tighten the screws you removed earlier. Make sure the cover is firmly attached.

    • Restore power to the AC unit by resetting the circuit breaker or following the unit's power control instructions.

    • Ensure that the AC unit is functioning properly and the air is cool.

crwdns2915888:0crwdne2915888:0

By following these steps and exercising caution, you can safely replace the capacitor in your system, ensuring its continued efficiency and functionality. If uncertain, consult a professional.

Salma Hassanien

crwdns2935283:009/21/23crwdne2935283:0

145 crwdns2915208:0crwdne2915208:0

crwdns2935295:0crwdne2935295:0

crwdns2915084:0crwdne2915084:0

Austin Community College, Team 6-6, Watkins Fall 2023 crwdns2935289:0Austin Community College, Team 6-6, Watkins Fall 2023crwdne2935289:0

AUSTINCC-WATKINS-F23S6G6

crwdns2934841:01crwdne2934841:0

crwdns2935303:01crwdne2935303:0

crwdns2944067:00crwdne2944067:0

crwdns2917038:0crwdne2917038:0

crwdns2936625:0crwdne2936625:0:

crwdns2936751:024crwdne2936751:0 1

crwdns2936753:07crwdne2936753:0 8

crwdns2936753:030crwdne2936753:0 22

crwdns2942667:0crwdne2942667:0 53