crwdns2915892:0crwdne2915892:0
The motherboard might fail overtime due to age of device. The canon vixia hf r62 might not turn on, or have technical issues if the motherboard is damaged. Therefore it may need to be replaced.
crwdns2942213:0crwdne2942213:0
-
-
Remove the strap by undoing the Velcro and pulling it through the thread points.
-
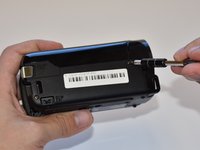
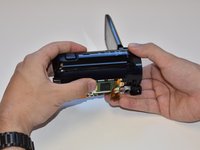
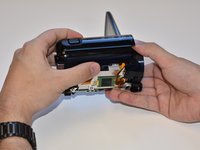
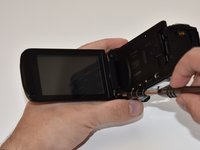
Remove the external battery pack by pressing down on the slide release and sliding it out.
-
-
-
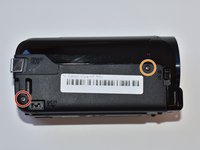
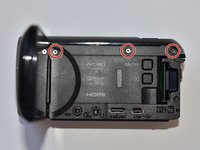
Remove the three 5mm Phillips #000 screws on the bottom of the device.
-
-
-
On the side of the device, remove the following Phillips #000 screws:
-
One 3mm screw
-
One 5mm screw
-
-
-
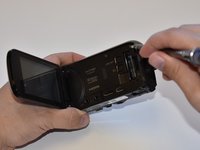
Remove the panel opposite the display by pulling up perpendicular to the side.
-
-
-
Remove the 4mm Phillips #000 screw that was exposed after taking off the side panel.
-
-
-
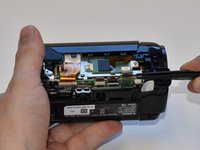
Remove the three 4mm Phillips #000 screws shown.
-
-
crwdns2935267:0crwdne2935267:0Tweezers$4.99
-
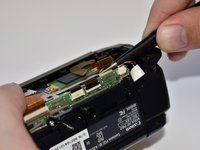
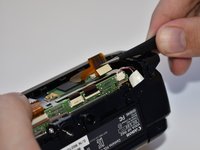
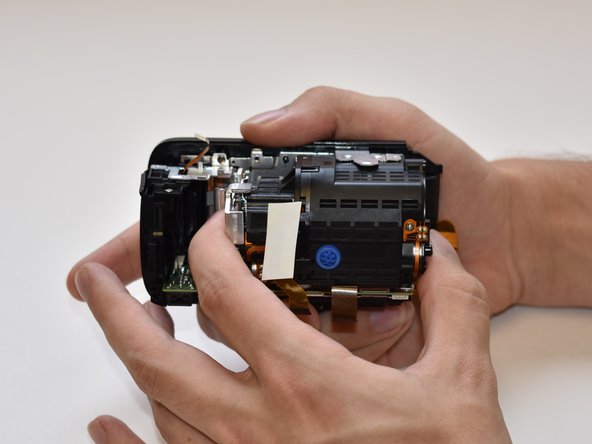
Using tweezers, disconnect this ribbon cable by pulling straight out.
-
-
-
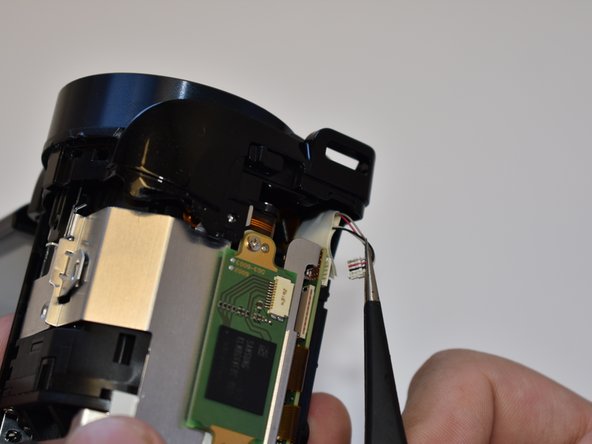
Repeat step seven (7) for the remaining three wires shown.
-
-
-
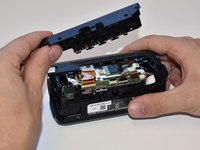
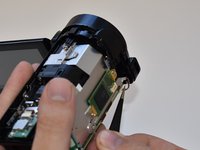
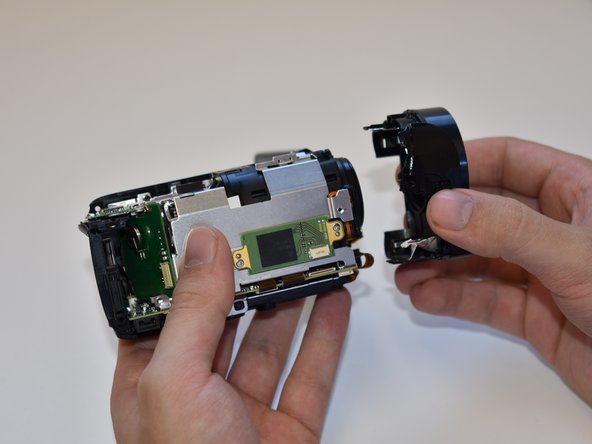
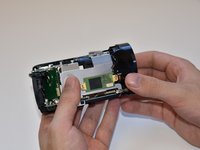
Grasp the top of the camera and pull straight up to remove the top panel.
-
-
-
-
Remove the 5mm Phillips #000 screw on top of the inner case.
-
-
-
Remove the two 5mm Phillips #000 screws near the display panel.
-
-
-
Disconnect the small bundled cable connector on the side of the lens cover by pulling it straight out.
-
-
-
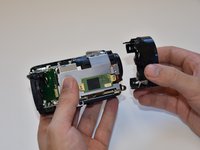
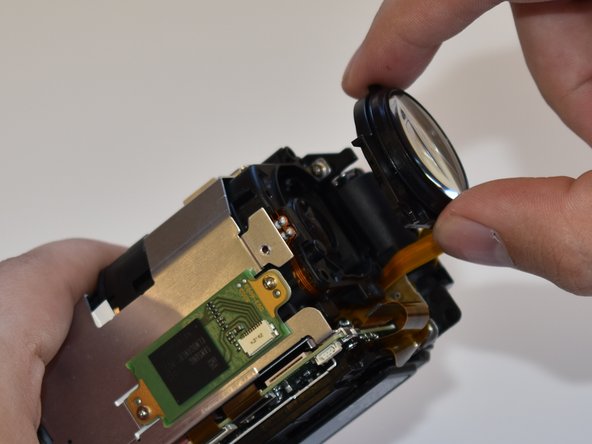
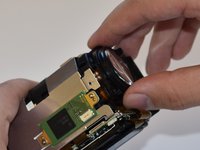
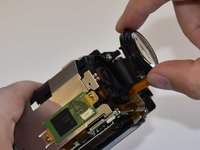
Remove the lens cover by pulling straight away from the body.
-
-
-
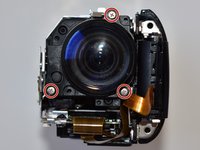
Remove the three 6mm Phillips #000 screws shown.
-
-
-
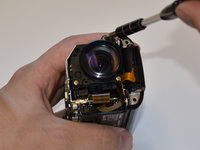
Remove the lens by pulling straight away from the main body.
-
-
-
Remove the two 3mm Phillips #000 screws.
-
Remove the 4mm Phillips #000 screw.
-
-
-
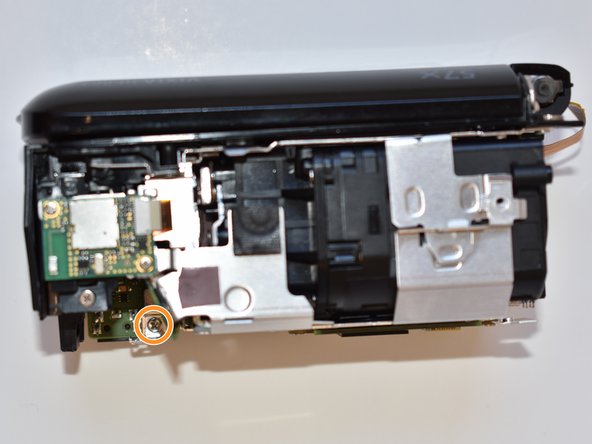
Remove the 4mm Phillips #000 screw at the bottom of the camera.
-
-
-
Place the spudger under the tab shown.
-
While prying the tab up with the spudger, pull the case away.
-
-
-
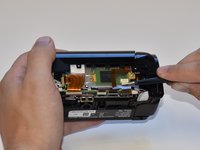
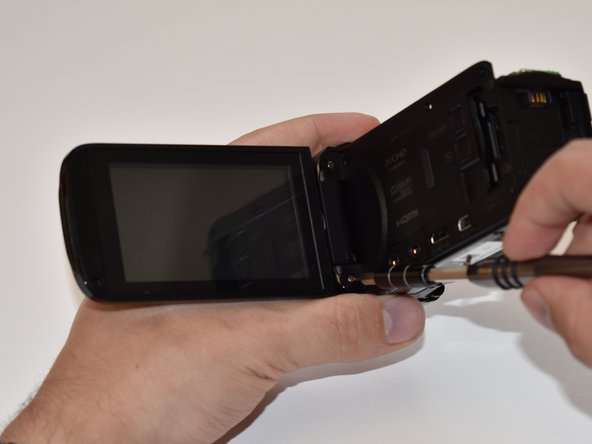
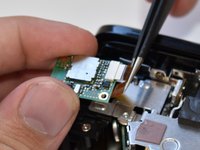
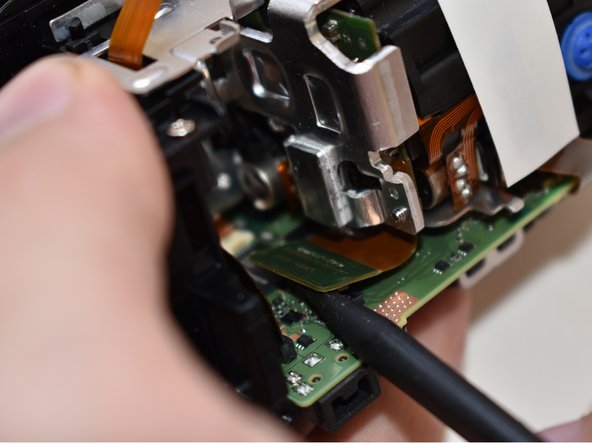
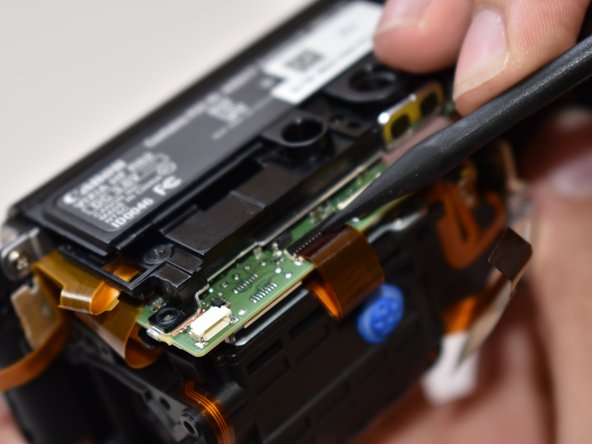
Using a spudger, disconnect the ribbon cable connector from the PC board shown in the picture.
-
-
crwdns2935267:0crwdne2935267:0Tweezers$4.99
-
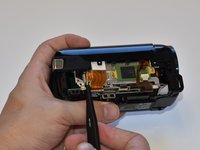
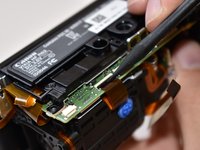
Using tweezers, disconnect the ribbon cable shown in the picture by pulling straight out.
-
-
-
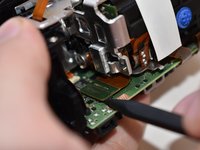
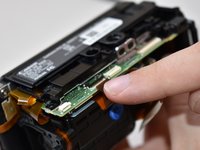
Using a spudger, gently pry up the top tab on the ZIF connector. The wire will now disconnect with no force needed.
-
-
-
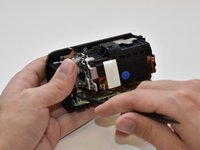
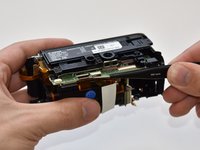
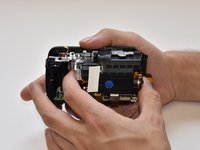
Using your fingers, firmly grasp both ends of the capturing device and gently pull the assembly straight out.
-
-
-
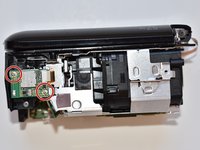
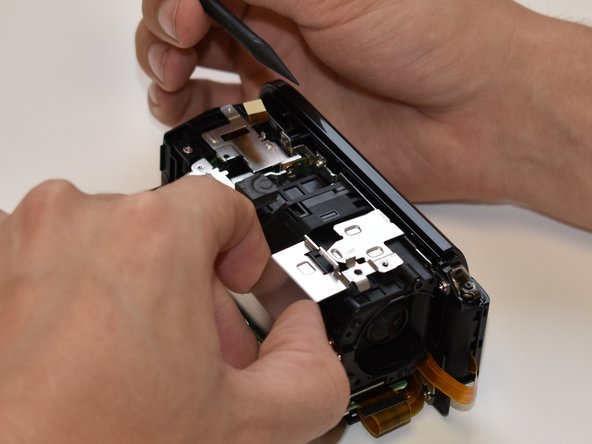
Remove the four screws on the metal plate using the Phillips #000 screwdriver. Each screw should be approximately 3 mm long.
-
On the bottom of the metal plate, remove the two remaining Phillips #000 screws that are circled in the picture. Each screw is 3 mm long.
-
-
crwdns2935267:0crwdne2935267:0Tweezers$4.99
-
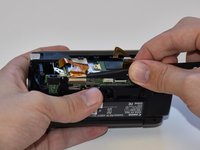
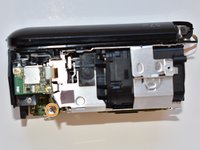
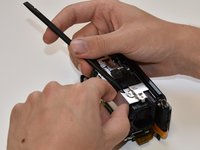
Remove the metal plate carefully without tearing ribbons. Tweezers or a spudger may be helpful when performing this action.
-
-
-
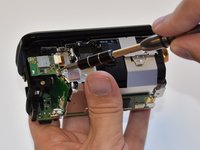
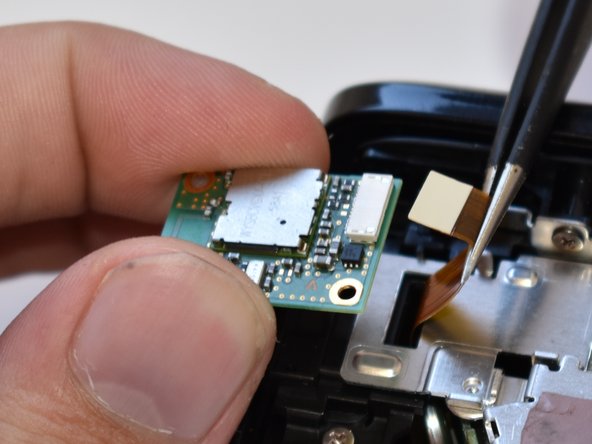
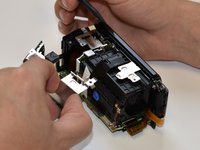
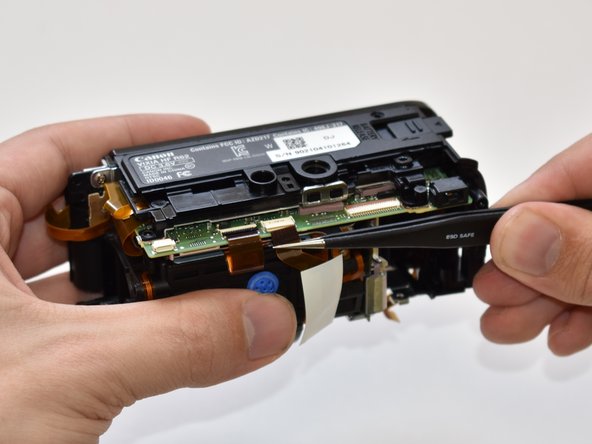
Using tweezers remove/unplug the remaining ribbon cables from the motherboard.
-
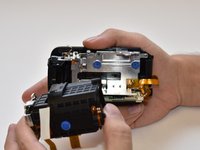
Remove the motherboard.
-


To reassemble your device, follow these instructions in reverse order.
To reassemble your device, follow these instructions in reverse order.
crwdns2915084:0crwdne2915084:0

The Citadel Military College of South Carolina, Team S1-G23, Eggleston Fall 2019 crwdns2935289:0The Citadel Military College of South Carolina, Team S1-G23, Eggleston Fall 2019crwdne2935289:0
CMCSC-EGGLESTON-F19S1G23
crwdns2931471:03crwdne2931471:0
crwdns2935297:08crwdne2935297:0