crwdns2915892:0crwdne2915892:0
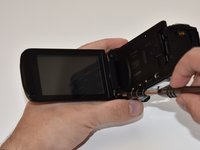
This guide will show you how to remove and replace the LCD display panel of the Vixia HF R62.
crwdns2942213:0crwdne2942213:0
-
-
Remove the strap by undoing the Velcro and pulling it through the thread points.
-
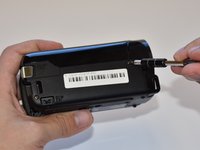
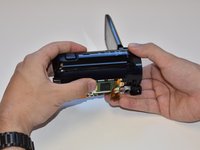
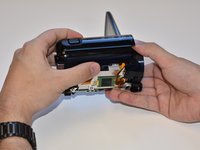
Remove the external battery pack by pressing down on the slide release and sliding it out.
-
-
-
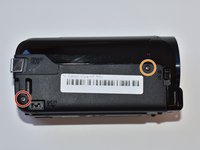
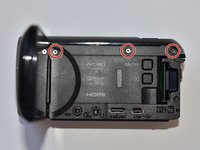
Remove the three 5mm Phillips #000 screws on the bottom of the device.
-
-
-
On the side of the device, remove the following Phillips #000 screws:
-
One 3mm screw
-
One 5mm screw
-
-
-
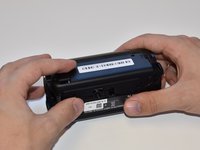
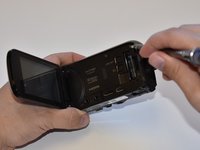
Remove the panel opposite the display by pulling up perpendicular to the side.
-
-
-
Remove the 4mm Phillips #000 screw that was exposed after taking off the side panel.
-
-
-
Remove the three 4mm Phillips #000 screws shown.
-
-
crwdns2935267:0crwdne2935267:0Tweezers$4.99
-
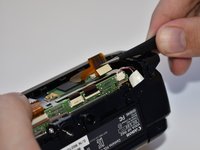
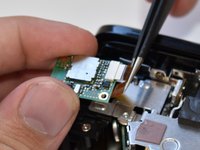
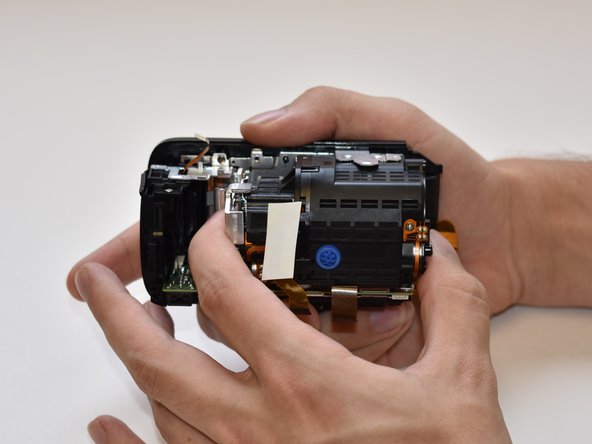
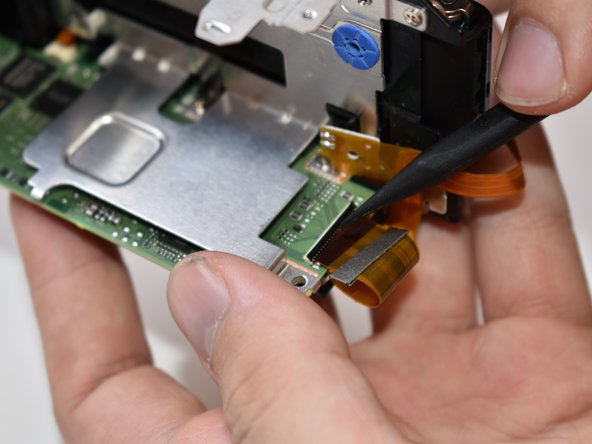
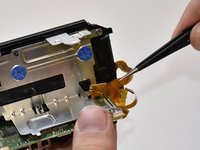
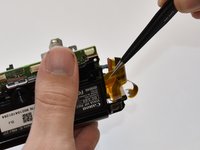
Using tweezers, disconnect this ribbon cable by pulling straight out.
-
-
-
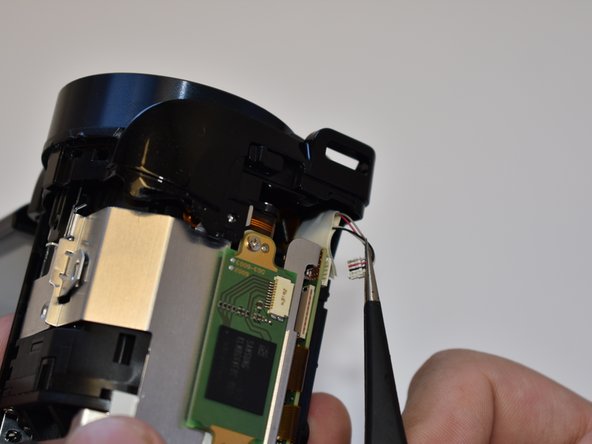
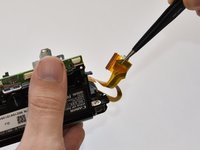
Repeat step seven (7) for the remaining three wires shown.
-
-
-
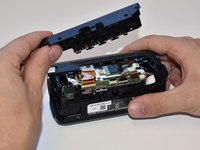
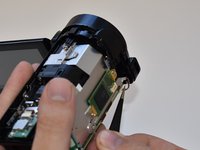
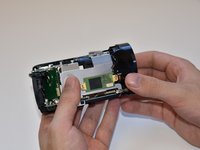
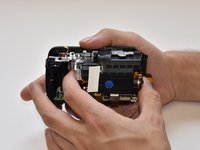
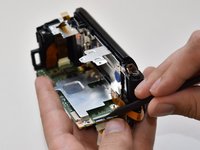
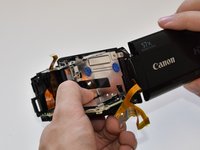
Grasp the top of the camera and pull straight up to remove the top panel.
-
-
-
Remove the 5mm Phillips #000 screw on top of the inner case.
-
-
-
-
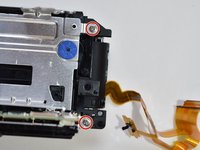
Remove the two 5mm Phillips #000 screws near the display panel.
-
-
-
Disconnect the small bundled cable connector on the side of the lens cover by pulling it straight out.
-
-
-
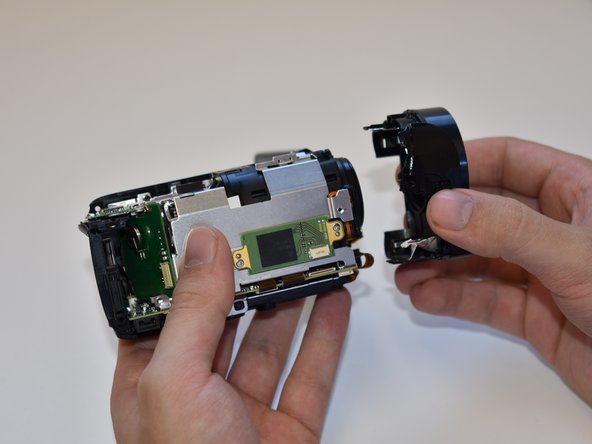
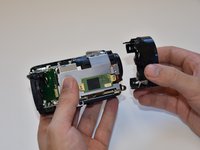
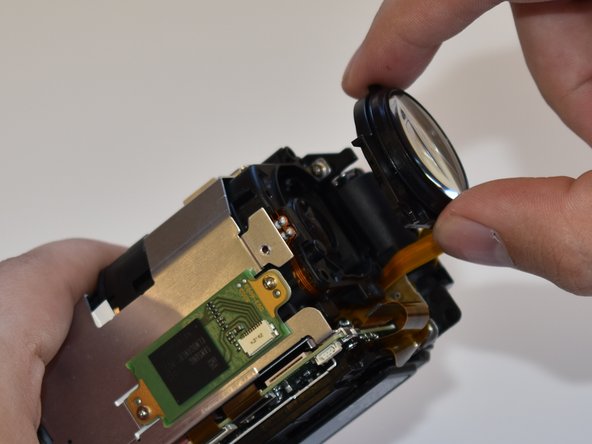
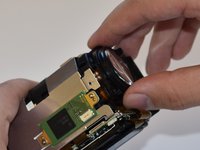
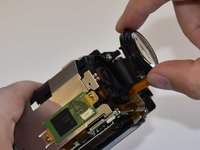
Remove the lens cover by pulling straight away from the body.
-
-
-
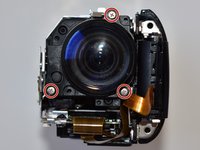
Remove the three 6mm Phillips #000 screws shown.
-
-
-
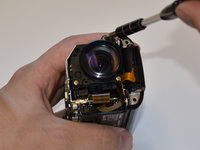
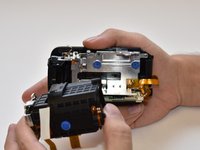
Remove the lens by pulling straight away from the main body.
-
-
-
Remove the two 3mm Phillips #000 screws.
-
Remove the 4mm Phillips #000 screw.
-
-
-
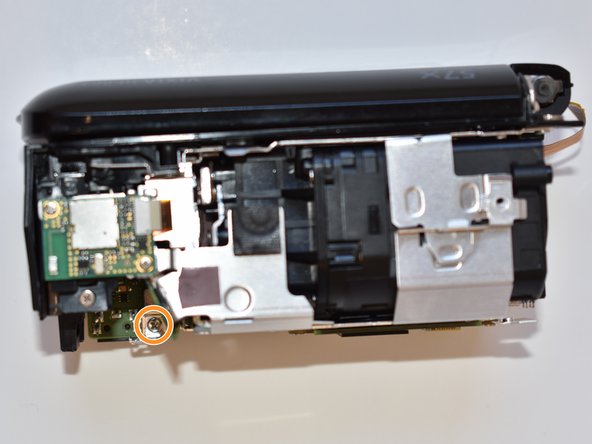
Remove the 4mm Phillips #000 screw at the bottom of the camera.
-
-
-
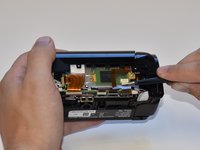
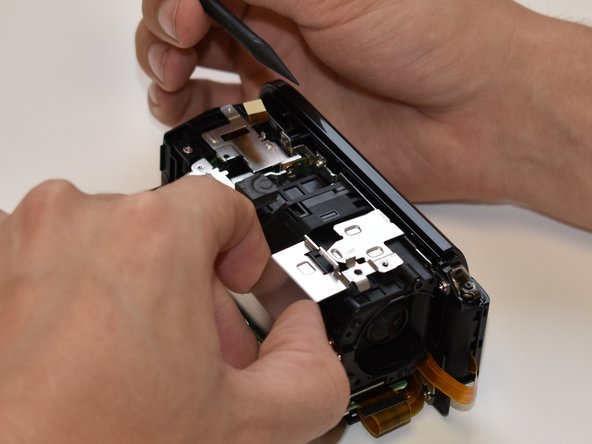
Place the spudger under the tab shown.
-
While prying the tab up with the spudger, pull the case away.
-
-
-
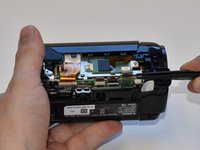
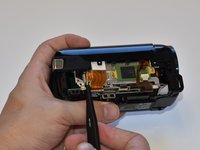
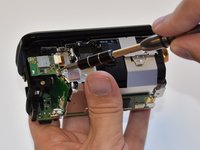
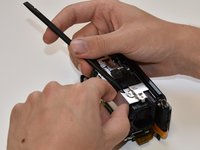
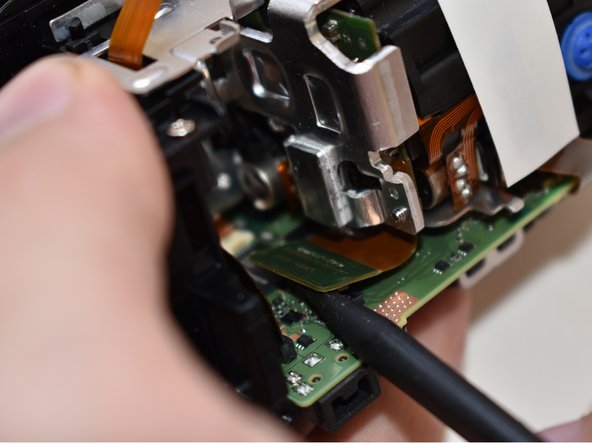
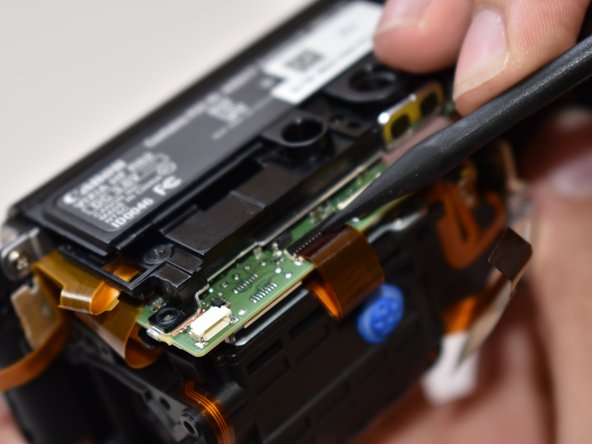
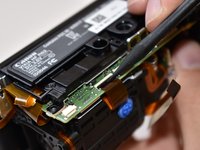
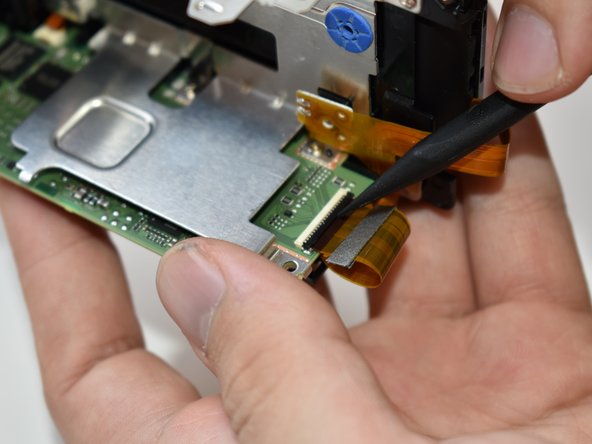
Using a spudger, disconnect the ribbon cable connector from the PC board shown in the picture.
-
-
crwdns2935267:0crwdne2935267:0Tweezers$4.99
-
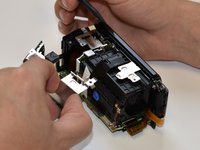
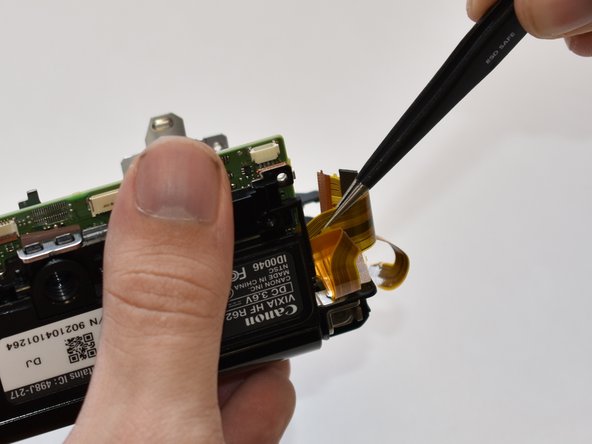
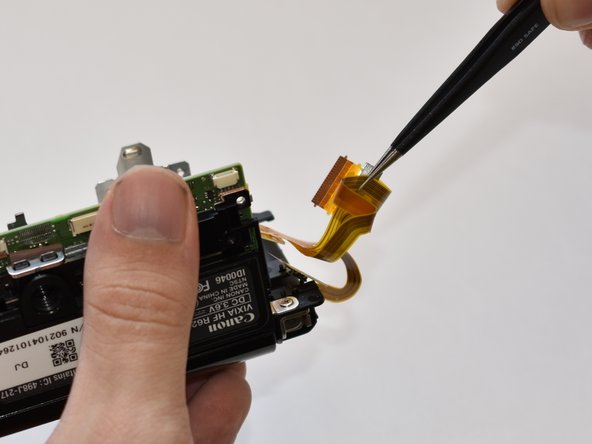
Using tweezers, disconnect the ribbon cable shown in the picture by pulling straight out.
-
-
-
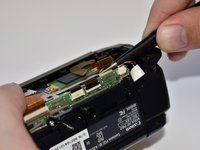
Using a spudger, gently pry up the top tab on the ZIF connector. The wire will now disconnect with no force needed.
-
-
-
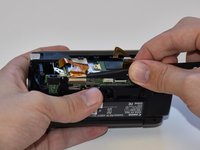
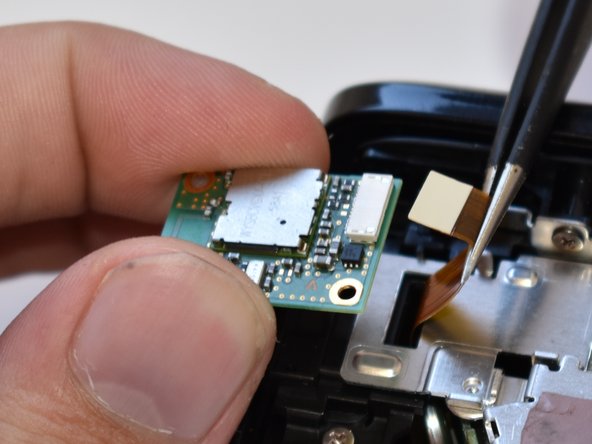
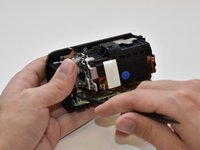
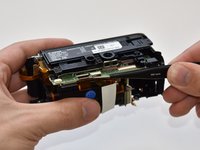
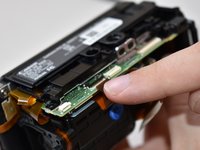
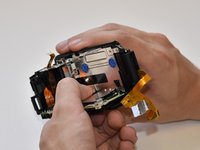
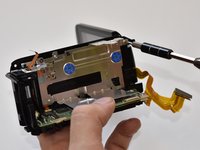
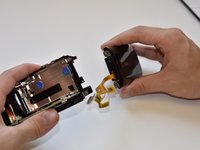
Using your fingers, firmly grasp both ends of the capturing device and gently pull the assembly straight out.
-
-
-
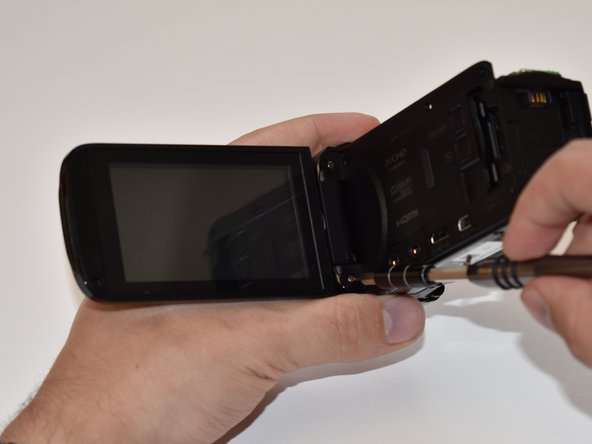
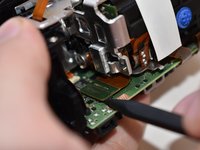
Remove the 3mm Phillips #000 screw holding the display's ribbon wire to the casing.
-
-
-
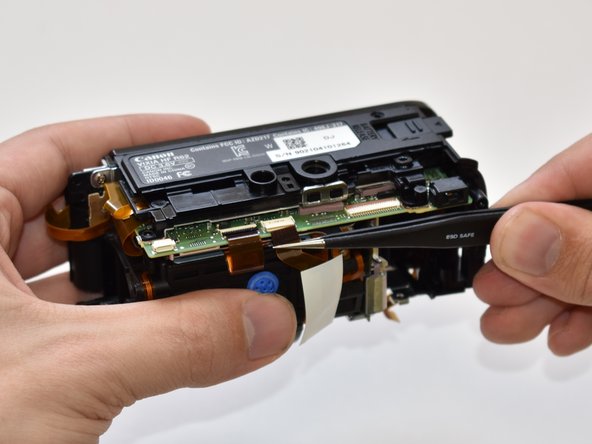
Undo the ZIF connector from the motherboard using a plastic spudger. Use the spudger to pry the small tab on top of the ZIF connector and the ribbon cable will fall free.
-
-
crwdns2935267:0crwdne2935267:0Tweezers$4.99
-
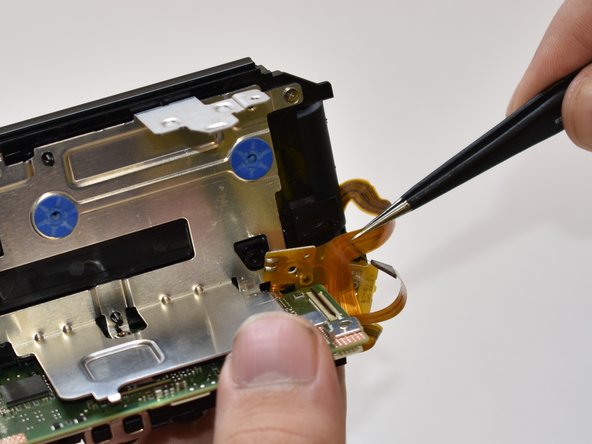
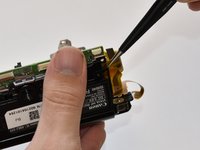
There is a small component of the ribbon cable clipped to the casing. Remove this by pulling it away from the casing with tweezers.
-
-
-
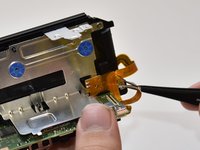
The ribbon cable is also looped around a piece of the casing under the motherboard. Unfasten this cable with tweezers by sliding down and then pulling out.
-
-
-
Remove the two 3mm Phillips #000 screws connecting to the display panel's hinges.
-
-
-
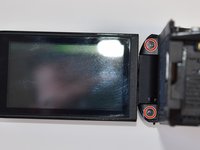
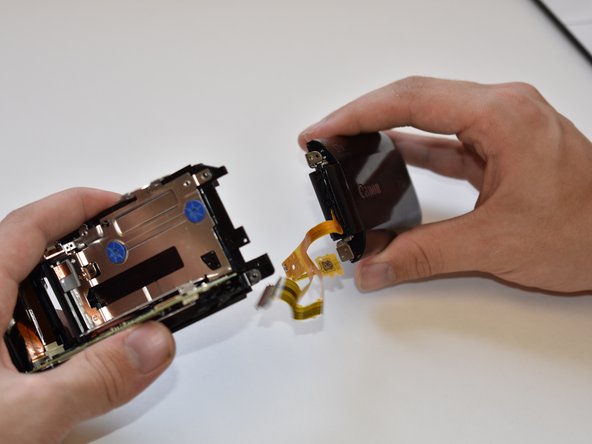
Remove the display panel by pulling the display straight away from the body.
-


To reassemble your device, follow these instructions in reverse order.
To reassemble your device, follow these instructions in reverse order.
crwdns2915084:0crwdne2915084:0

Central Washington University, Team S1-G3, Pengilly Fall 2018 crwdns2935289:0Central Washington University, Team S1-G3, Pengilly Fall 2018crwdne2935289:0
CWU-PENGILLY-F18S1G3
crwdns2931471:03crwdne2931471:0
crwdns2935297:010crwdne2935297:0