crwdns2933423:0crwdne2933423:0
crwdns2947577:0crwdnd2947577:0crwdne2947577:0
Canon Selphy CP910 Printer Body Replacement

Canon Selphy CP910 Printer Body Replacement

Christie Peralta

crwdns2944107:0crwdnd2944107:0Christie Peraltacrwdnd2944107:0crwdnd2944107:0crwdnd2944107:06crwdnd2944107:0crwdne2944107:0

crwdns2944111:0Sun 22, 2024crwdne2944111:0

3 - 6 crwdns2931279:0crwdne2931279:0
crwdns2937801:0crwdne2937801:0

crwdns2915892:0crwdne2915892:0

crwdns2942287:0crwdne2942287:0

The Canon Selphy CP910 is used to print pictures from a camera and WiFi connection. If there are any issues with the body of the printer, it may be necessary to remove it. For information regarding troubleshooting issues with the Canon Selphy CP910, go to Canon Selphy CP910 Troubleshooting.

Contact the manufacturer for inquiries about receiving parts of the Canon Selphy CP910.

crwdns2942213:0crwdne2942213:0

crwdns2943215:0crwdne2943215:0

crwdns2944105:0crwdne2944105:0

  1. Canon Selphy CP910 Printer Body Replacement, Body: crwdns2935265:01crwdnd2935265:01crwdnd2935265:02crwdne2935265:0 Canon Selphy CP910 Printer Body Replacement, Body: crwdns2935265:01crwdnd2935265:02crwdnd2935265:02crwdne2935265:0
    • Turn the printer over.

    • Use the PH1 screw bit to remove the three 8 mm screws in the middle of the back plate.

    • Keep track of these screws because you will need them to reassemble the printer.

  2. Canon Selphy CP910 Printer Body Replacement: crwdns2935265:02crwdnd2935265:01crwdnd2935265:03crwdne2935265:0 Canon Selphy CP910 Printer Body Replacement: crwdns2935265:02crwdnd2935265:02crwdnd2935265:03crwdne2935265:0 Canon Selphy CP910 Printer Body Replacement: crwdns2935265:02crwdnd2935265:03crwdnd2935265:03crwdne2935265:0
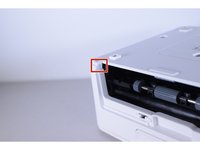
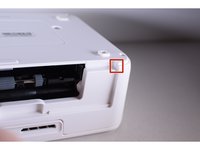
    • Loosen up the four 10 mm corner screws.

    • A screwdriver with a long shaft approximately 7mm in diameter will make it easier to reach these screws.

  3. Canon Selphy CP910 Printer Body Replacement: crwdns2935265:03crwdnd2935265:01crwdnd2935265:03crwdne2935265:0 Canon Selphy CP910 Printer Body Replacement: crwdns2935265:03crwdnd2935265:02crwdnd2935265:03crwdne2935265:0 Canon Selphy CP910 Printer Body Replacement: crwdns2935265:03crwdnd2935265:03crwdnd2935265:03crwdne2935265:0
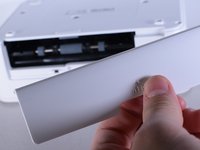
    • Turn the device around and remove the "open" lid.

    • This lid needs to be removed in order to take the printer apart.

    • Gently bend the lid and remove it from its hinges.

  4. Canon Selphy CP910 Printer Body Replacement: crwdns2935265:04crwdnd2935265:01crwdnd2935265:03crwdne2935265:0 Canon Selphy CP910 Printer Body Replacement: crwdns2935265:04crwdnd2935265:02crwdnd2935265:03crwdne2935265:0 Canon Selphy CP910 Printer Body Replacement: crwdns2935265:04crwdnd2935265:03crwdnd2935265:03crwdne2935265:0
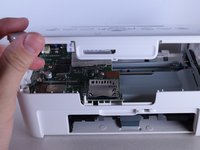
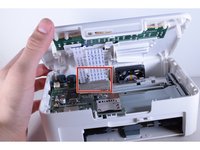
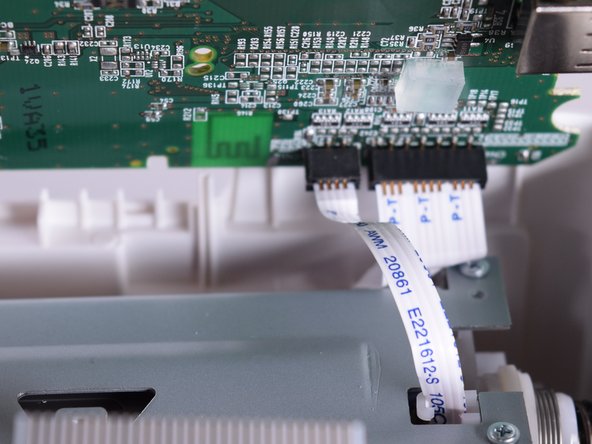
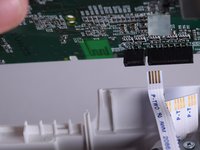
    • Turn the device back over and lift the top panel up.

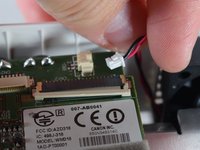
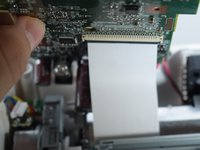
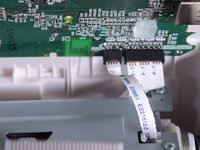
    • Disconnect the ribbon cables leading to the LCD screen.

    • Pull the top panel off.

    Funktioniert auch mit Selphy CP520 aber mit PH2 Schraubenzieher in Schritt 1 und PH 00x2mm im Schritt 2

    trilex1 - crwdns2934203:0crwdne2934203:0

    The top panel is really tight, i must have broken the body since it is very tight, please be careful while open the top panel

    Alvin - crwdns2934203:0crwdne2934203:0

    Suite au blocage de la cartouche couleur !!!!

    J'ai du démonter : le coffret, carte électronique, et plaque métallique dessous en ôtant : les connections sur cartes et celui de la ventilation.

    - Opération réussie...

    puis dans l'ordre inverse : pour remonter. Assez facile mais avec minutie pour rebrancher les cartes vu la place minimum des connections.

    Joël vanhooren - crwdns2934203:0crwdne2934203:0

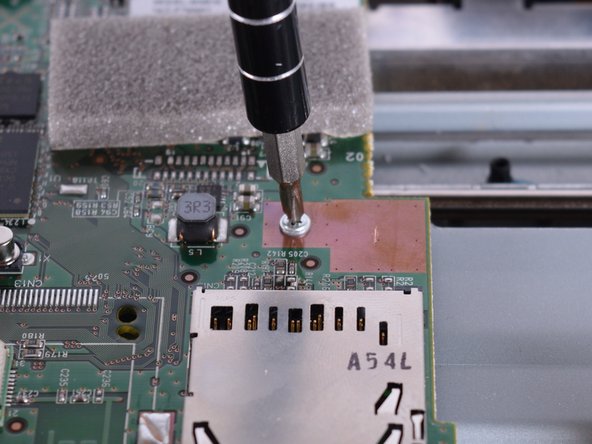
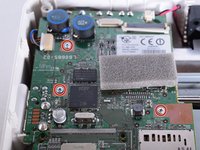
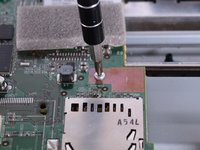
  5. Canon Selphy CP910 Printer Body Replacement, Printer Body: crwdns2935265:05crwdnd2935265:01crwdnd2935265:02crwdne2935265:0 Canon Selphy CP910 Printer Body Replacement, Printer Body: crwdns2935265:05crwdnd2935265:02crwdnd2935265:02crwdne2935265:0
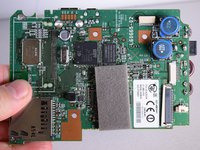
    • Use the PH1 screw driver to remove the three screws on the motherboard.

  6. Canon Selphy CP910 Printer Body Replacement: crwdns2935265:06crwdnd2935265:01crwdnd2935265:02crwdne2935265:0 Canon Selphy CP910 Printer Body Replacement: crwdns2935265:06crwdnd2935265:02crwdnd2935265:02crwdne2935265:0
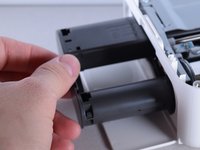
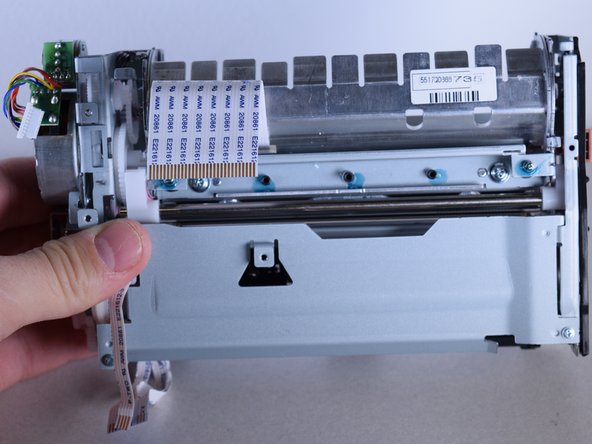
    • Remove the printer.

    • This will prevent the printer from falling out during repair.

  7. Canon Selphy CP910 Printer Body Replacement: crwdns2935265:07crwdnd2935265:01crwdnd2935265:03crwdne2935265:0 Canon Selphy CP910 Printer Body Replacement: crwdns2935265:07crwdnd2935265:02crwdnd2935265:03crwdne2935265:0 Canon Selphy CP910 Printer Body Replacement: crwdns2935265:07crwdnd2935265:03crwdnd2935265:03crwdne2935265:0
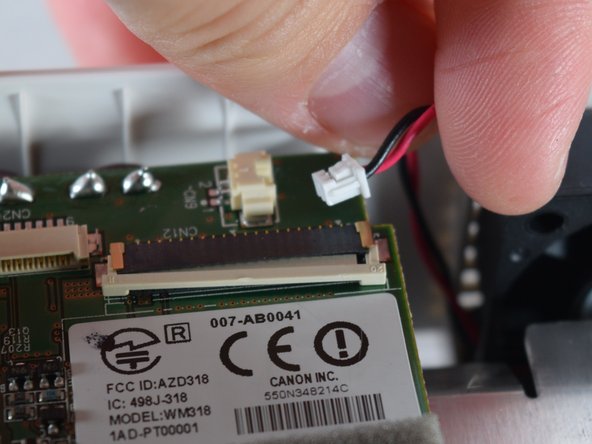
    • Remove the output connections.

    • Be careful! Do not pull too hard because the wires might rip.

    • Output connections are located on the corners of the motherboard.

  8. Canon Selphy CP910 Printer Body Replacement: crwdns2935265:08crwdnd2935265:01crwdnd2935265:02crwdne2935265:0 Canon Selphy CP910 Printer Body Replacement: crwdns2935265:08crwdnd2935265:02crwdnd2935265:02crwdne2935265:0
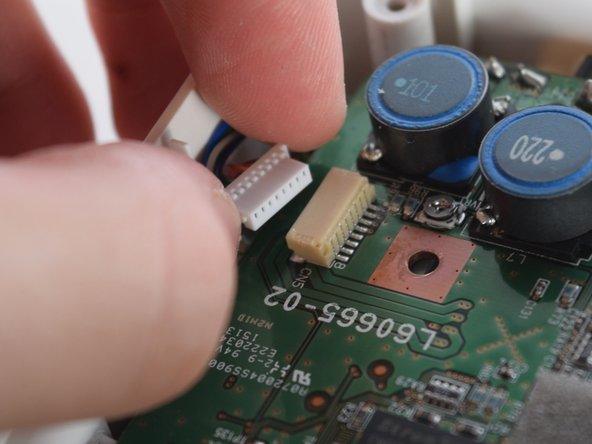
    • The motherboard is attached to three more ribbon wires.

    • Detach these wires.

    • Be careful not to pull too hard.

  9. Canon Selphy CP910 Printer Body Replacement: crwdns2935265:09crwdnd2935265:01crwdnd2935265:02crwdne2935265:0 Canon Selphy CP910 Printer Body Replacement: crwdns2935265:09crwdnd2935265:02crwdnd2935265:02crwdne2935265:0
    • Separate the motherboard from the main hard drive.

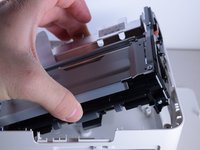
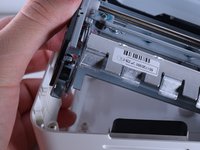
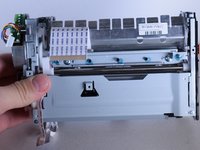
  10. Canon Selphy CP910 Printer Body Replacement: crwdns2935265:010crwdnd2935265:01crwdnd2935265:03crwdne2935265:0 Canon Selphy CP910 Printer Body Replacement: crwdns2935265:010crwdnd2935265:02crwdnd2935265:03crwdne2935265:0 Canon Selphy CP910 Printer Body Replacement: crwdns2935265:010crwdnd2935265:03crwdnd2935265:03crwdne2935265:0
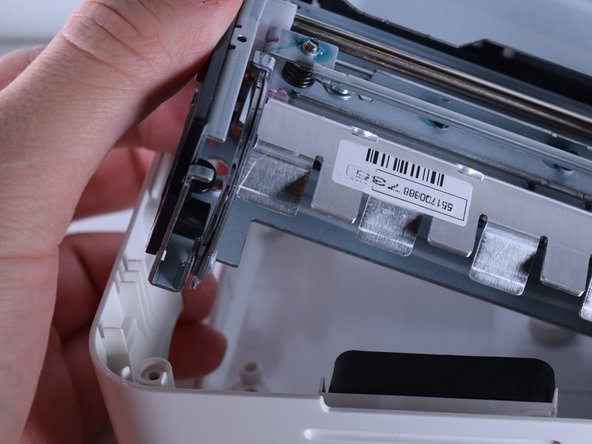
    • Remove the main hard drive from the printer body.

  11. Canon Selphy CP910 Printer Body Replacement: crwdns2935265:011crwdnd2935265:01crwdnd2935265:02crwdne2935265:0 Canon Selphy CP910 Printer Body Replacement: crwdns2935265:011crwdnd2935265:02crwdnd2935265:02crwdne2935265:0
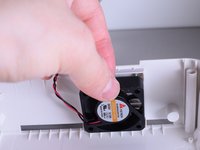
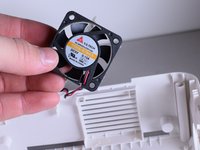
    • Gently remove the fan from the body.

    • The fan is glued to the case. When you install it in the new body, use hot glue to secure it in place.

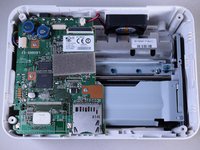
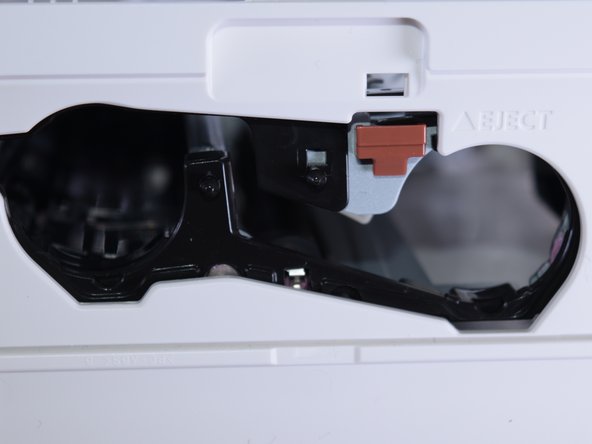
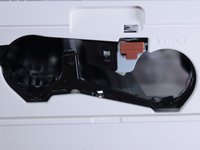
  12. Canon Selphy CP910 Printer Body Replacement: crwdns2935265:012crwdnd2935265:01crwdnd2935265:02crwdne2935265:0 Canon Selphy CP910 Printer Body Replacement: crwdns2935265:012crwdnd2935265:02crwdnd2935265:02crwdne2935265:0
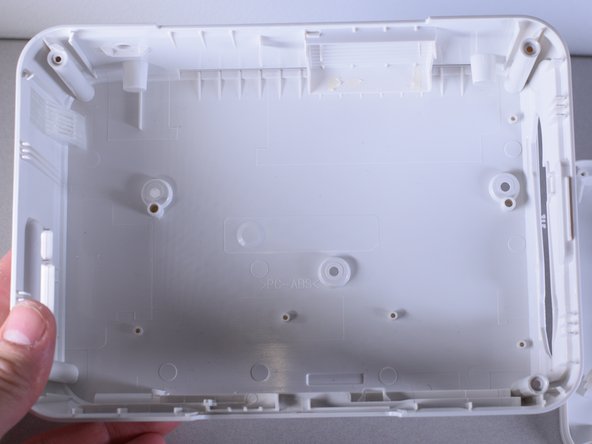
    • The empty case will look like this once all the parts are removed.

crwdns2915888:0crwdne2915888:0

To reassemble your device, follow these instructions in reverse order.

crwdns2935229:03crwdne2935229:0

Christie Peralta

crwdns2935283:002/01/16crwdne2935283:0

727 crwdns2915208:0crwdne2915208:0

crwdns2935297:05crwdne2935297:0

crwdns2915084:0crwdne2915084:0

UW Tacoma, Team 1-6, Rose Winter 2016 crwdns2935289:0UW Tacoma, Team 1-6, Rose Winter 2016crwdne2935289:0

UWT-ROSE-W16S1G6

crwdns2931471:04crwdne2931471:0

crwdns2935297:010crwdne2935297:0

crwdns2947410:01crwdne2947410:0

Bien conduit par cette marche à suivre, j'ai réussi à démonter la cartouche bloquée suite à un disfonctionnement des photos .

Le remontage était un peu plus difficile suite à la minutie à apporter auprès du peu de place pour la reconnection. Merci.

Joël vanhooren - crwdns2934203:0crwdne2934203:0

crwdns2917038:0crwdne2917038:0

crwdns2936625:0crwdne2936625:0:

crwdns2936751:024crwdne2936751:0 0

crwdns2936753:07crwdne2936753:0 17

crwdns2936753:030crwdne2936753:0 52

crwdns2942667:0crwdne2942667:0 5,125