crwdns2933423:0crwdne2933423:0
crwdns2947577:0crwdnd2947577:0crwdne2947577:0

Canon Selphy CP910 Printer Body Replacement

crwdns2942213:0crwdne2942213:0

    1. Canon Selphy CP910 Printer Body Replacement, Body: crwdns2935265:01crwdnd2935265:01crwdnd2935265:02crwdne2935265:0 Canon Selphy CP910 Printer Body Replacement, Body: crwdns2935265:01crwdnd2935265:02crwdnd2935265:02crwdne2935265:0
      • Turn the printer over.

      • Use the PH1 screw bit to remove the three 8 mm screws in the middle of the back plate.

      • Keep track of these screws because you will need them to reassemble the printer.

      crwdns2952109:0crwdne2952109:0

      crwdns2917038:0crwdne2917038:0

    2. Canon Selphy CP910 Printer Body Replacement: crwdns2935265:02crwdnd2935265:01crwdnd2935265:03crwdne2935265:0 Canon Selphy CP910 Printer Body Replacement: crwdns2935265:02crwdnd2935265:02crwdnd2935265:03crwdne2935265:0 Canon Selphy CP910 Printer Body Replacement: crwdns2935265:02crwdnd2935265:03crwdnd2935265:03crwdne2935265:0
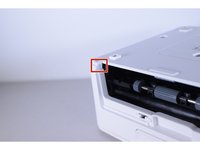
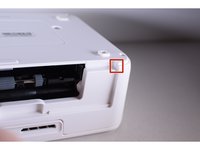
      • Loosen up the four 10 mm corner screws.

      • A screwdriver with a long shaft approximately 7mm in diameter will make it easier to reach these screws.

      crwdns2952109:0crwdne2952109:0

      crwdns2917038:0crwdne2917038:0

    3. Canon Selphy CP910 Printer Body Replacement: crwdns2935265:03crwdnd2935265:01crwdnd2935265:03crwdne2935265:0 Canon Selphy CP910 Printer Body Replacement: crwdns2935265:03crwdnd2935265:02crwdnd2935265:03crwdne2935265:0 Canon Selphy CP910 Printer Body Replacement: crwdns2935265:03crwdnd2935265:03crwdnd2935265:03crwdne2935265:0
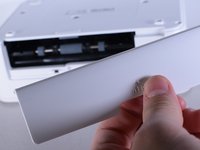
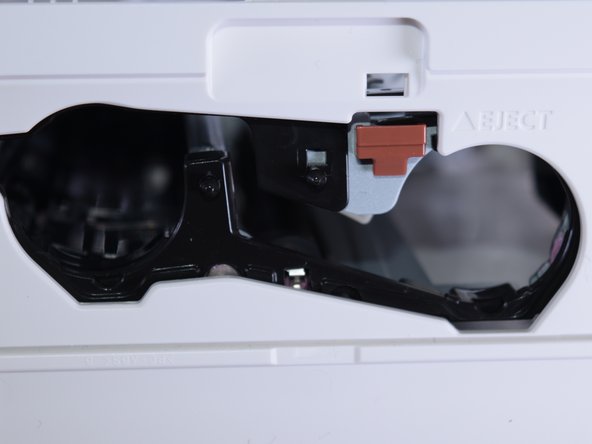
      • Turn the device around and remove the "open" lid.

      • This lid needs to be removed in order to take the printer apart.

      • Gently bend the lid and remove it from its hinges.

      crwdns2952109:0crwdne2952109:0

      crwdns2917038:0crwdne2917038:0

    4. Canon Selphy CP910 Printer Body Replacement: crwdns2935265:04crwdnd2935265:01crwdnd2935265:03crwdne2935265:0 Canon Selphy CP910 Printer Body Replacement: crwdns2935265:04crwdnd2935265:02crwdnd2935265:03crwdne2935265:0 Canon Selphy CP910 Printer Body Replacement: crwdns2935265:04crwdnd2935265:03crwdnd2935265:03crwdne2935265:0
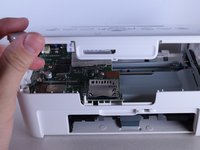
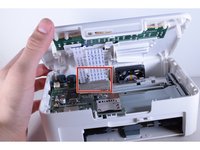
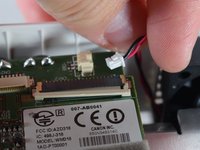
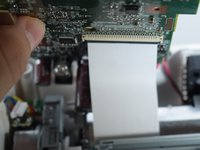
      • Turn the device back over and lift the top panel up.

      • Disconnect the ribbon cables leading to the LCD screen.

      • Pull the top panel off.

      crwdns2952109:0crwdne2952109:0

      crwdns2917038:0crwdne2917038:0

    1. Canon Selphy CP910 Printer Body Replacement, Printer Body: crwdns2935265:05crwdnd2935265:01crwdnd2935265:02crwdne2935265:0 Canon Selphy CP910 Printer Body Replacement, Printer Body: crwdns2935265:05crwdnd2935265:02crwdnd2935265:02crwdne2935265:0
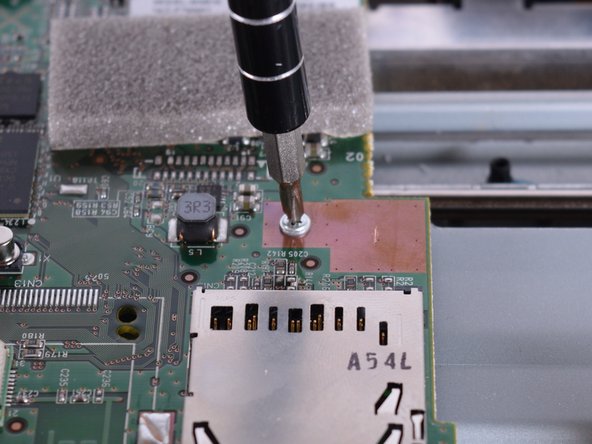
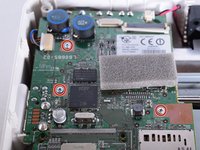
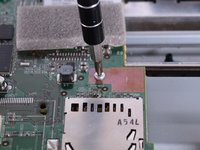
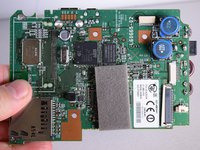
      • Use the PH1 screw driver to remove the three screws on the motherboard.

      crwdns2952109:0crwdne2952109:0

      crwdns2917038:0crwdne2917038:0

    2. Canon Selphy CP910 Printer Body Replacement: crwdns2935265:06crwdnd2935265:01crwdnd2935265:02crwdne2935265:0 Canon Selphy CP910 Printer Body Replacement: crwdns2935265:06crwdnd2935265:02crwdnd2935265:02crwdne2935265:0
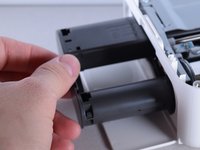
      • Remove the printer.

      • This will prevent the printer from falling out during repair.

      crwdns2952109:0crwdne2952109:0

      crwdns2917038:0crwdne2917038:0

    3. Canon Selphy CP910 Printer Body Replacement: crwdns2935265:07crwdnd2935265:01crwdnd2935265:03crwdne2935265:0 Canon Selphy CP910 Printer Body Replacement: crwdns2935265:07crwdnd2935265:02crwdnd2935265:03crwdne2935265:0 Canon Selphy CP910 Printer Body Replacement: crwdns2935265:07crwdnd2935265:03crwdnd2935265:03crwdne2935265:0
      • Remove the output connections.

      • Be careful! Do not pull too hard because the wires might rip.

      • Output connections are located on the corners of the motherboard.

      crwdns2952109:0crwdne2952109:0

      crwdns2917038:0crwdne2917038:0

    4. Canon Selphy CP910 Printer Body Replacement: crwdns2935265:08crwdnd2935265:01crwdnd2935265:02crwdne2935265:0 Canon Selphy CP910 Printer Body Replacement: crwdns2935265:08crwdnd2935265:02crwdnd2935265:02crwdne2935265:0
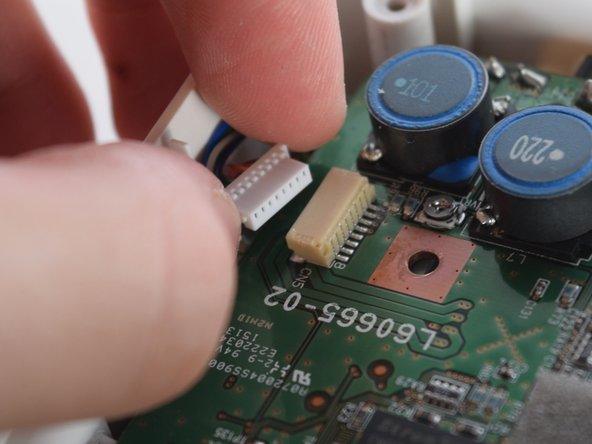
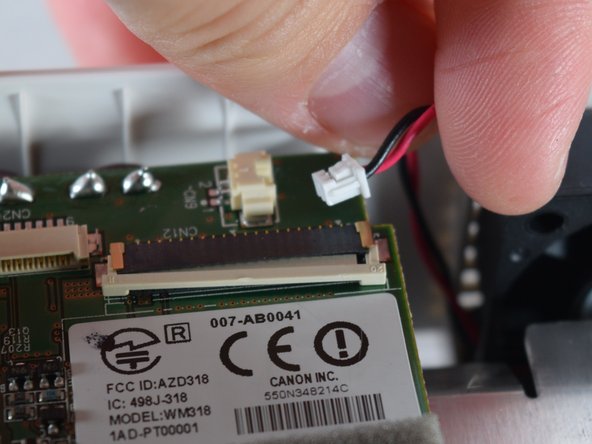
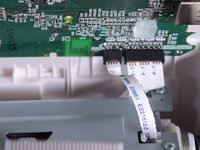
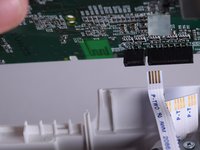
      • The motherboard is attached to three more ribbon wires.

      • Detach these wires.

      • Be careful not to pull too hard.

      crwdns2952109:0crwdne2952109:0

      crwdns2917038:0crwdne2917038:0

    5. Canon Selphy CP910 Printer Body Replacement: crwdns2935265:09crwdnd2935265:01crwdnd2935265:02crwdne2935265:0 Canon Selphy CP910 Printer Body Replacement: crwdns2935265:09crwdnd2935265:02crwdnd2935265:02crwdne2935265:0
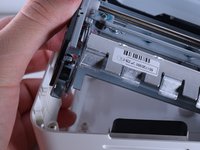
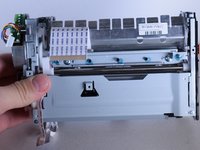
      • Separate the motherboard from the main hard drive.

      crwdns2952109:0crwdne2952109:0

      crwdns2917038:0crwdne2917038:0

    6. Canon Selphy CP910 Printer Body Replacement: crwdns2935265:010crwdnd2935265:01crwdnd2935265:03crwdne2935265:0 Canon Selphy CP910 Printer Body Replacement: crwdns2935265:010crwdnd2935265:02crwdnd2935265:03crwdne2935265:0 Canon Selphy CP910 Printer Body Replacement: crwdns2935265:010crwdnd2935265:03crwdnd2935265:03crwdne2935265:0
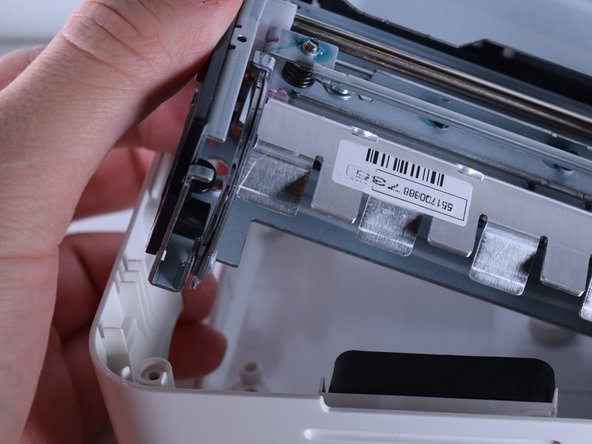
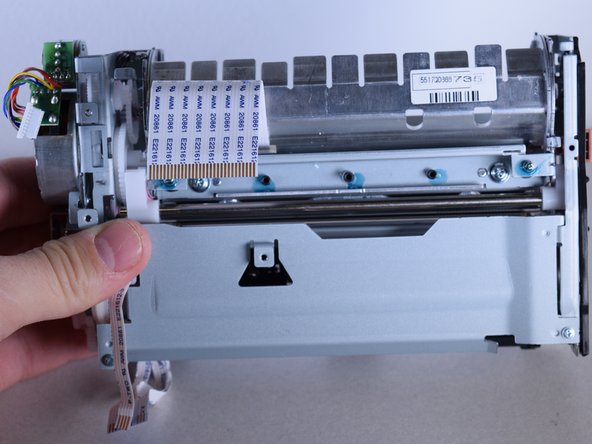
      • Remove the main hard drive from the printer body.

      crwdns2952109:0crwdne2952109:0

      crwdns2917038:0crwdne2917038:0

    7. Canon Selphy CP910 Printer Body Replacement: crwdns2935265:011crwdnd2935265:01crwdnd2935265:02crwdne2935265:0 Canon Selphy CP910 Printer Body Replacement: crwdns2935265:011crwdnd2935265:02crwdnd2935265:02crwdne2935265:0
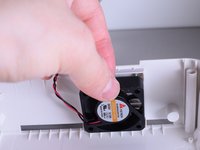
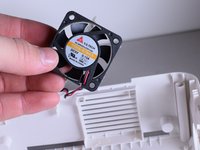
      • Gently remove the fan from the body.

      • The fan is glued to the case. When you install it in the new body, use hot glue to secure it in place.

      crwdns2952109:0crwdne2952109:0

      crwdns2917038:0crwdne2917038:0

    8. Canon Selphy CP910 Printer Body Replacement: crwdns2935265:012crwdnd2935265:01crwdnd2935265:02crwdne2935265:0 Canon Selphy CP910 Printer Body Replacement: crwdns2935265:012crwdnd2935265:02crwdnd2935265:02crwdne2935265:0
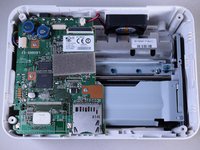
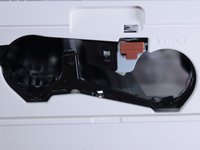
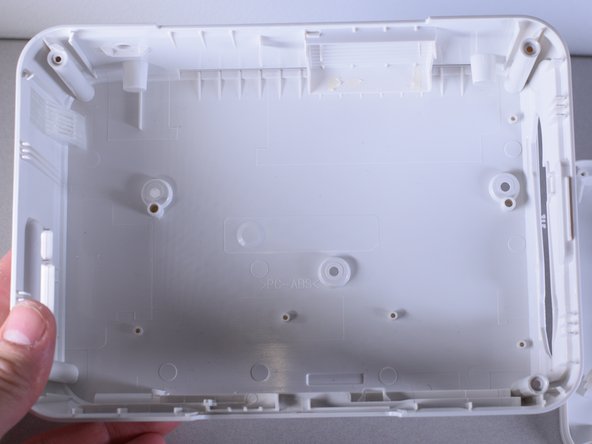
      • The empty case will look like this once all the parts are removed.

      crwdns2952109:0crwdne2952109:0

      crwdns2917038:0crwdne2917038:0

crwdns2915888:0crwdne2915888:0

To reassemble your device, follow these instructions in reverse order.

crwdns2935221:0crwdne2935221:0

crwdns2935229:04crwdne2935229:0

Christie Peralta

crwdns2935283:002/01/16crwdne2935283:0

751 crwdns2915208:0crwdne2915208:0

crwdns2935297:05crwdne2935297:0

crwdns2935287:0crwdne2935287:0

UW Tacoma, Team 1-6, Rose Winter 2016 crwdns2935289:0UW Tacoma, Team 1-6, Rose Winter 2016crwdne2935289:0

UWT-ROSE-W16S1G6

crwdns2931471:04crwdne2931471:0

crwdns2935297:060crwdne2935297:0

crwdns2947410:01crwdne2947410:0

Bien conduit par cette marche à suivre, j'ai réussi à démonter la cartouche bloquée suite à un disfonctionnement des photos .

Le remontage était un peu plus difficile suite à la minutie à apporter auprès du peu de place pour la reconnection. Merci.

Joël vanhooren - crwdns2934203:0crwdne2934203:0 crwdns2950251:0crwdne2950251:0
crwdns2917038:0crwdne2917038:0

crwdns2936625:0crwdne2936625:0:

crwdns2936751:024crwdne2936751:0 3

crwdns2936753:07crwdne2936753:0 37

crwdns2936753:030crwdne2936753:0 166

crwdns2942667:0crwdne2942667:0 6,443