crwdns2915892:0crwdne2915892:0
User will need spudger, plastic pry tool, and PH00 screwdriver.
crwdns2942213:0crwdne2942213:0
-
-
Rotate the camera to expose the underside of the camera.
-
-
-
Slide the rounded rectangle tab to the left to release the battery cover.
-
-
-
Push the small orange tab forward to release the battery (Battery is ready for removal).
-
-
-
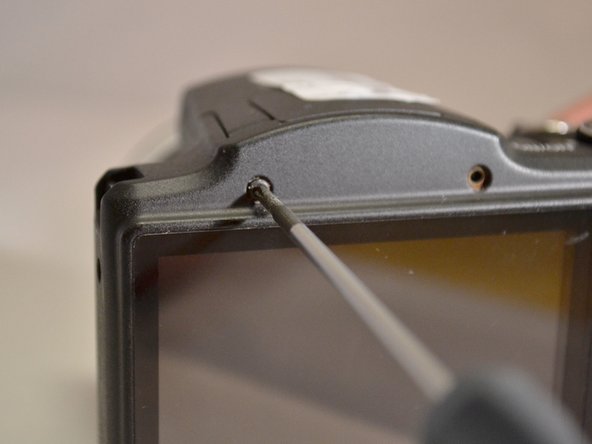
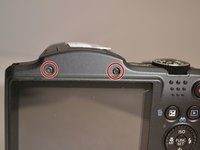
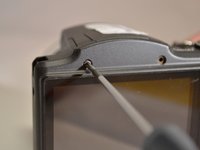
Using the Phillips 00 screwdriver, remove the two 4mm top screws above the LCD screen.
-
-
-
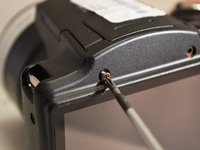
Using the Phillips 00 screwdriver, remove the two 4mm side screws to the left of the LCD screen.
-
-
-
Using the Phillips 00 screwdriver, remove the two 4mm side screws to the left of the LCD screen.
-
-
-
Using the Phillips 00 screwdriver, remove the three 4mm screws from the underside of the camera.
-
-
-
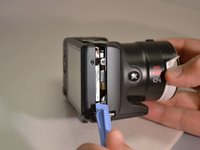
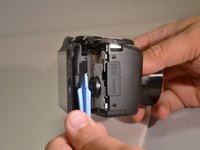
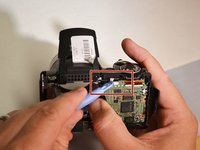
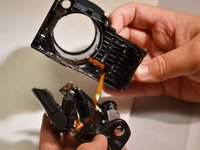
Using the plastic pry tool, remove the back cover from camera.
-
-
-
-
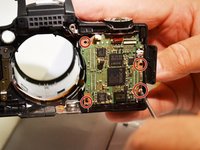
Using the Phillips 00 screwdriver, remove the two 3mm screws closest to the right of the LCD screen.
-
-
-
Using the Phiillips 00 screwdriver, remove the 4mm screw to the right of the control dial.
-
-
-
Using the spudger, lift the control dial to the right of the LCD screen.
-
-
-
Using the spudger, lift the connection tab and remove the control dial's orange ribbon from motherboard.
-
-
-
Using spudger, lift the tab on the connector and remove the orange ribbon from motherboard (LCD screen is separated from camera).
-
-
-
Using the Phillips 00 screwdriver remove the seven 6mm screws from the housing plate of the LCD screen.
-
-
-
Using the Phillips 00 screwdriver, remove the 4mm mounting screw from underneath the flash.
-
-
-
Using the spudger, lift the flash unit away from the metal housing (Flash is lifted to allow more room for metal housing).
-
-
-
Using the spudger, remove the metal housing (Metal housing is removed from camera).
-
-
-
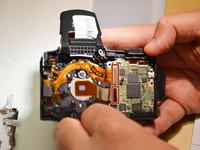
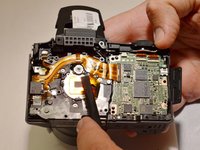
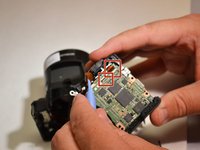
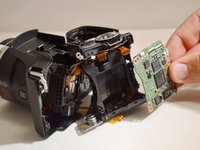
Using the spudger, lift the tab on the ZIF connector and remove both orange ribbons connected to the green motherboard (Motherboard is lifted from camera).
-
-
-
Remove the lens from the lens shaft (Lens is removed from camera).
-
-
-
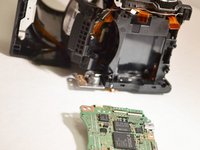
Using the plastic pry tool, remove the motherboard and the flash unit from camera frame (Motherboard and flash unit are separated from camera).
-
-
-
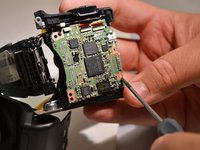
Using the Phillips 00 screwdriver, remove the 4mm screw from motherboard.
-
-
-
Using the plastic opening tool, lift the tab on the connector and remove the two remaining orange ribbons from green motherboard (Motherboard is removed).
-
To reassemble your device, follow these instructions in reverse order.
To reassemble your device, follow these instructions in reverse order.
crwdns2935221:0crwdne2935221:0
crwdns2935229:04crwdne2935229:0
crwdns2947410:01crwdne2947410:0
I can't download the pictures from the camera. It doesn't have the card you take out and download the pics. I would plug it in and download from camera to my desktop. It's now saying it can't connect to the camera. I bought a new cord but it's apparently the camera itself. Any way to download the pics I have on the camera?


