crwdns2915892:0crwdne2915892:0
This guide will walk you through replacing a damaged speaker in your Canon Powershot ELPH 100.
This process involves soldering—make sure you are proficient at soldering before attempting this task.
Because many soldering irons take time to heat up, turn yours on before beginning. This will save you time later on in the procedure.
crwdns2942213:0crwdne2942213:0
-
-
Locate the battery cover on the bottom of your camera.
-
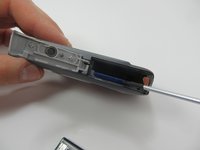
Slide the tab to the right to open the battery cover.
-
-
-
Flip the battery cover open.
-
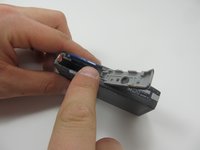
Using your fingers, slide the battery out of the camera.
-
-
-
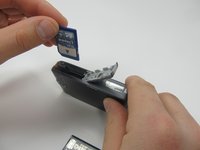
Push down on the memory card until it clicks and releases.
-
Pull up on the memory card to remove it.
-
-
-
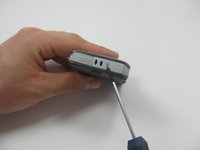
Using the Phillips #00 screwdriver, remove the two 3.1mm screws from the bottom of the camera.
-
-
-
Ensure that the screen is facing you, and then rotate it till you see the screws on the side of the camera.
-
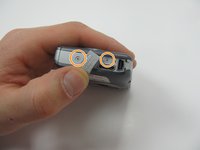
Use the Phillips #00 screwdriver to remove the two 3.1 mm screws.
-
-
-
With the screen still facing you, rotate the camera 180 degrees.
-
-
-
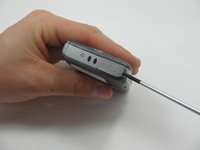
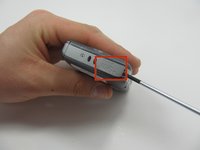
Use the Philips #00 screwdriver to pry open the charging port cover.
-
Once you pry open the charging port cover, rotate the cover so that you have access to the screw underneath. Which is seen in the next image.
-
Remove both 3.1 mm screws using the Phillips #00 screwdriver.
-
-
-
Turn the camera so the bottom is once again facing up.
-
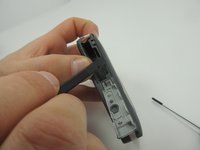
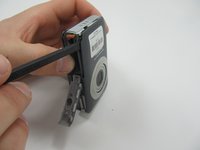
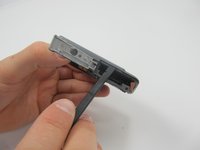
With the battery door still open, use a spudger to remove the cover from the front of the camera.
-
-
-
-
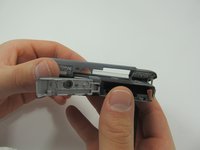
Once the entire front cover has been released carefully pull it off.
-
-
-
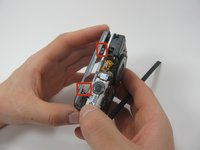
Just like Step 4-6 , carefully use the Spudger to remove the back cover.
-
-
-
Gently remove the tabs surrounding the power button on the housing of the camera.
-
-
-
Cut the wires half way between the microphone and body of camera.
-
-
-
Strip the ends of the newly cut wires.
-
-
-
Remove the 3.1mm screw holding speaker to the housing.
-
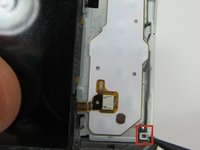
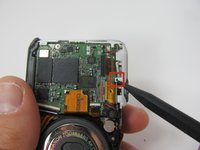
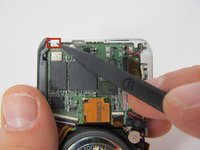
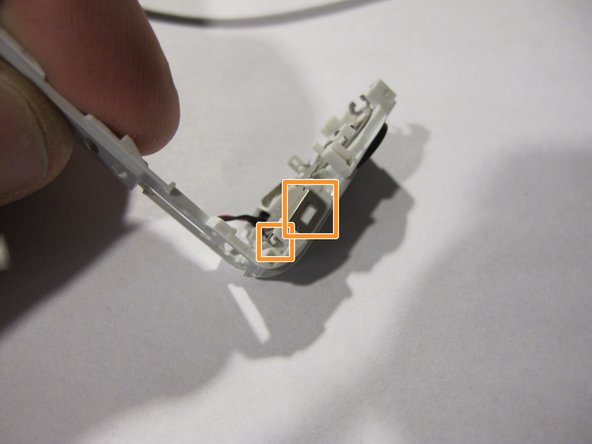
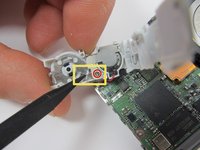
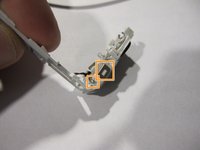
Remove the two clips and the metal cover will be released
-
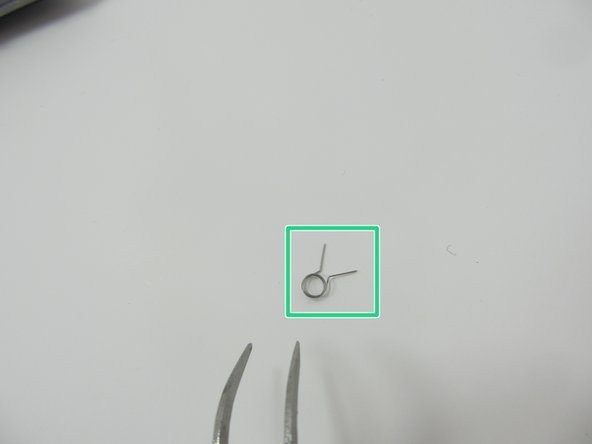
Take note of the spring and its orientation, it will need to be re-installed later
-
Image of the spring
-
-
crwdns2935267:0crwdne2935267:0Tweezers$4.99
-
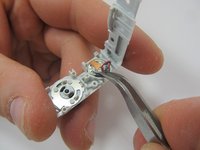
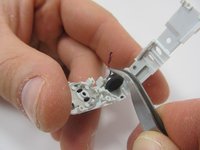
Using tweezers, grab the wires to pull the speaker from the plastic housing.
-
-
-
Test the heat of the soldering iron by touching it to the tip of a paperclip.
-
-
-
Solder the red wire to the right terminal, and the black wire to the left terminal.
-
-
-
Place the speaker back in it's housing.
-
-
-
Place the metal cover over the speaker.
-
-
-
Lift up the corner of the metal cover and slide the spring in so it rests around the screw hole.
-
After the spring is around the screw hole post, replace the screw so that the cover stays in place.
-
-
-
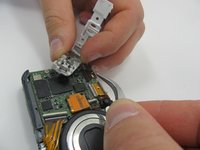
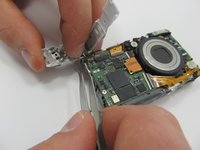
To reattach the speaker housing to the rest of the camera, make sure the pins and clips are aligned.
-
To reassemble your device, follow the case disassembly guide in reverse.
To reassemble your device, follow the case disassembly guide in reverse.
crwdns2935221:0crwdne2935221:0
crwdns2935229:02crwdne2935229:0


