crwdns2915892:0crwdne2915892:0
A common issue with this camera is a cracked display screen or the screen not showing the picture, meaning it is damaged. This guide will walk you through the process of replacing the screen.
crwdns2942213:0crwdne2942213:0
-
-
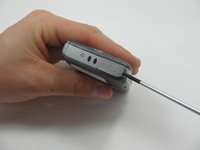
Locate the battery cover on the bottom of your camera.
-
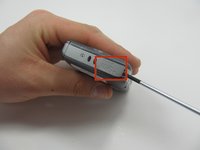
Slide the tab to the right to open the battery cover.
-
-
-
Flip the battery cover open.
-
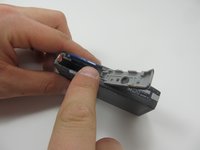
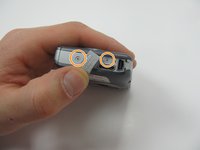
Using your fingers, slide the battery out of the camera.
-
-
-
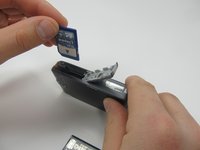
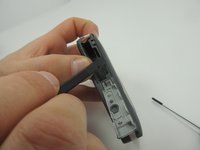
Push down on the memory card until it clicks and releases.
-
Pull up on the memory card to remove it.
-
-
-
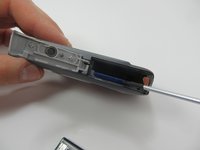
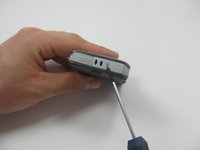
Using the Phillips #00 screwdriver, remove the two 3.1mm screws from the bottom of the camera.
-
-
-
Ensure that the screen is facing you, and then rotate it till you see the screws on the side of the camera.
-
Use the Phillips #00 screwdriver to remove the two 3.1 mm screws.
-
-
-
With the screen still facing you, rotate the camera 180 degrees.
-
-
-
-
Use the Philips #00 screwdriver to pry open the charging port cover.
-
Once you pry open the charging port cover, rotate the cover so that you have access to the screw underneath. Which is seen in the next image.
-
Remove both 3.1 mm screws using the Phillips #00 screwdriver.
-
-
-
Turn the camera so the bottom is once again facing up.
-
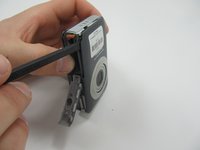
With the battery door still open, use a spudger to remove the cover from the front of the camera.
-
-
-
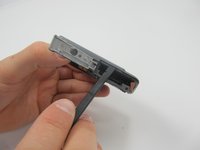
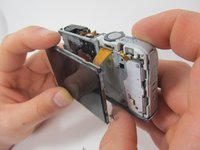
Once the entire front cover has been released carefully pull it off.
-
-
-
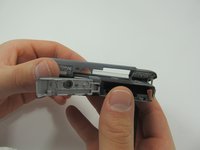
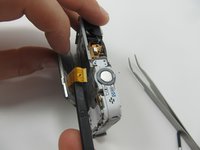
Just like Step 4-6 , carefully use the Spudger to remove the back cover.
-
-
-
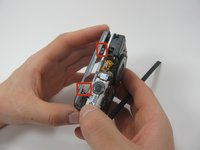
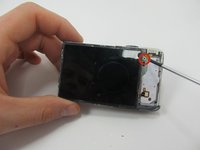
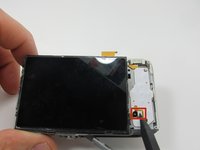
Remove the 3.1mm screw on the top-right side of the LCD display screen.
-
-
-
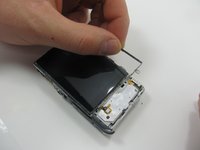
Use the spudger to carefully separate the screen from the frame.
-
-
-
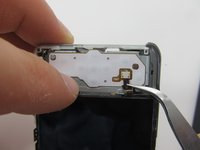
Use the spudger to lift up the latch on the zero insertion force connector (ZIF).
-
Slide the now free ribbon cable from the connector.
-
-
-
Holding the display screen, gently pull the ribbon cable out through the frame of the camera.
-
-
crwdns2935267:0crwdne2935267:0Tweezers$4.99
-
Using tweezers, carefully remove the ribbon cable from the connector shown.
-
-
-
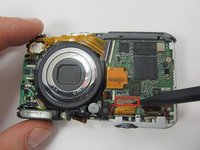
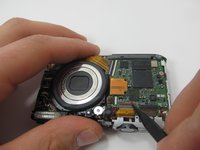
The display screen should now be free.
-


To reassemble your device, follow these instructions in reverse order.
To reassemble your device, follow these instructions in reverse order.
crwdns2935221:0crwdne2935221:0
crwdns2935229:06crwdne2935229:0
crwdns2915084:0crwdne2915084:0

Michigan Tech, Team 1-10, Lauer Spring 2015 crwdns2935289:0Michigan Tech, Team 1-10, Lauer Spring 2015crwdne2935289:0
MTU-LAUER-S15S1G10
crwdns2931471:02crwdne2931471:0
crwdns2935297:05crwdne2935297:0