crwdns2915892:0crwdne2915892:0
Have you ever had your shutter button get stuck in the middle of taking pictures? Use this guide to get it back in place.
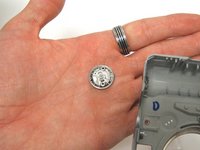
crwdns2942213:0crwdne2942213:0
-
-
crwdns2935267:0crwdne2935267:0Tweezers$4.99
-
Carefully insert the tip of the tweezers in the space between the shutter button and the zoom dial. Gently insert the tip under the button and slowly lift.
 crwdns2952109:0crwdne2952109:0
-
-
-
On the bottom of the camera, open the battery compartment by pushing the lock up. The door will then spring open allowing you to slide the batteries out.
-
-
-
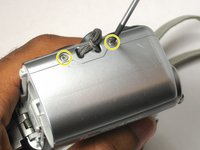
On the left side of the camera remove the two visible 4mm Phillips head screws.
-
On the right side of the camera remove the two visible 4mm Phillips head screws.
-
On the bottom of the camera remove the two visible 4mm Phillips head screws.
-
-
-
-
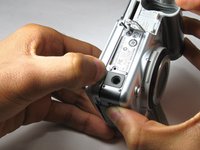
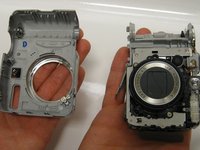
Slowly and gently pry open the back case panel from the rest of the camera.
-
-
-
Remove the two 3 mm screws below the LCD screen using a Phillips #00 screwdriver.
-
Unscrew the top 4 mm Phillips head screw.
-
-
-
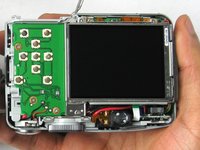
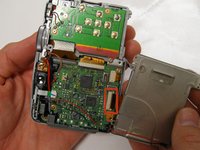
Gently turnover the LCD screen so that the motherboard is exposed.
-
Carefully pull the ribbon cable straight out using your thumb and index finger.
-
-
-
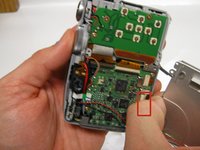
Remove the 3mm Phillips head screw between the circuit boards.
-
Remove the three 3.5mm Phillips head screws on the circuit board.
-
-
-
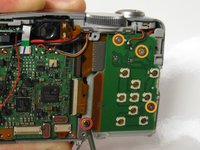
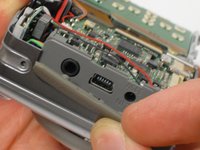
Remove the gray rubber cover labeled DC IN DIGITAL A/V OUT if it hasn't fallen out yet on its own.
-
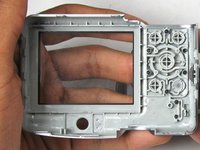
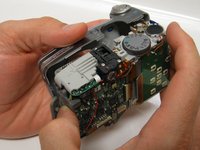
Carefully pull the front panel away from the rest of the camera.
-
-
-
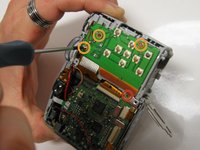
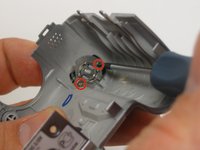
In the front panel remove the two 2.5mm Phillips head screws attached to the shutter button.
-
The shutter button and other components will fall out.
-
-


To reassemble your device, follow these instructions in reverse order.
crwdns2935287:0crwdne2935287:0

USF Tampa, Team 17-4, Watkins Winter 2015 crwdns2935289:0USF Tampa, Team 17-4, Watkins Winter 2015crwdne2935289:0
USFT-WATKINS-W15S17G4
crwdns2931471:03crwdne2931471:0
crwdns2935297:08crwdne2935297:0