crwdns2915892:0crwdne2915892:0
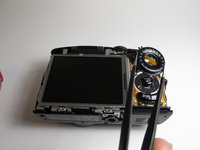
First remove the back casing and control dial before attempting to remove buttons.
crwdns2942213:0crwdne2942213:0
-
-
Turning the camera so the screen is facing you.
-
Remove the two black 3.4 mm screws with a Phillips #00 screwdriver.
-
-
-
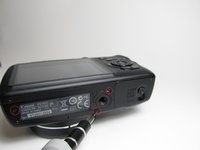
Put the camera with the lens facing up and turn it to the side so the DC IN A/V OUT DIGITAL is facing you.
-
Remove the single black 3.4 mm screw with a Phillips #00 screwdriver.
-
-
-
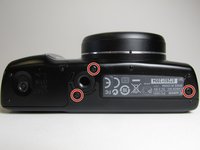
Put the camera with the lens facing up, and turn it to the side where the battery cover is located.
-
Remove the three black 3.4 mm screws with a Phillips #00 screwdriver.
-
-
-
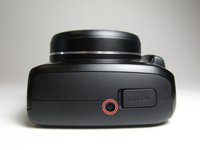
Put the camera with the lens facing up, turn it to the side where the compartment of the battery (CR1220) for time/date is located.
-
Remove the single black 3.4 mm screw with a Phillips #00 screwdriver.
-
-
-
-
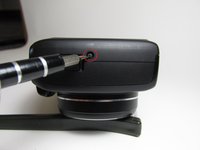
Put the camera with the lens facing down, and turn it to the side where the DC IN A/V OUT DIGITAL cover and the silver lanyard attachment are located.
-
Open the DC IN A/V OUT DIGITAL cover.
-
Remove the single black 3.4 mm screw with a Phillips #00 screwdriver.
-
-
-
Turn the camera with the lens facing down.
-
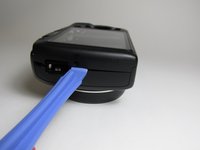
Use the iFixit opening tool to make leverage. Insert the opening tool in the seam where the front case and the back case assemble.
-
Carefully put pressure on the opening tool so the cover can gradually open.
-
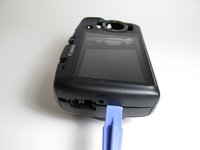
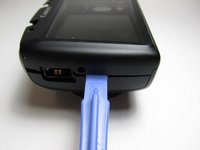
Slowly slide the opening tool along the gap and around the edge of the camera.
-
-
-
Remove the back cover and the DC IN A/V OUT DIGITAL cover from the camera.
-
-
crwdns2935267:0crwdne2935267:0Tweezers$4.99
-
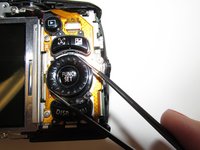
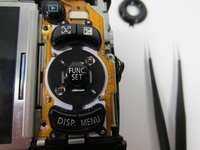
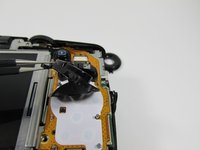
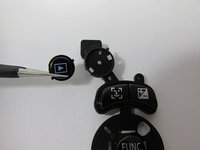
Carefully remove the pin underneath the dial using a pair of tweezers and set it aside.
-
Use a pair of tweezers to remove the old control dial and set the new control in the same place.
-
-
crwdns2935267:0crwdne2935267:0Tweezers$4.99
-
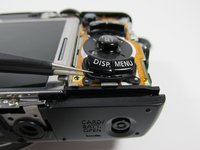
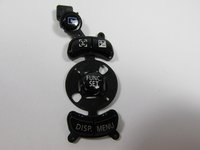
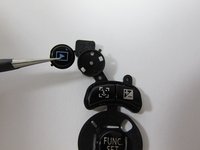
Once casing and control dial have been removed, you will begin removing silicone button pad.
-
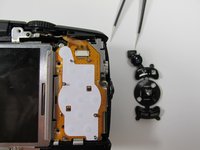
Use tweezers to grip the edge of the silicone pad and begin lifting upward.
-
-
-
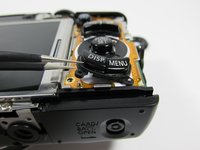
Continue lifting until pad is separated completely from the camera.
-
-
-
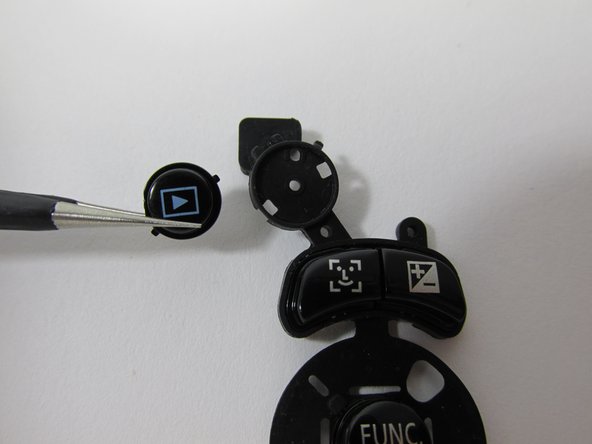
Once pad is separated from camera, use tweezers to grip button(s) that need to be removed, and lift until it has been separated completely from the pad.
-


To reassemble your device, follow these instructions in reverse order.
crwdns2935287:0crwdne2935287:0

New Mexico State, Team 1-3, Easley Spring 2014 crwdns2935289:0New Mexico State, Team 1-3, Easley Spring 2014crwdne2935289:0
NMSU-EASLEY-S14S1G3
crwdns2931471:04crwdne2931471:0
crwdns2935297:04crwdne2935297:0