crwdns2915892:0crwdne2915892:0
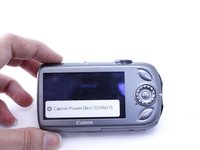
Many camera problems can be fixed by replacing the LCD screen. If your screen is visibly cracked or broken or has been damaged due to impact or exposure to liquids, replacing the LCD screen may resolve your issues.
crwdns2942213:0crwdne2942213:0
-
-
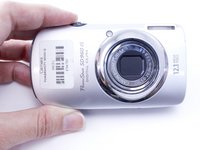
Turn the camera over so that the bottom of the camera is facing up.
-
-
-
Apply slight pressure to the battery door and slide your finger over the release button in the direction of the arrows to open the battery door.
-
The battery door will open, allowing you to access the battery.
-
-
-
Push the the orange battery lock back to release the battery.
-
Remove the battery.
-
-
-
Close the battery door, and turn the camera over so that the bottom of the camera is facing up.
-
Using a PH000 screwdriver, remove the two 5.5mm screws.
-
-
-
Turn the camera over to the side
-
Remove the two 4mm PH000 screws from the side of the camera.
-
-
-
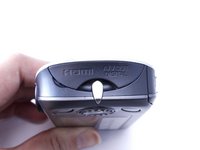
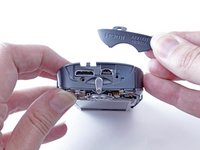
Turn camera over to the data port side with the panel that reads A/V Out.
-
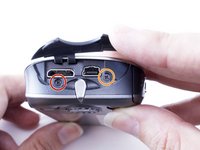
Lift open the latch that covers the camera's data ports.
-
Remove the one 2.4mm PH000 screw on the left.
-
Remove the one 4mm PH000 screw on the right.
-
-
-
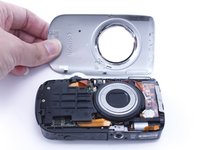
Turn the camera over so the lens is facing up.
-
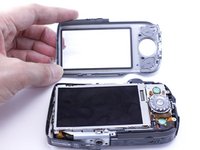
Remove the front cover.
-
-
-
-
Turn the camera over so that the screen is facing up.
-
Remove the back cover.
-
-
-
Turn the camera over so the lens is facing up.
-
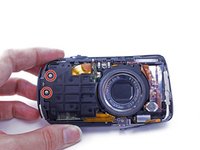
Remove two 2.4mm PH000 screws from the plate on the front of camera.
-
Gently remove the plate.
-
-
-
Turn the camera over to the data port side again.
-
After removing the front panel in the previous step, the AV/OUT panel should be free to remove. Gently slide out the A/V panel.
-
-
-
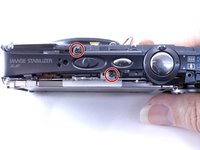
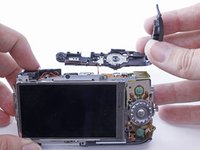
Turn the camera over so the top panel that reads "Image Stabilizer" is facing up.
-
Remove the two 2.4mm PH000 screws from the top of the camera to the left of the power on/off switch.
-
Gently remove the panel from the side of the camera.
-
-
-
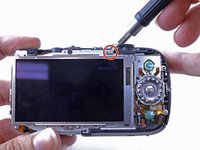
Turn the camera over so the screen is facing up.
-
Remove one 3.2mm PH000 screw from the top of the LCD screen.
-
Remove one 3.2mm PH000 screw from the bottom of the LCD screen.
-
-
-
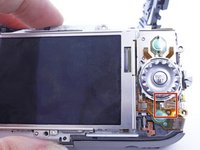
Remove two 3.2mm PH000 screws on the side of the camera, to the right of the button that reads "Func. Set."
-
-
-
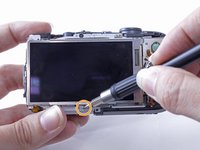
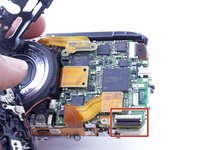
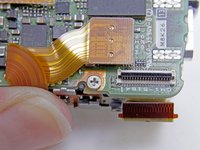
Use a nylon spudger to flip open the teeth holding the small, orange data cable in place.
-
Gently remove the small, orange data cable. The cable should now hang free.
-
-
-
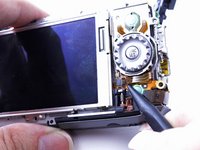
Once the data cable is removed, the panel to the right of the LCD screen with the button that reads "Func. Set" will be free to remove.
-
Gently remove the panel to the right of the LCD screen.
-
-
-
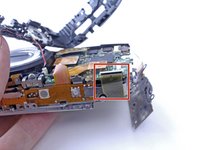
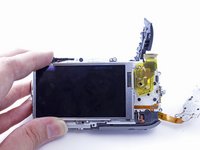
Locate the large, yellow data cable by turning the camera over so the lens is facing up.
-
Find where the data cable connects on the front of the camera.
-
-
-
Use a nylon spudger to flip open the teeth that are holding the large, yellow data cable in place.
-
Gently remove the data cable.
-
-
-
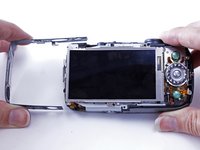
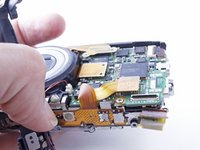
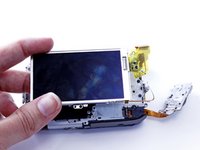
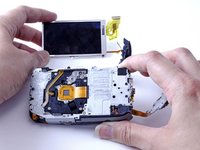
Turn the camera over so the screen is facing up.
-
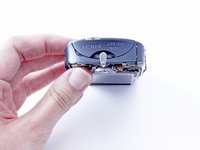
Remove the LCD screen.
-
-
-
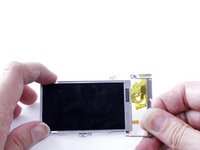
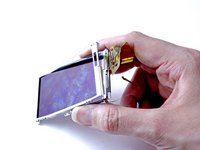
To remove the casing around the LCD screen, begin by removing the top of the casing (which is in two pieces). First, remove the small hinge on the right side.
-
Then, remove the rest of the casing.
-
The top of the LCD screen casing should now be removed.
-
-
-
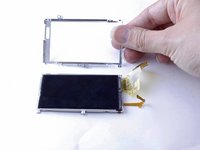
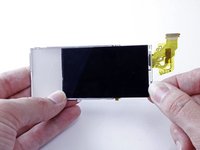
Carefully slide out the LCD screen from the back part of the casing.
-
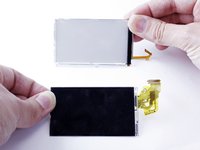
You should now have three components: The back of the LCD screen casing, the LCD screen, and the front of the LCD screen casing.
-
The LCD screen is now removed and can be replaced or set aside to access other camera components.
-


To reassemble your device, follow these instructions in reverse order.
crwdns2935221:0crwdne2935221:0
crwdns2935229:03crwdne2935229:0
crwdns2935287:0crwdne2935287:0

University of North Texas, Team 1-4, Campbell Fall 2016 crwdns2935289:0University of North Texas, Team 1-4, Campbell Fall 2016crwdne2935289:0
UNT-CAMPBELL-F16S1G4
crwdns2931471:02crwdne2931471:0
crwdns2935297:03crwdne2935297:0