crwdns2915892:0crwdne2915892:0
This guide offers detailed, step-by-step instructions for replacing a faulty LCD screen on your Canon PowerShot SD400. The LCD, or liquid crystal display, serves as the camera's monitor for images, and it may require replacement if you notice cracks, discolored pixels, spots, blobs, flickering, or a complete loss of image signal. Before you get started, make sure to power off the camera and remove the battery.
crwdns2942213:0crwdne2942213:0
-
-
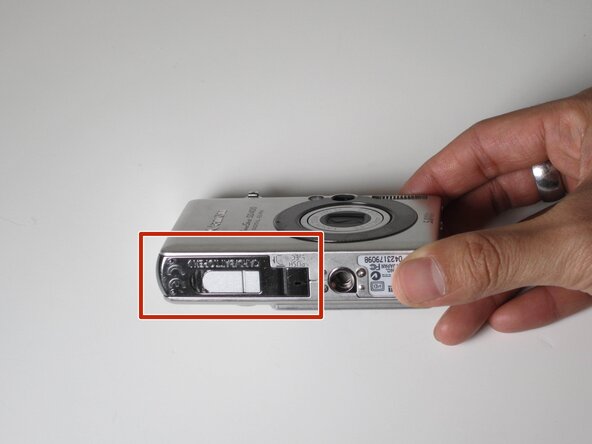
Slide the battery cover open (indicated by the red box).
-
-
-
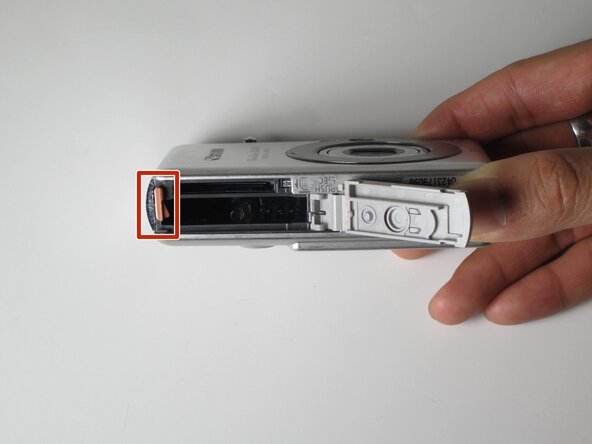
Push in the orange clip (indicated by the red box) to eject the battery.
-
-
-
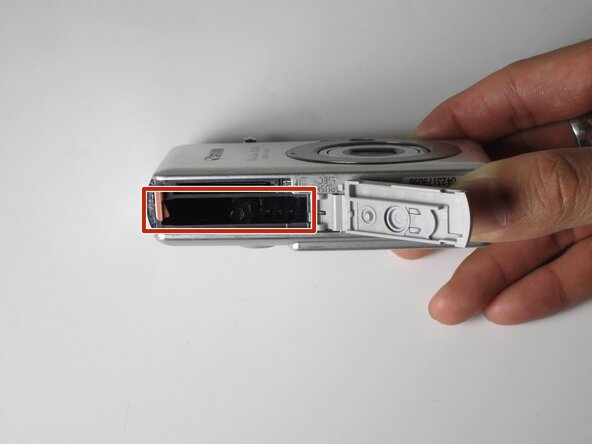
Insert the charged battery back into the slot (indicated by the red box).
-
Close the cover.
-
-
-
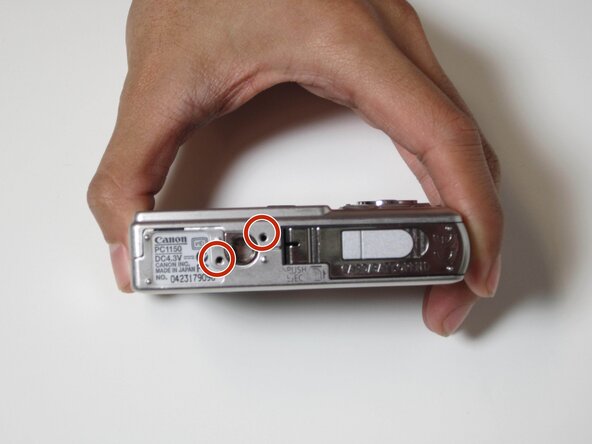
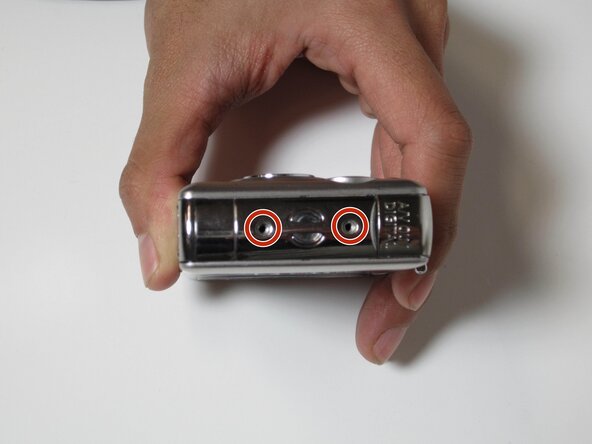
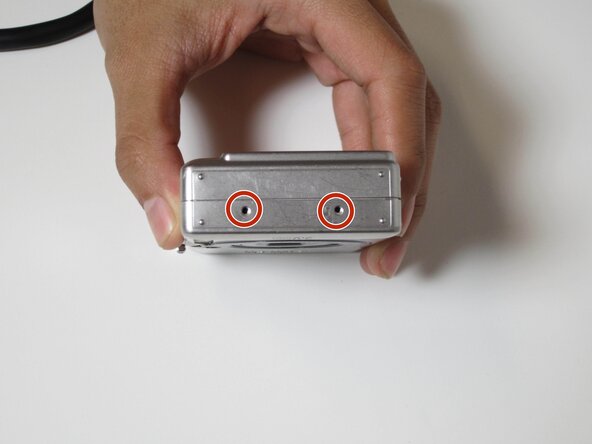
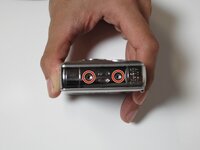
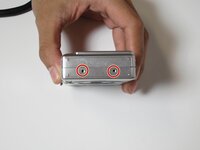
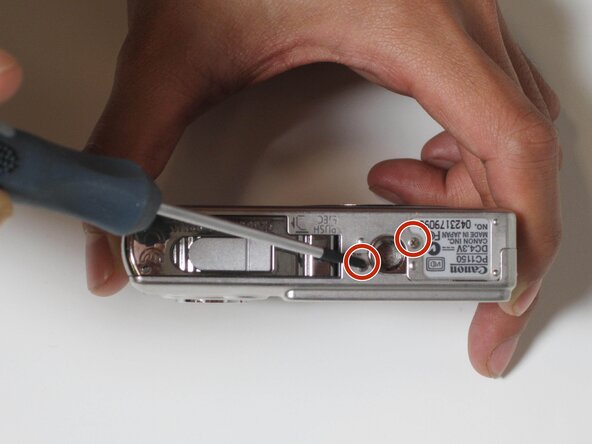
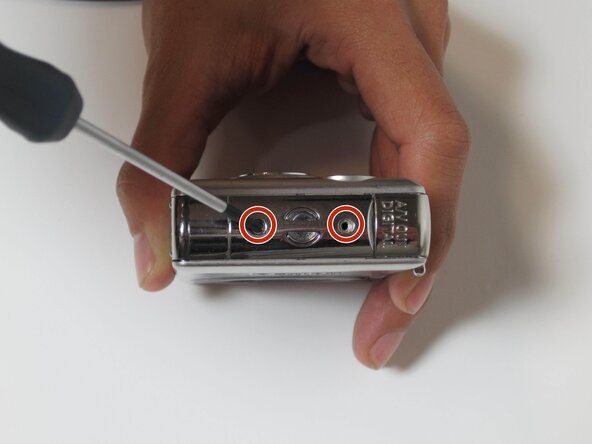
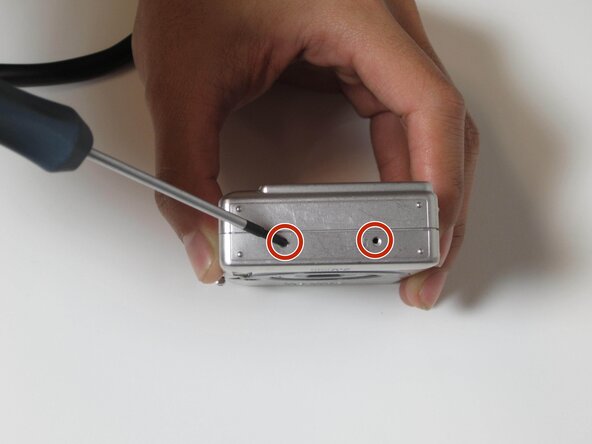
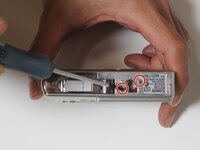
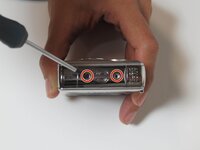
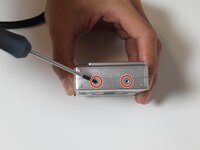
Locate these six screws that need to be removed to open the camera’s housing. These screws can be found on the bottom and both sides of the camera.
-
-
-
Using the screwdriver, carefully remove the exterior screws and place them in a safe location to avoid misplacing them.
-
-
-
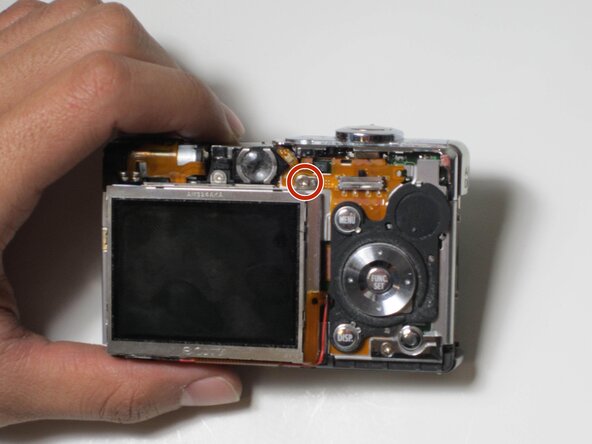
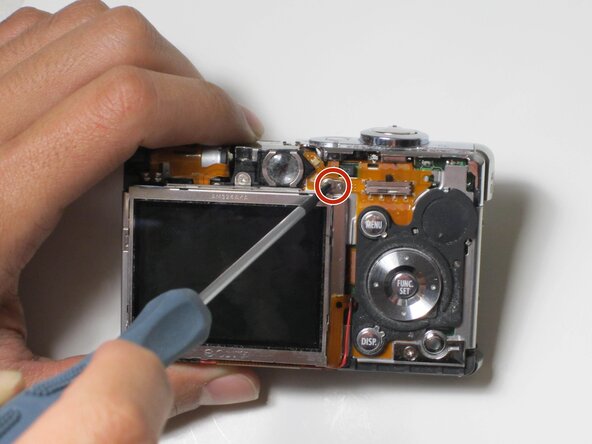
Locate the interior screw that is above the top right of the LCD screen.
-
Remove the screw using the screwdriver.
-
-
-
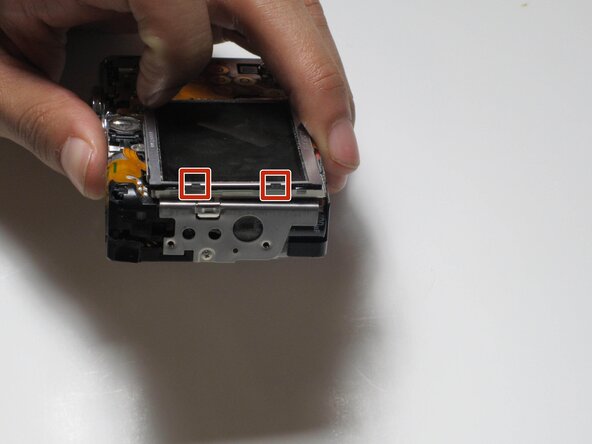
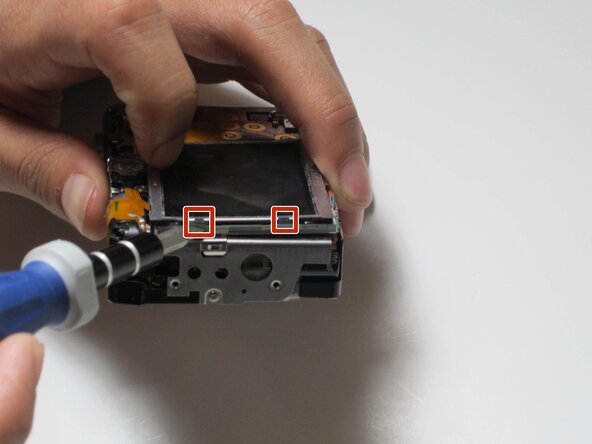
Locate the two clips on the left side of the LCD screen.
-
Carefully insert the tip of a flat-head screwdriver under the two clips of the LCD screen.
-
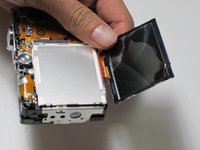
Slowly lift the screen using the flat-head screwdriver.
-
To reassemble your device, follow these instructions in reverse order.
To reassemble your device, follow these instructions in reverse order.
crwdns2935221:0crwdne2935221:0
crwdns2935229:02crwdne2935229:0
crwdns2947410:01crwdne2947410:0
Do you carry a lcd screen for the Powershot sd400?
