crwdns2942213:0crwdne2942213:0
-
-
Remove the three screws on the bottom of the camera using the 00 sized phillips head screw driver.
-
-
-
Remove the four screws on the left side of the camera.
-
-
-
Remove the screw on the right side of the camera.
-
-
-
Open up the HDMI port on the right side of the camera. Then remove the screw in the HDMI port.
-
-
-
Remove the screw to the right of the view finder on the rear of the camera.
-
-
-
-
Use the spudger to crack open the case.
-
-
crwdns2935267:0crwdne2935267:0Tweezers$4.99
-
-
The rear cover is now unattached from the camera.
-
-
-
Remove the plastic covering of the left side of the rear case interior.
-
-
-
Remove the four screws that are now accessible with the removal of the plastic covering them.
-
-
-
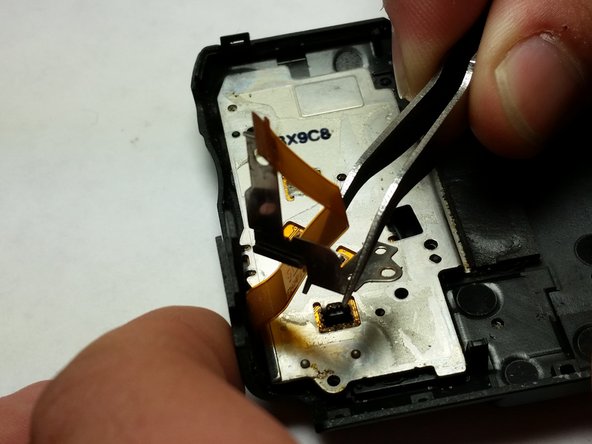
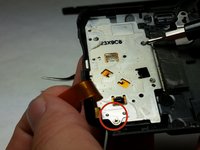
After the screws are removed, pull the metal bracket out of the camera.
-
-
-
Push the dial out from the other side of the cover.
-
-
-
Remove the dial from the case completely.
-


To reassemble your device, follow these instructions in reverse order.
To reassemble your device, follow these instructions in reverse order.
crwdns2935221:0crwdne2935221:0
crwdns2935229:02crwdne2935229:0
crwdns2915084:0crwdne2915084:0

USF Tampa, Team 5-6, Brown Winter 2015 crwdns2935289:0USF Tampa, Team 5-6, Brown Winter 2015crwdne2935289:0
USFT-BROWN-W15S5G6
crwdns2931471:03crwdne2931471:0
crwdns2935297:06crwdne2935297:0