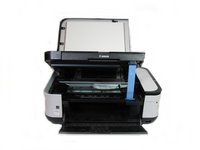
crwdns2915892:0crwdne2915892:0
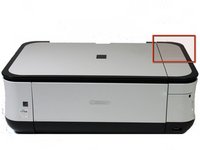
Use this guide to replace the broken buttons to get back full functionality of your printer.
crwdns2942213:0crwdne2942213:0
-
-
Remove the two 7.9 mm screws using a Phillips #1 screwdriver.
 crwdns2952109:0crwdne2952109:0
-
-
-
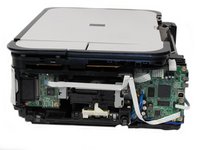
Lift up the back cover to remove it.
-
-
-
Open the front tray.
-
-
-
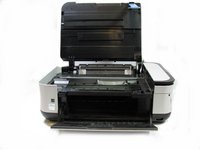
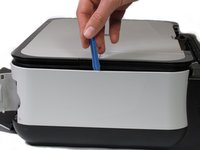
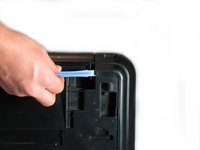
Open the scanner compartment.
-
-
-
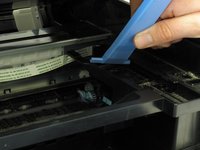
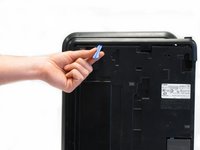
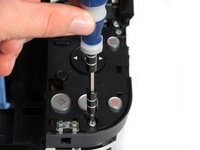
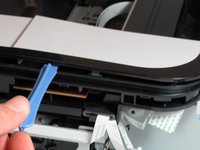
Remove the blue lever from its slot by pushing it back and twisting clockwise.
-
Close the scanner compartment and cover.
-
-
-
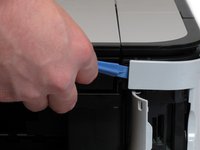
Pry open the side cover with the plastic opening tool.
-
-
-
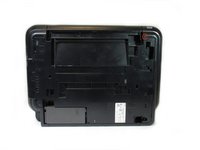
Flip the printer over so that the bottom of the printer is facing you.
-
Use the plastic opening tool to remove the corner of the side panel from the plastic pin.
-
-
-
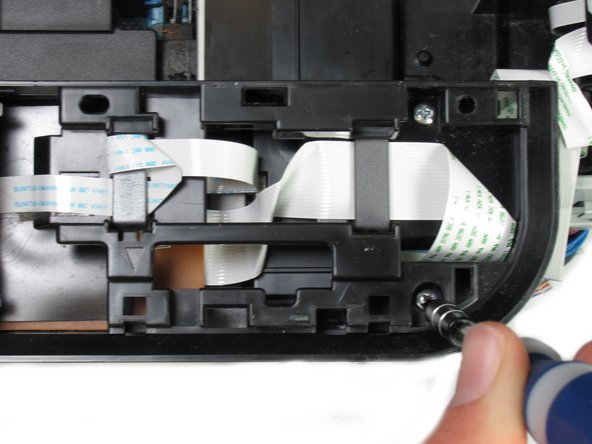
Use the plastic opening tool to loosen the side panel from the bottom of the printer.
-
-
-
-
Using the plastic opening tool, pry off the top cover of the LCD assembly.
-
-
-
After removing the top cover of the LCD assembly, remove the LCD using the plastic opening tool.
-
-
-
Gently pull the ribbon cable to remove the LCD completely.
-
-
-
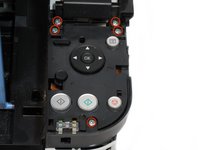
Locate the buttons on the top of the printer.
-
-
-
Using the plastic opening tool, gently pry under the button cover to remove it from its fixture.
-
-
-
Remove the five 7.7 mm screws using a Phillips #1 screwdriver.
-
-
-
Using the plastic opening tool, gently pry around the cover behind the LCD screen to remove it from its fixture.
-
-
-
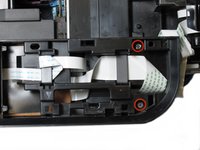
Remove the two 7.8 mm screws using a Phillips #1 screwdriver.
-
-
-
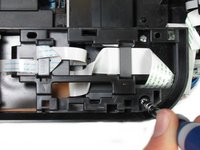
Gently pull the LCD screen up to remove it from its fixture.
-
-
-
Use the plastic opening tool to pry off the plastic button assembly.
-
-
-
Gently pull the plastic button assembly up to remove it.
-
-
-
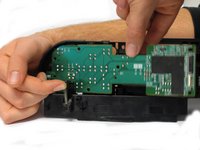
Remove the ribbon cable connected to the backside of the plastic button assembly.
-
-
-
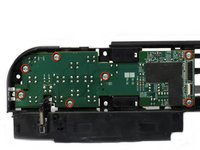
Remove the seven 8.7 mm screws using the Phillips #1 screwdriver.
-
-
-
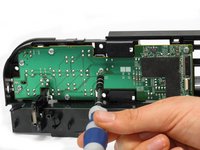
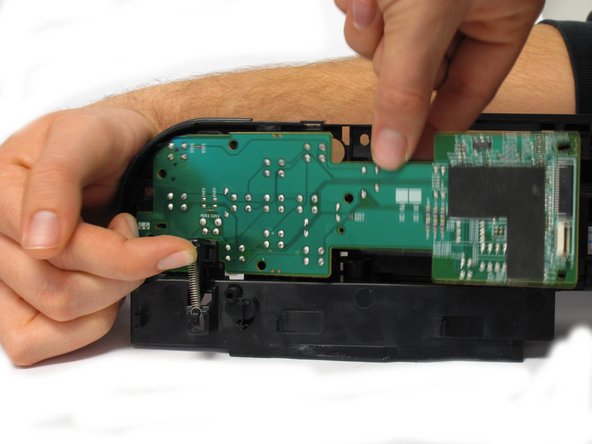
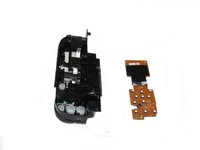
Locate the spring that holds the PCB in place on the bottom left of the plastic button assembly.
-
Gently lift the spring and pull the board out of its plastic button assembly.
-
-
-
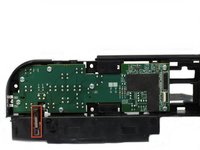
Remove the buttons from the plastic button assembly.
-


To reassemble your device, follow these instructions in reverse order.
crwdns2935287:0crwdne2935287:0

Cal Poly, Team 19-41, Regan Winter 2013 crwdns2935289:0Cal Poly, Team 19-41, Regan Winter 2013crwdne2935289:0
CPSU-REGAN-W13S19G41
crwdns2931471:04crwdne2931471:0
crwdns2935297:06crwdne2935297:0