crwdns2933423:0crwdne2933423:0
crwdns2947577:0crwdnd2947577:0crwdne2947577:0

Canon EOS Rebel T3i Screen Replacement

crwdns2942213:0crwdne2942213:0

    1. Canon EOS Rebel T3i Screen Replacement, Battery: crwdns2935265:01crwdnd2935265:01crwdnd2935265:01crwdne2935265:0
      • Locate the battery compartment on the bottom of the camera.

      crwdns2952109:0crwdne2952109:0

      crwdns2917038:0crwdne2917038:0

    2. Canon EOS Rebel T3i Screen Replacement: crwdns2935265:02crwdnd2935265:01crwdnd2935265:01crwdne2935265:0
      • Hook your finger onto the compartment door latch.

      • Open the battery compartment door.

      crwdns2952109:0crwdne2952109:0

      crwdns2917038:0crwdne2917038:0

    3. Canon EOS Rebel T3i Screen Replacement: crwdns2935265:03crwdnd2935265:01crwdnd2935265:01crwdne2935265:0
      • Remove the battery from the compartment.

      crwdns2952109:0crwdne2952109:0

      crwdns2917038:0crwdne2917038:0

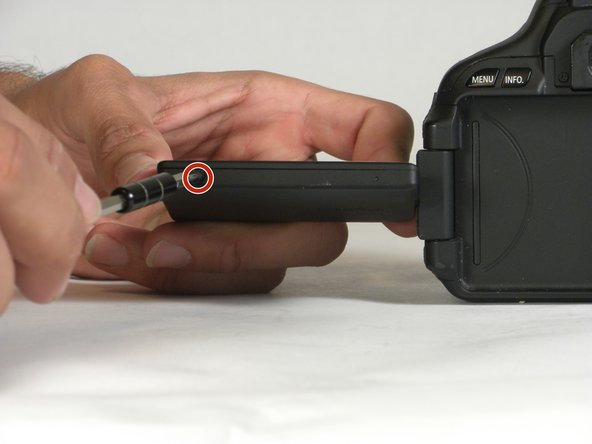
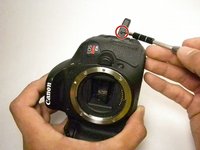
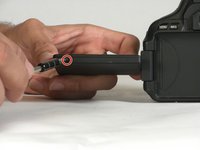
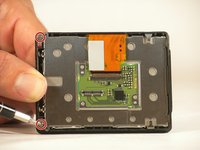
    1. Canon EOS Rebel T3i Screen Replacement, Screen: crwdns2935265:04crwdnd2935265:01crwdnd2935265:02crwdne2935265:0 Canon EOS Rebel T3i Screen Replacement, Screen: crwdns2935265:04crwdnd2935265:02crwdnd2935265:02crwdne2935265:0
      • Remove the two 3 mm JIS #000 screws. The screws are on opposite sides of the screen.

      crwdns2952109:0crwdne2952109:0

      crwdns2917038:0crwdne2917038:0

    2. Canon EOS Rebel T3i Screen Replacement: crwdns2935265:05crwdnd2935265:01crwdnd2935265:01crwdne2935265:0
      • Remove the plastic backing.

      crwdns2952109:0crwdne2952109:0

      crwdns2917038:0crwdne2917038:0

    3. Canon EOS Rebel T3i Screen Replacement: crwdns2935265:06crwdnd2935265:01crwdnd2935265:01crwdne2935265:0
      • Unplug the blue cable from the back of the LCD.

      crwdns2952109:0crwdne2952109:0

      crwdns2917038:0crwdne2917038:0

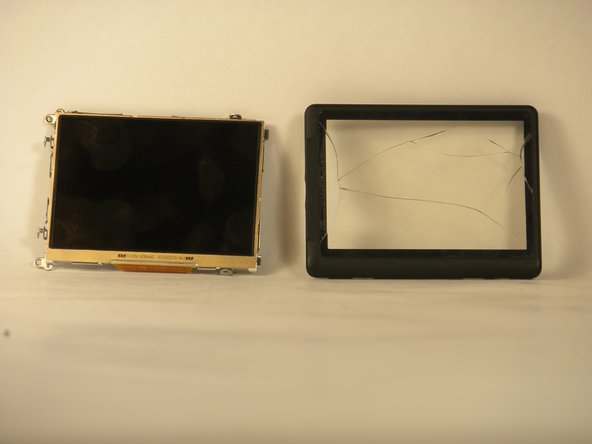
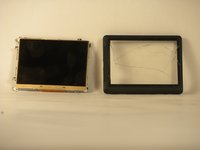
    4. Canon EOS Rebel T3i Screen Replacement: crwdns2935265:07crwdnd2935265:01crwdnd2935265:02crwdne2935265:0 Canon EOS Rebel T3i Screen Replacement: crwdns2935265:07crwdnd2935265:02crwdnd2935265:02crwdne2935265:0
      • Remove the two 3 mm JIS #000 screws.

      • Separate the LCD from the plastic housing.

      crwdns2952109:0crwdne2952109:0

      crwdns2917038:0crwdne2917038:0

crwdns2915888:0crwdne2915888:0

To reassemble your device, follow these instructions in reverse order.

crwdns2935221:0crwdne2935221:0

crwdns2935229:07crwdne2935229:0

Natalie Crock

crwdns2935283:008/27/15crwdne2935283:0

803 crwdns2915208:0crwdne2915208:0

crwdns2935297:05crwdne2935297:0

crwdns2935287:0crwdne2935287:0

USF Tampa, Team 5-2, Blackwell Fall 2015 crwdns2935289:0USF Tampa, Team 5-2, Blackwell Fall 2015crwdne2935289:0

USFT-BLACKWELL-F15S5G2

crwdns2931471:04crwdne2931471:0

crwdns2935297:010crwdne2935297:0

crwdns2947412:00crwdne2947412:0

crwdns2917038:0crwdne2917038:0

crwdns2936625:0crwdne2936625:0:

crwdns2936751:024crwdne2936751:0 0

crwdns2936753:07crwdne2936753:0 7

crwdns2936753:030crwdne2936753:0 78

crwdns2942667:0crwdne2942667:0 15,414