crwdns2915892:0crwdne2915892:0
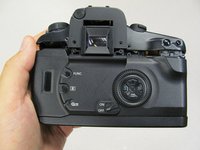
Removing the grip is necessary to reach the battery door. This process is safe and easy.
crwdns2942213:0crwdne2942213:0
-
-
Remove the two 4.8 mm black screws above the lens on the front of the camera.
-
-
-
Remove the 4.3 mm black screw under the lens ring, and the 4.8 mm black screw under the camera.
-
-
-
Remove the 4.8 mm black screw on the left side of the camera.
-
-
-
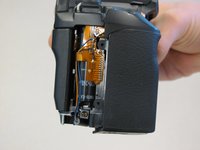
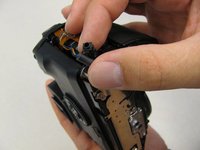
Remove the front panel by lifting it away from the camera's body.
-
-
-
Slide the outer eyepiece upward to remove it.
-
-
-
-
Remove the two 4.75 mm black screws located on the top of the camera.
-
-
-
Remove the four 4.3 mm black screws near the bottom corners of the eyepiece at the back of the camera.
-
-
-
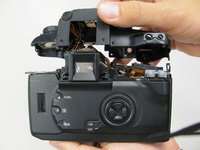
Slowly separate the top panel from the camera by pushing it upward.
-
-
-
Remove two 6.5 mm black screws from the panel.
-
-
-
Remove the plastic remote control socket cap by pulling it straight out.
-
-
-
Slide the panel toward the bottom of the camera to remove.
-
-
-
Remove the single 4.8 silver screw from the control socket.
-
-
-
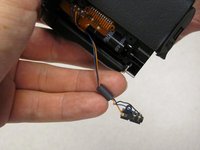
Desolder connections to replace the remote control socket.
-
-
-
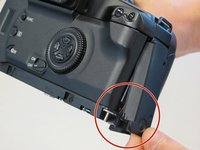
Remove the two 5.5 mm screws from front of camera.
-


To reassemble your device, follow these instructions in reverse order.
To reassemble your device, follow these instructions in reverse order.
crwdns2915084:0crwdne2915084:0

Cal Poly, Team 8-8, Regan Spring 2011 crwdns2935289:0Cal Poly, Team 8-8, Regan Spring 2011crwdne2935289:0
CPSU-REGAN-S11S8G8
crwdns2931471:05crwdne2931471:0
crwdns2935297:022crwdne2935297:0
crwdns2947410:01crwdne2947410:0
Didn't you forget the step to remove the bottom plate?