crwdns2933423:0crwdne2933423:0

CRKD NEO S CK24NS Bumper and Spring Replacement

crwdns2942213:0crwdne2942213:0

  1. CRKD NEO S CK24NS Bumper and Spring Replacement, Motherboard: crwdns2935265:01crwdnd2935265:01crwdnd2935265:01crwdne2935265:0
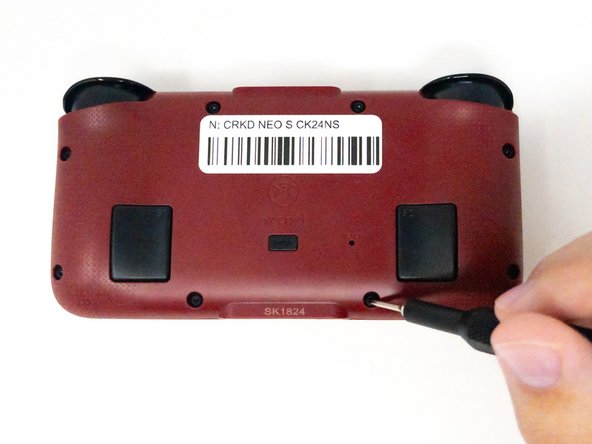
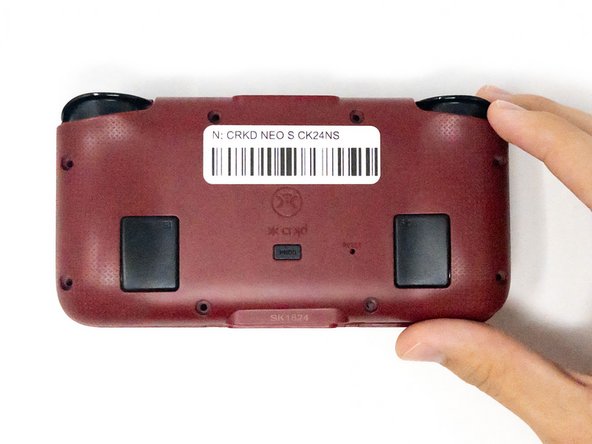
    • Turn the CRKD NEO S CK24NS upside down with the front-facing buttons facing downward.

  2. CRKD NEO S CK24NS Bumper and Spring Replacement: crwdns2935265:02crwdnd2935265:01crwdnd2935265:03crwdne2935265:0 CRKD NEO S CK24NS Bumper and Spring Replacement: crwdns2935265:02crwdnd2935265:02crwdnd2935265:03crwdne2935265:0 CRKD NEO S CK24NS Bumper and Spring Replacement: crwdns2935265:02crwdnd2935265:03crwdnd2935265:03crwdne2935265:0
    • Use a 1.5 mm Hex screwdriver to remove the eight 1.5 mm Hex screws from the back of the controller.

    • Carefully lift off the back panel and set it aside.

  3. CRKD NEO S CK24NS Bumper and Spring Replacement: crwdns2935265:03crwdnd2935265:01crwdnd2935265:03crwdne2935265:0 CRKD NEO S CK24NS Bumper and Spring Replacement: crwdns2935265:03crwdnd2935265:02crwdnd2935265:03crwdne2935265:0 CRKD NEO S CK24NS Bumper and Spring Replacement: crwdns2935265:03crwdnd2935265:03crwdnd2935265:03crwdne2935265:0
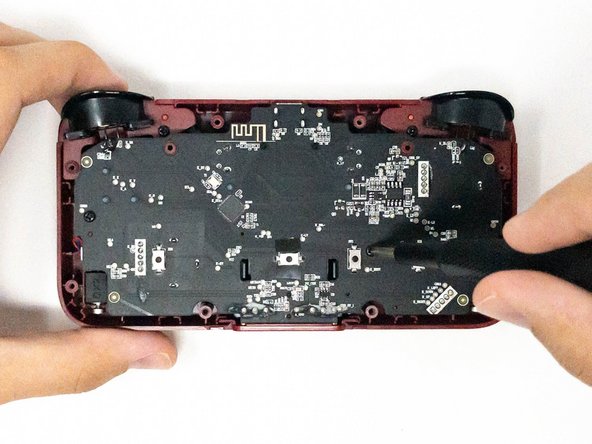
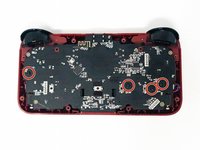
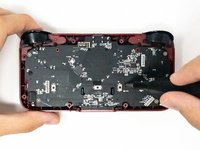
    • Remove the four 2.5 mm screws holding the motherboard in place using a Phillips #0 screwdriver.

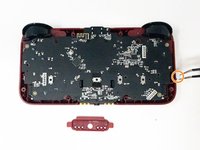
    • Take out the white plastic pieces connected to the motherboard with tweezers.

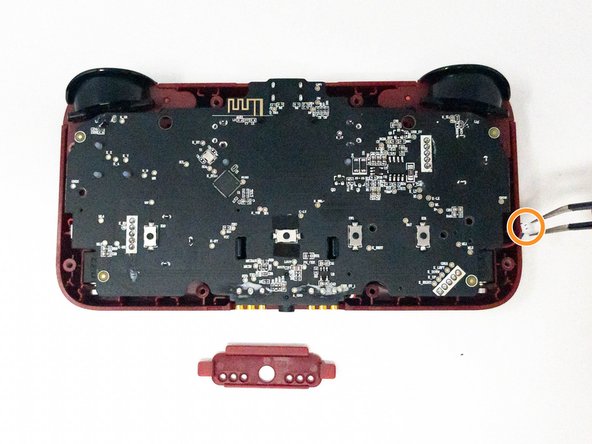
    • Gently lift the motherboard and set it aside.

    • If the small red plastic piece next to the audio jack falls out, don’t worry. You can pop it back into place during reassembly.

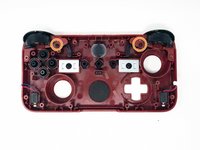
  4. CRKD NEO S CK24NS Bumper and Spring Replacement, Bumper and Spring: crwdns2935265:04crwdnd2935265:01crwdnd2935265:02crwdne2935265:0 CRKD NEO S CK24NS Bumper and Spring Replacement, Bumper and Spring: crwdns2935265:04crwdnd2935265:02crwdnd2935265:02crwdne2935265:0
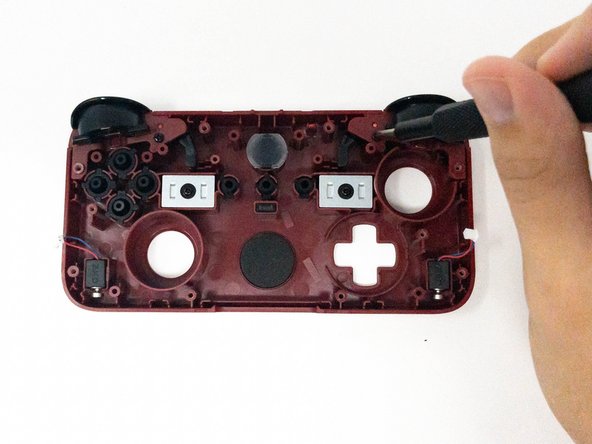
    • Remove the two 2.5 mm Phillips #0 screws and keep them for reassembly.

    • The screw for the the left trigger will be on the right.

    • The screw for the right trigger will be on the left.

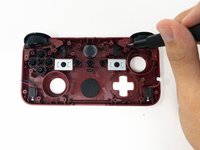
  5. CRKD NEO S CK24NS Bumper and Spring Replacement: crwdns2935265:05crwdnd2935265:01crwdnd2935265:02crwdne2935265:0 CRKD NEO S CK24NS Bumper and Spring Replacement: crwdns2935265:05crwdnd2935265:02crwdnd2935265:02crwdne2935265:0
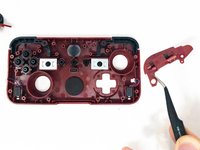
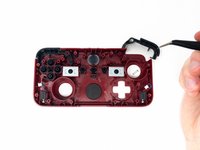
    • Using tweezers, carefully remove the ZL and/or ZR trigger pieces.

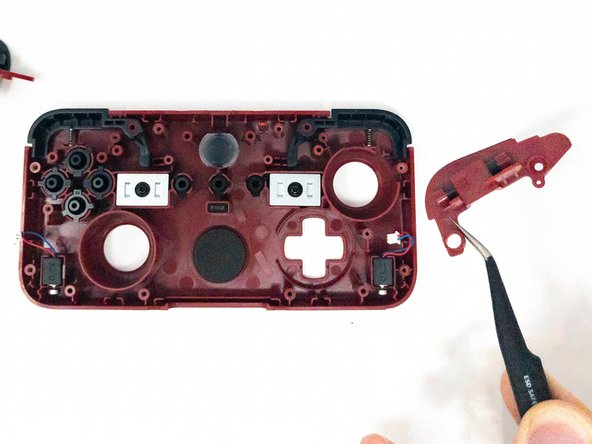
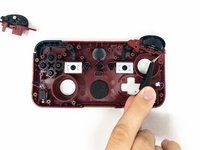
  6. CRKD NEO S CK24NS Bumper and Spring Replacement: crwdns2935265:06crwdnd2935265:01crwdnd2935265:03crwdne2935265:0 CRKD NEO S CK24NS Bumper and Spring Replacement: crwdns2935265:06crwdnd2935265:02crwdnd2935265:03crwdne2935265:0 CRKD NEO S CK24NS Bumper and Spring Replacement: crwdns2935265:06crwdnd2935265:03crwdnd2935265:03crwdne2935265:0
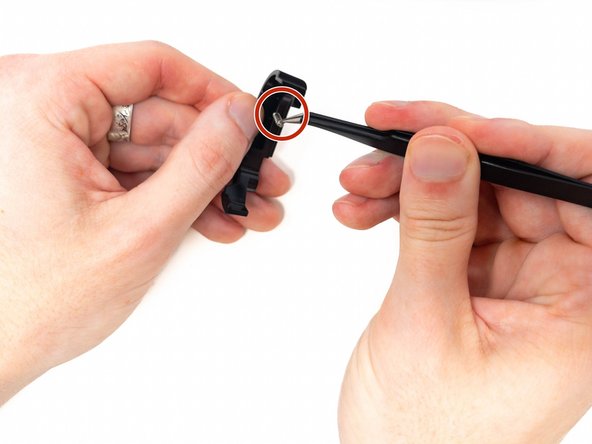
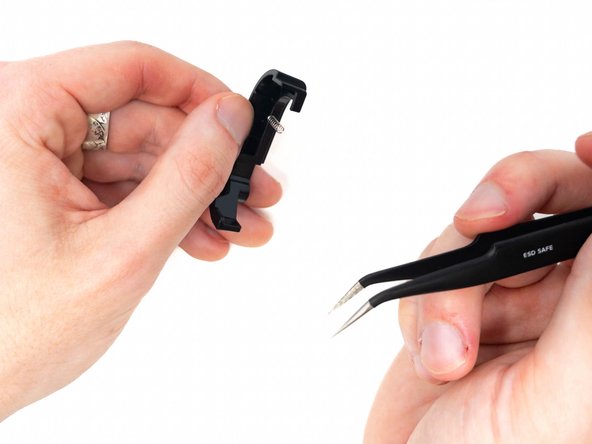
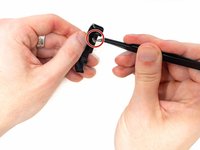
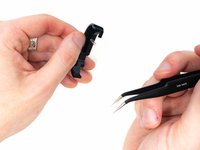
    • Pull out the bumper(s) with tweezers

    • Place the new spring inside.

    • When you pull the bumper out of the controller, the spring inside will release and pop out quickly. This is completely normal, so don’t be alarmed! To keep track of all parts, hold the bumper firmly and perform this step over a flat, open surface.

crwdns2915888:0crwdne2915888:0

To reassemble your device, follow these instructions in reverse order.

Nick

crwdns2935283:009/04/24crwdne2935283:0

277 crwdns2915208:0crwdne2915208:0

crwdns2935297:03crwdne2935297:0

crwdns2915084:0crwdne2915084:0

Utah Tech University, Team 1-1, Crenshaw Fall 2024 crwdns2935289:0Utah Tech University, Team 1-1, Crenshaw Fall 2024crwdne2935289:0

UTAHTECH-CRENSHAW-F24S1G1

crwdns2931471:03crwdne2931471:0

crwdns2935297:05crwdne2935297:0

crwdns2947412:00crwdne2947412:0

crwdns2917038:0crwdne2917038:0

crwdns2936625:0crwdne2936625:0:

crwdns2936751:024crwdne2936751:0 0

crwdns2936753:07crwdne2936753:0 1

crwdns2936753:030crwdne2936753:0 5

crwdns2942667:0crwdne2942667:0 69