crwdns2915892:0crwdne2915892:0
This guide is for replacing the heating element of the CHI Spin N Curl rotating curler, model number CA2288A. Due to a defect in the heating element, the appliance may not heat up. To solve this problem, you must replace the ceramic fuse located under the heating element.
To get more details about the product visit the owners instructions.
Note that you will need to disconnect a battery while following the safety instructions.
crwdns2942213:0crwdne2942213:0
-
-
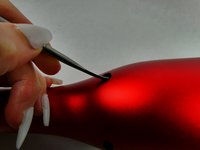
Use a metal spudger to pry off the silver, shiny trim.
-
-
-
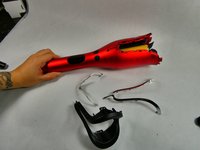
Remove inner black housing of the CHI Spin N Curl using the metal spudger to pop it out.
-
-
-
-
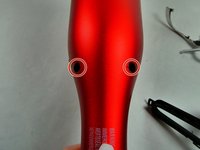
Use a 2 mm flathead to remove the two screws.
-
-
-
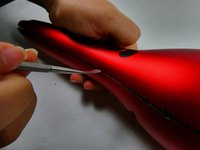
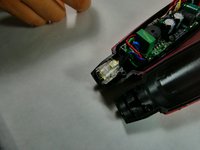
Use a metal spudger to pry open the seams of the device.
-
-
-
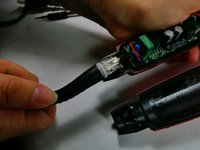
Toward the bottom of the device, grab the swivel power cord.
-
Gently pull the power cord to detach it from the CHI Spin N Curl
-
-
-
After following steps to open the CHI Spin N Curl, locate the heating element.
-
Remove screws on both sides of the heating element.
-
Once screws have been removed, then remove the heating element component.
-
Replace heating element once the original has been removed.
-


To reassemble your device, follow these instructions in reverse order.
To reassemble your device, follow these instructions in reverse order.
crwdns2935221:0crwdne2935221:0
crwdns2935229:02crwdne2935229:0

crwdns2915084:0crwdne2915084:0

UMass Dartmouth, Team 2-7, Petersen Fall 2022 crwdns2935289:0UMass Dartmouth, Team 2-7, Petersen Fall 2022crwdne2935289:0
UMASSD-PETERSEN-F22S2G7
crwdns2931471:03crwdne2931471:0
crwdns2935297:06crwdne2935297:0