crwdns2915892:0crwdne2915892:0
This is an easy-to-teardown device and shows you the inner workings of the label maker. The main components are batteries and the label cartridge for the tape, and a few screws to further tear down the device.
crwdns2942213:0crwdne2942213:0
-
-
Start with your device off. The screen should be blank and not displaying anything.
-
Turn the device over so it's resting face down.
-
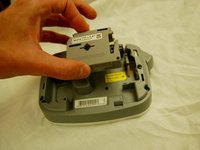
You should be able to see the model name of the label-maker, as well as a window in which you can view the label cartridge.
-
-
-
Using your thumb, press in and then upward on the fastener at the top of the device. The back of the device should come off easily.
-
Remove the 4 batteries located on the left side of the device.
-
-
-
-
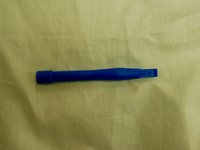
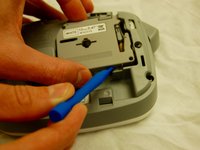
To remove the label cartridge from the device, use a plastic opening tool from your iFixit tool kit.
-
-
-
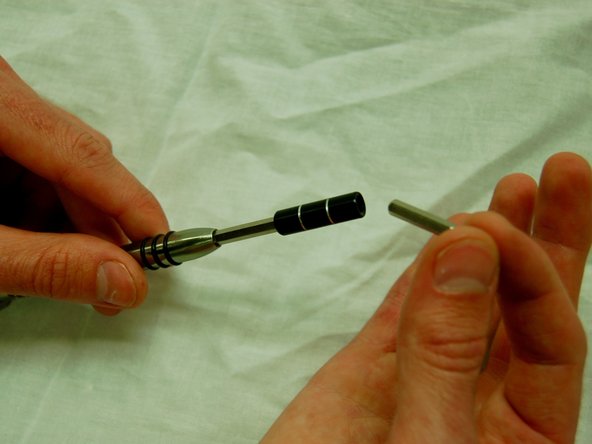
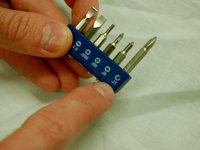
Attach the J1 Screwdriver Bit to the extension tool from your tool kit.
-
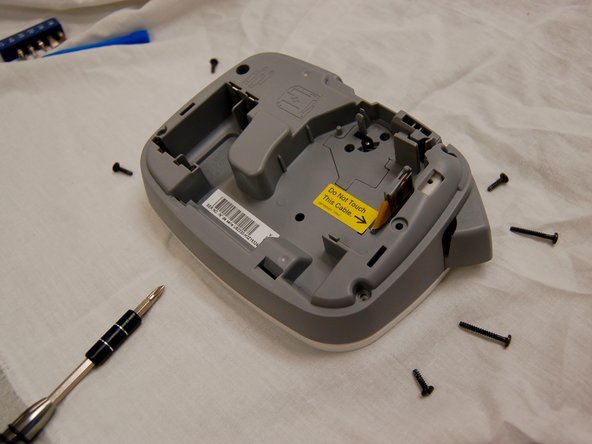
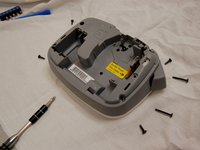
Remove all of the screws from the back of the device.
-
-
-
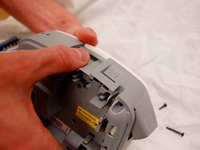
Once the screws have been removed, press as shown on the fastener.
-
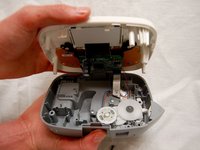
Carefully open the device.
-


crwdns2935221:0crwdne2935221:0
crwdns2935229:02crwdne2935229:0

crwdns2915084:0crwdne2915084:0

University of Maine, Team 2-1, Diaz Fall 2016 crwdns2935289:0University of Maine, Team 2-1, Diaz Fall 2016crwdne2935289:0
UMAINE-DIAZ-F16S2G1
crwdns2931471:03crwdne2931471:0
crwdns2935297:02crwdne2935297:0