crwdns2915892:0crwdne2915892:0
This step-by-step guide will walk you through the process of replacing the printer ink cartridges in your Brother MFC-9130CW printer. Over time, printers will run out of ink, affecting their performance. By following this guide, you can navigate through the steps of efficient ink cartridge replacement, ensuring a smooth printing experience.
Before starting the process, remember to press the power button to turn off the printer. It's essential to handle the printer components with care.
crwdns2942213:0crwdne2942213:0
-
-
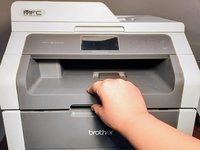
Press the power button on the printer for a couple of seconds to turn it off.
-
-
-
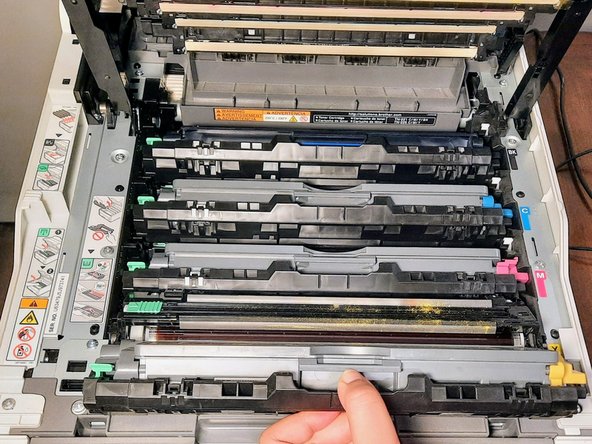
Press the latch beneath the paper output area and lift it to access the ink compartment.
-
-
-
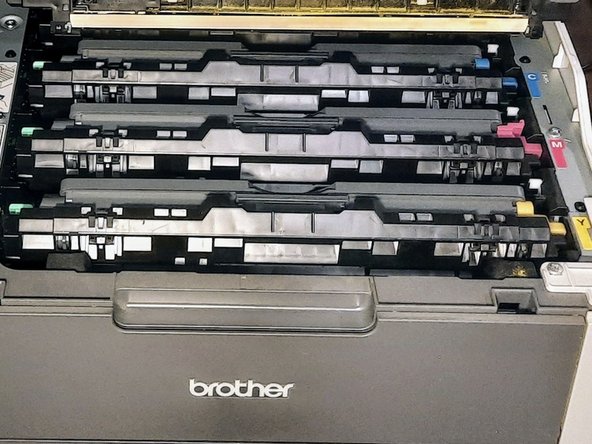
Identify the specific ink color you wish to replace among the available cartridges in the ink compartment.
-
-
-
-
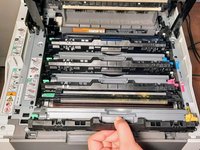
Pull each ink cartridge tray out of its slot using the center handle.
-
-
-
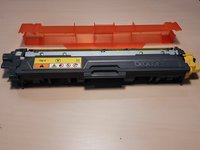
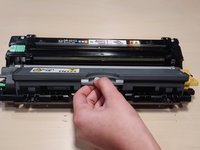
Place the new ink cartridge on a clean surface.
-
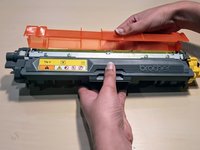
Release the orange cover, as shown on the photo.
-
-
-
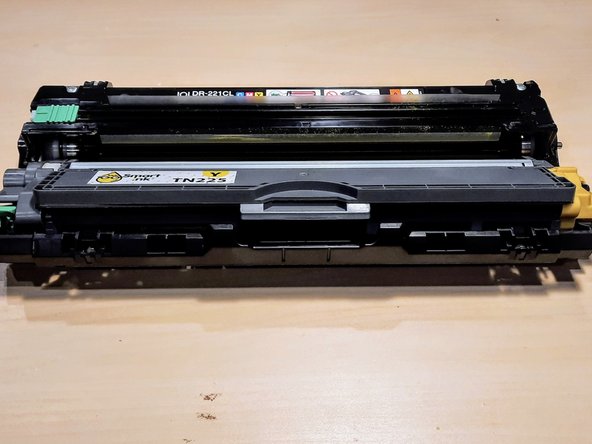
Place the cartridge in the tray.
-
Gently press down on the ink tray with your thumb.
-
-
-
Slide the ink tray back into its original position within the printer.
-
Once the ink tray is secured, press the ink compartment latch with your thumb, and gently close the lid.
-
-
-
Press the power button for a couple of seconds to turn the printer back on.
-
Print a couple of test copies to ensure the toner cartridge replacement was a success.
-


To reassemble your device, follow these instructions in the given order.
To reassemble your device, follow these instructions in the given order.
crwdns2935221:0crwdne2935221:0
crwdns2935227:0crwdne2935227:0

crwdns2915084:0crwdne2915084:0

York University, Team 2-28, O'Regan Winter 2024 crwdns2935289:0York University, Team 2-28, O'Regan Winter 2024crwdne2935289:0
YORK-O'REGAN-W24S2G28
crwdns2934841:01crwdne2934841:0
crwdns2935297:02crwdne2935297:0
crwdns2947410:01crwdne2947410:0
One step is missing : release the orange cover.