crwdns2915892:0crwdne2915892:0
Use this guide to replace a worn out tire ring for the bobbin winder of a Brother CS-80 sewing machine.
Over time and with constant usage, the bobbin winder tire ring in a Brother CS-80 sewing machine can wear out, break, or even disintegrate. You may need to replace your tire ring if your machine has issues with winding the bobbin correctly.
crwdns2942213:0crwdne2942213:0
-
-
Turn off the machine.
-
Unplug both the power cord and the foot pedal.
-
-
-
Slide the clear flap to the left to remove it.
-
-
-
Pull the latch to detach the bobbin cover.
-
-
-
Remove the bobbin from the bobbin shuttle.
-
-
-
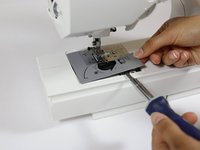
Use a flathead screwdriver to pry off the plastic plate that surrounds the bobbin shuttle.
-
-
-
Open the bobbin winder cover.
-
Flip up the spool pin.
-
-
-
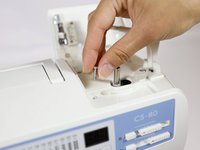
Remove the grey bobbin winder seat from the bobbin winder shaft.
-
-
-
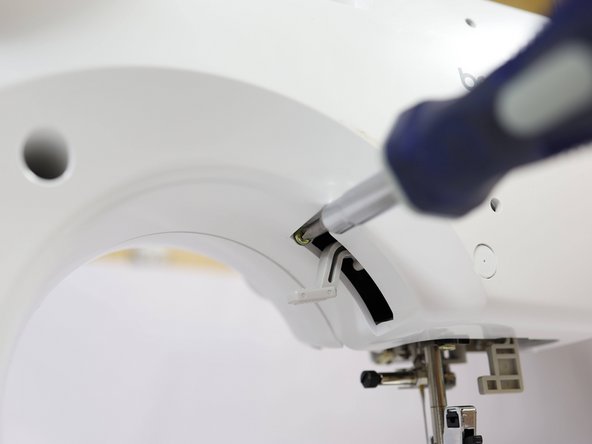
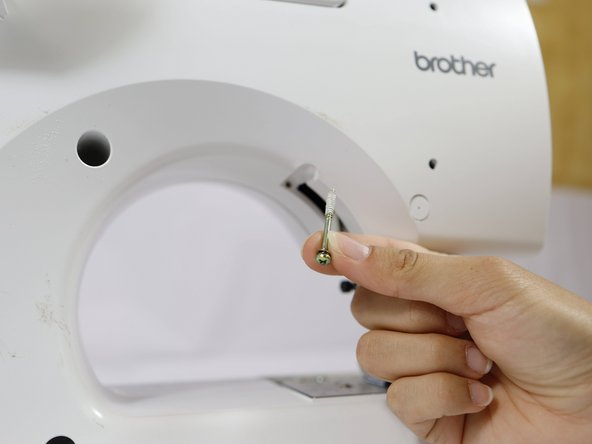
Remove the 13 mm Phillips head screw from the left side of the bobbin winder.
-
-
-
Pry off the bobbin winder thread spool pin and the attached bottom plate of the bobbin winder area.
-
-
-
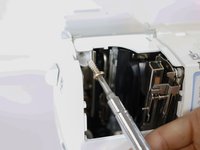
Remove the 8 mm Phillips screw from the metal plate to the right of the motherboard.
-
-
-
-
Open the thread compartment.
-
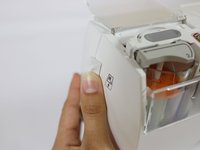
Press the back level on left side of the machine to eject the thread cassette compartment.
-
-
-
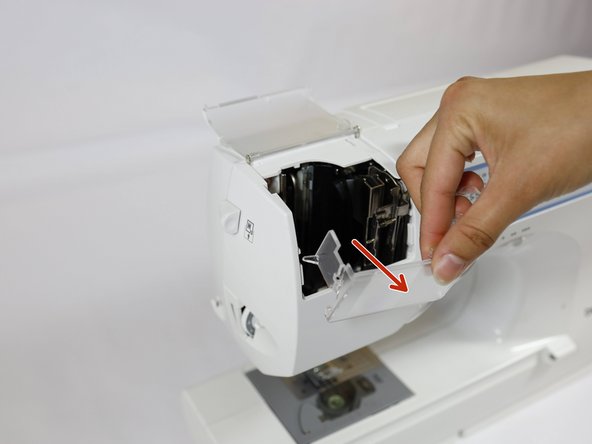
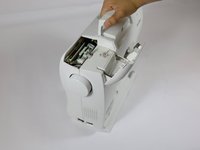
Remove the thread cassette compartment by pulling it up.
-
Remove the front clear shield to the thread cassette compartment holder by pulling it away from the machine.
-
-
-
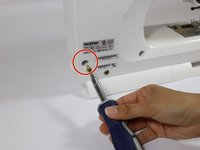
Remove the single 19 mm Phillips head screw from the back of the internal thread cassette compartment area.
-
-
-
Turn the machine so the back is facing you.
-
-
-
Remove the three large 19 mm Phillips head screws from the back left face of the machine.
-
-
-
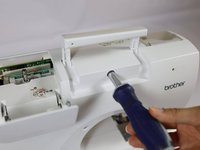
Remove the 19 mm Phillips head screw from behind the handle of the machine.
-
-
-
Remove the large 19 mm Phillips screw from the bottom right of the machine.
-
-
-
Remove the 33 mm Phillips head screw by the presser foot lever.
-
-
-
Slowly pull apart the two sides of the sewing machine.
-
-
-
Gently disconnect the ribbon cable from the motherboard.
-
-
-
Disconnect the 6-pin connector from the motherboard.
-
-
-
Completely pull apart the two halves of the machine.
-
Set aside the front side piece.
-
Place the back piece down so that the inside faces upwards.
-
-
-
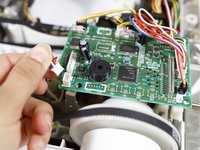
Remove the gold 9 mm Phillips screw from the front right of the motherboard.
-
Remove the two silver 7 mm Phillips head screws from the front and back of the left side of the motherboard.
-
-
-
Slide out the motherboard from the white plastic motherboard housing.
-
-
-
Disconnect the 3-pin connector from the front left side of the motherboard.
-
-
-
Disconnect the 4-pin connector from the left underside of the motherboard.
-
-
-
Flip the motherboard over so it rests upside down and away from the balance wheel.
-
-
-
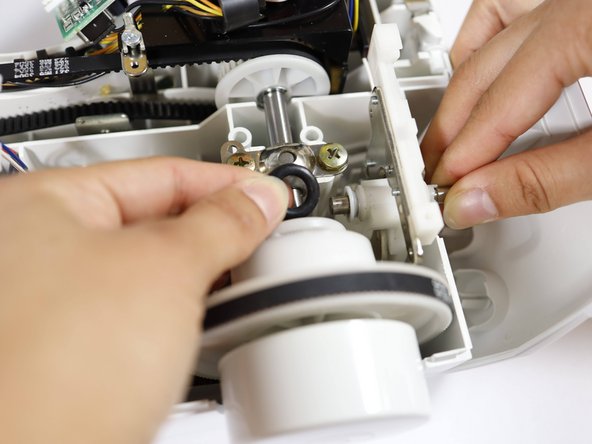
Use a flathead screwdriver to pry off the tire ring.
-


To reassemble your sewing machine, follow the disassembly instructions in reverse order.
To reassemble your sewing machine, follow the disassembly instructions in reverse order.

crwdns2915084:0crwdne2915084:0

UC Davis, Team 1-5, Whithaus Spring 2024 crwdns2935289:0UC Davis, Team 1-5, Whithaus Spring 2024crwdne2935289:0
UCD-WHITHAUS-S24S1G5
crwdns2931471:03crwdne2931471:0
crwdns2935303:01crwdne2935303:0