crwdns2915892:0crwdne2915892:0
Some users of the Bose QuietComfort 35 II (Model: 789564-0010) may experience intermittent audio when moving the audio jack cable. This can indicate a faulty audio jack.
This guide shows how to remove and replace the stereo audio jack connector. If you are adding a new audio jack, the following guide on soldering may be helpful: How To Solder and Desolder Connections.
Precautions:
- Adhesive holds the felt pads in place, so you may need to glue them back during reassembly. Replacement parts for the felt covers are not available.
- Step 7 requires soldering skills and precision. If you are not experienced with soldering, seek assistance.
crwdns2942213:0crwdne2942213:0
-
-
Use a plastic opening tool to remove the ear cushion pad. Pry gently until the seam separates from the plastic tabs.
-
-
-
Carefully peel off the “L” and “R” felt covers with your fingers.
-
Note: The covers are glued in place and cannot be replaced, so set them aside carefully.
-
Pro Tip: Use minimal force to avoid tearing; you may need to reattach them with adhesive during reassembly.
-
-
-
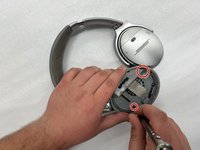
Use a Phillips #000 screwdriver to remove the two 7 mm silver screws from the inside and detach the back cover.
-
-
-
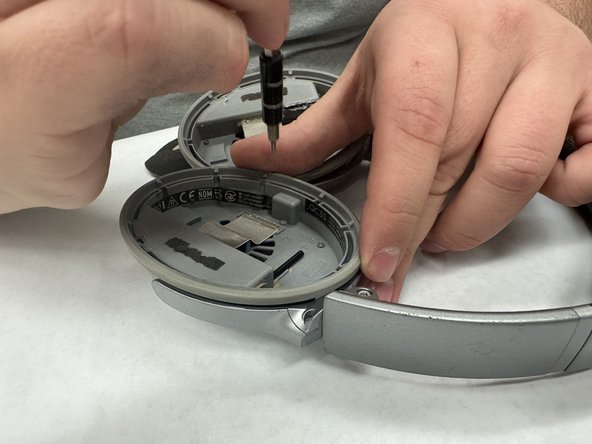
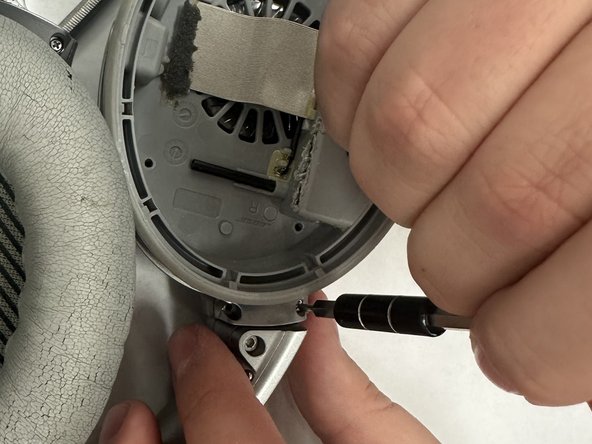
Use a Phillips #000 screwdriver to remove the two 5 mm silver screws securing the earphones to the headband.
-
-
-
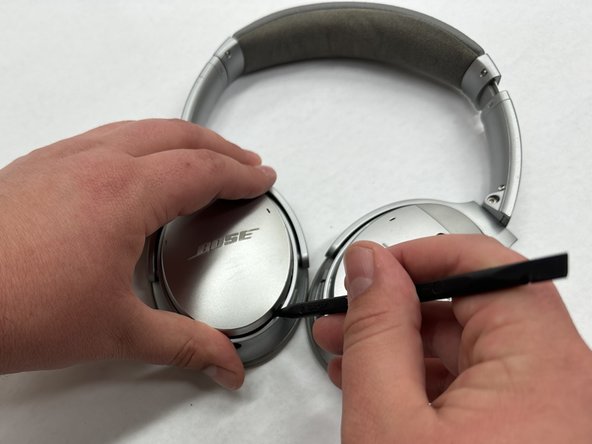
Insert the flat end of a metal spudger between the earpiece and the headband joint.
-
Insert the flat end of a metal spudger between the earpiece and the headband joint. Gently pry outward until the earpiece slides free.
-
-
-
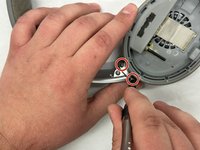
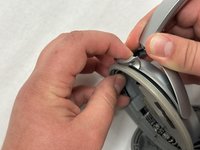
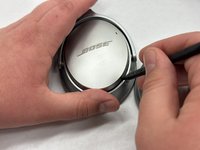
Use a spudger to detach the silver cover on the outside of the headset.
-
-
-
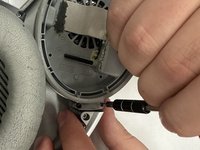
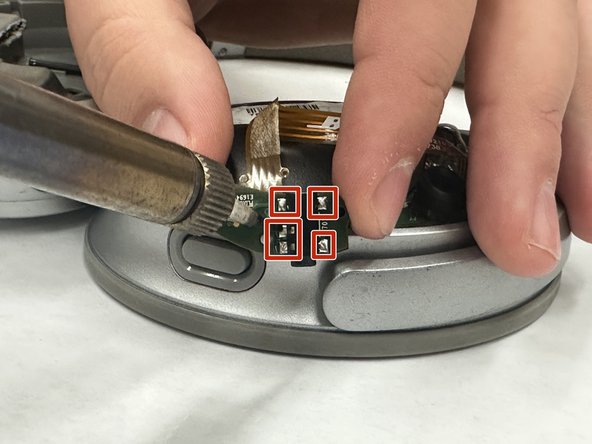
Use a soldering iron to heat the solder joints near the audio cable connector port.
-
Use a soldering iron to heat the solder joints near the audio cable connector port. At the same time, apply solder wick to absorb the molten solder and release the ribbon cable.
-
Use a soldering iron to heat the solder joints near the audio cable connector port. At the same time, apply solder wick to absorb the molten solder and release the ribbon cable. Once the solder is cleared, gently lift and remove the ribbon cable using tweezers—avoid pulling directly on the cable.
-
-
-
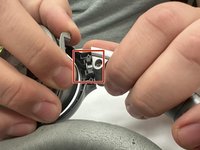
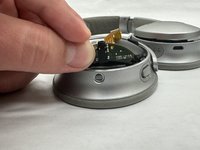
Install the replacement ribbon cable and audio jack assembly.
-
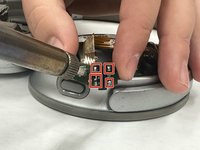
Optional: Desolder the five audio jack posts. Then, replace the individual audio jack with the new one.
-


Congratulations — you have successfully replaced the audio jack on your Bose QuietComfort 35 II headphones.
Before reassembly, compare the new and old parts to ensure compatibility. Reassemble your headphones by reversing the steps in the guide:
- Solder the ribbon cable and audio jack securely.
- Reinstall the earpiece on the headband and fasten all screws.
- Reposition the felt covers and reapply adhesive if needed.
- Snap on the silver back cover and reinsert the cushion pad.
- Test audio functionality and mechanical fit before fully closing the headset.
crwdns2935221:0crwdne2935221:0
crwdns2935229:02crwdne2935229:0
crwdns2935287:0crwdne2935287:0

IUPUI, Team 1-2, Harley Fall 2023 crwdns2935289:0IUPUI, Team 1-2, Harley Fall 2023crwdne2935289:0
IUPUI-HARLEY-F23S1G2
crwdns2931471:03crwdne2931471:0
crwdns2935297:03crwdne2935297:0