crwdns2933423:0crwdne2933423:0

Blu L120 Screen Assembly Replacement

crwdns2942213:0crwdne2942213:0

  1. Blu L120 Screen Assembly Replacement, Remove back panel: crwdns2935265:01crwdnd2935265:01crwdnd2935265:03crwdne2935265:0 Blu L120 Screen Assembly Replacement, Remove back panel: crwdns2935265:01crwdnd2935265:02crwdnd2935265:03crwdne2935265:0 Blu L120 Screen Assembly Replacement, Remove back panel: crwdns2935265:01crwdnd2935265:03crwdnd2935265:03crwdne2935265:0
    • Remove the cover by lifting the notch towards the bottom of the phone. Use your fingernail to lift it up.

  2. Blu L120 Screen Assembly Replacement, Screw Removal: crwdns2935265:02crwdnd2935265:01crwdnd2935265:03crwdne2935265:0 Blu L120 Screen Assembly Replacement, Screw Removal: crwdns2935265:02crwdnd2935265:02crwdnd2935265:03crwdne2935265:0 Blu L120 Screen Assembly Replacement, Screw Removal: crwdns2935265:02crwdnd2935265:03crwdnd2935265:03crwdne2935265:0
    • Remove these nine screws with a small phillips screwdriver. They are all the same size.

    • There is a small screw hidden under the warranty sticker. You may either remove or poke through it .

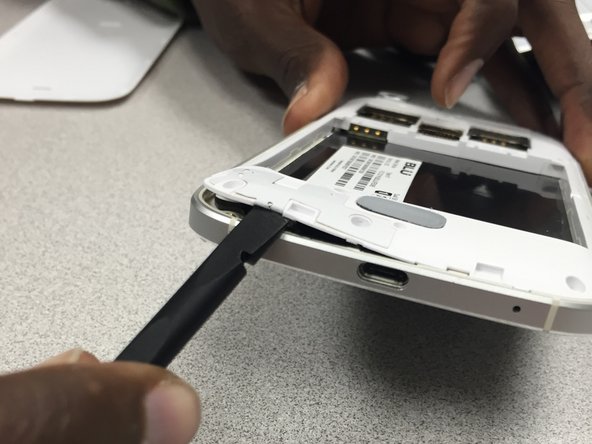
  3. Blu L120 Screen Assembly Replacement, Rear Panel  removal: crwdns2935265:03crwdnd2935265:01crwdnd2935265:03crwdne2935265:0 Blu L120 Screen Assembly Replacement, Rear Panel  removal: crwdns2935265:03crwdnd2935265:02crwdnd2935265:03crwdne2935265:0 Blu L120 Screen Assembly Replacement, Rear Panel  removal: crwdns2935265:03crwdnd2935265:03crwdnd2935265:03crwdne2935265:0
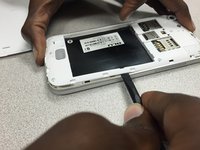
    • Use the pry tool to gently separate the panel from the frame, starting from the bottom left corner and continue along the edge of the phone.

    • *WARNING* by doing this, you will void the manufacturers warranty.

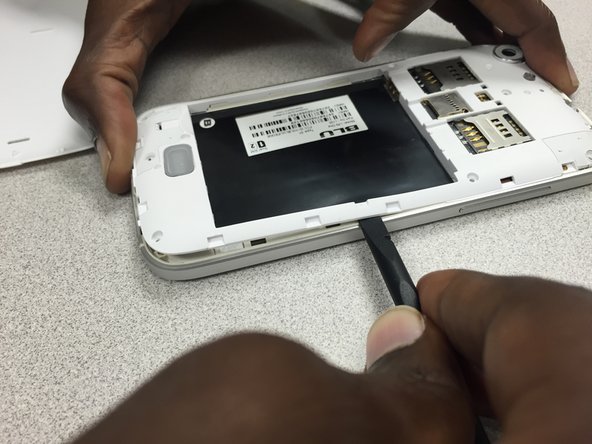
  4. Blu L120 Screen Assembly Replacement, Separate back panel from frame: crwdns2935265:04crwdnd2935265:01crwdnd2935265:03crwdne2935265:0 Blu L120 Screen Assembly Replacement, Separate back panel from frame: crwdns2935265:04crwdnd2935265:02crwdnd2935265:03crwdne2935265:0 Blu L120 Screen Assembly Replacement, Separate back panel from frame: crwdns2935265:04crwdnd2935265:03crwdnd2935265:03crwdne2935265:0
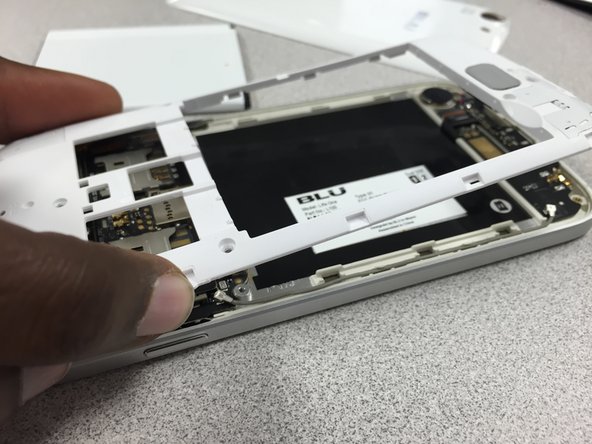
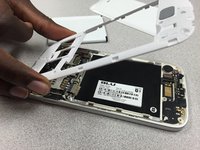
    • Continue using the pry tool around the back panel of the phone to separate both pieces.

    • Once you have gone around the entire frame, use both hands to pull it apart.

  5. Blu L120 Screen Assembly Replacement, Camera Removal: crwdns2935265:05crwdnd2935265:01crwdnd2935265:03crwdne2935265:0 Blu L120 Screen Assembly Replacement, Camera Removal: crwdns2935265:05crwdnd2935265:02crwdnd2935265:03crwdne2935265:0 Blu L120 Screen Assembly Replacement, Camera Removal: crwdns2935265:05crwdnd2935265:03crwdnd2935265:03crwdne2935265:0
    crwdns2935267:0crwdne2935267:0
    Tweezers
    $4.99
    crwdns2942207:0crwdne2942207:0
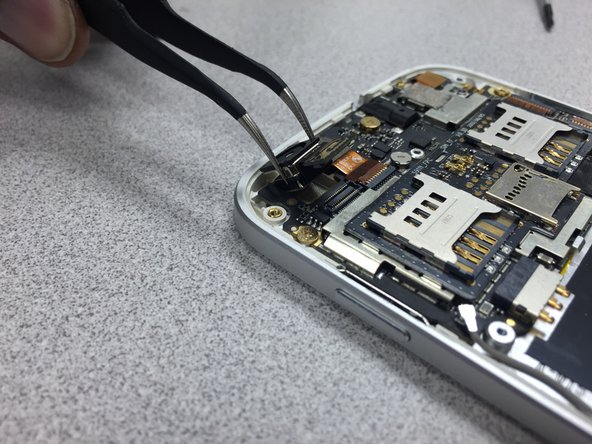
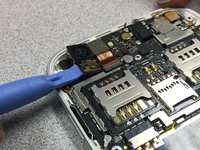
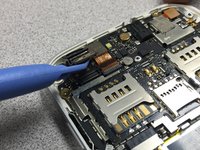
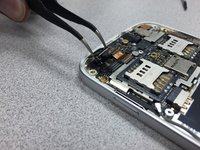
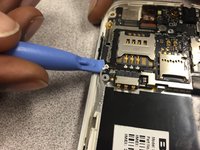
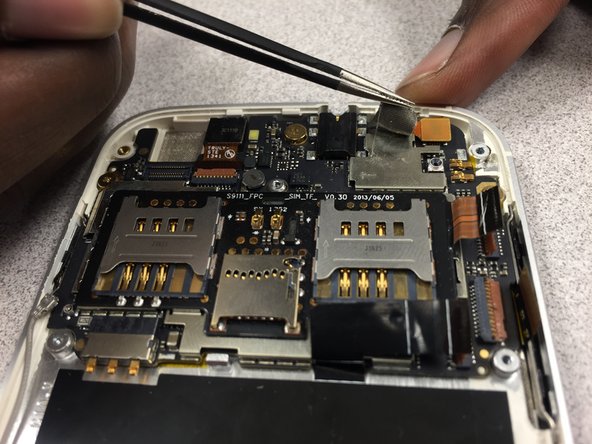
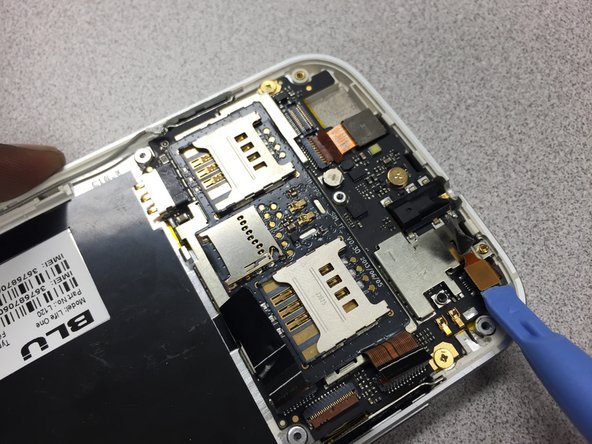
    • Use the pry tool to disconnect the camera from the device.

    • Gently lift the camera up and use the tweezers to remove it from the phone.

    • Reinstall the camera. Then follow the guide in reverse to put the phone back together.

  6. Blu L120 Screen Assembly Replacement, Motherboard: crwdns2935265:06crwdnd2935265:01crwdnd2935265:03crwdne2935265:0 Blu L120 Screen Assembly Replacement, Motherboard: crwdns2935265:06crwdnd2935265:02crwdnd2935265:03crwdne2935265:0 Blu L120 Screen Assembly Replacement, Motherboard: crwdns2935265:06crwdnd2935265:03crwdnd2935265:03crwdne2935265:0
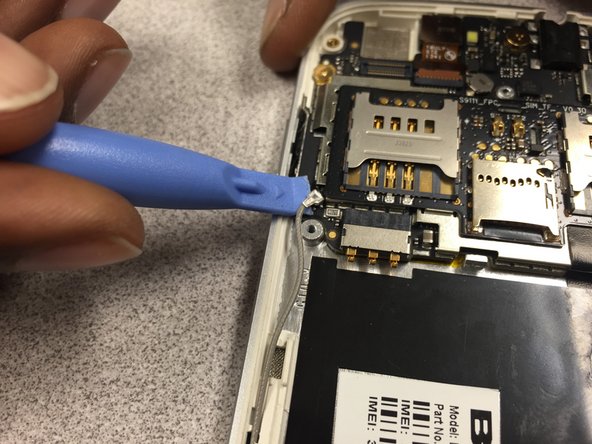
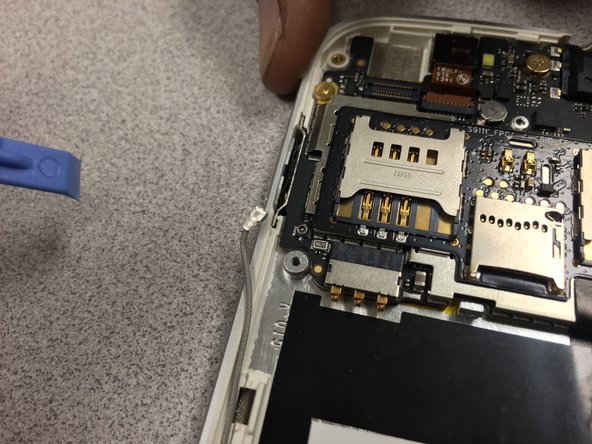
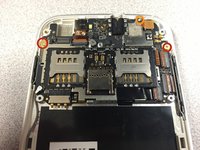
    • Remove these three screws using 00 Philips screwdriver. Note the smaller screw circled in orange.

    • Then gently pry up on the metal antenna connector at the end of the grey wire. Move the wire out of the way.

  7. Blu L120 Screen Assembly Replacement: crwdns2935265:07crwdnd2935265:01crwdnd2935265:02crwdne2935265:0 Blu L120 Screen Assembly Replacement: crwdns2935265:07crwdnd2935265:02crwdnd2935265:02crwdne2935265:0
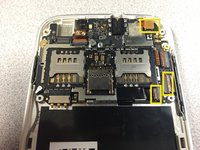
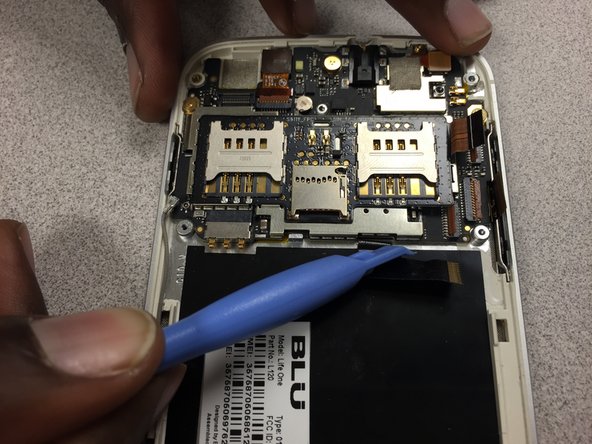
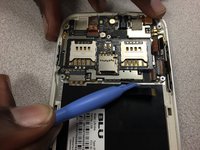
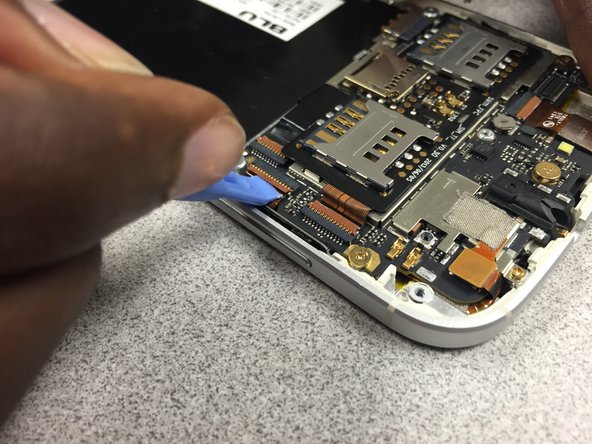
    • Next you must disconnect these three cables.

    • Use your pry tool to lift up on the brown tab to release the ribbon cable.

  8. Blu L120 Screen Assembly Replacement: crwdns2935265:08crwdnd2935265:01crwdnd2935265:03crwdne2935265:0 Blu L120 Screen Assembly Replacement: crwdns2935265:08crwdnd2935265:02crwdnd2935265:03crwdne2935265:0 Blu L120 Screen Assembly Replacement: crwdns2935265:08crwdnd2935265:03crwdnd2935265:03crwdne2935265:0
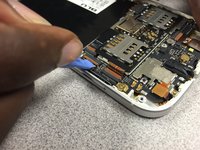
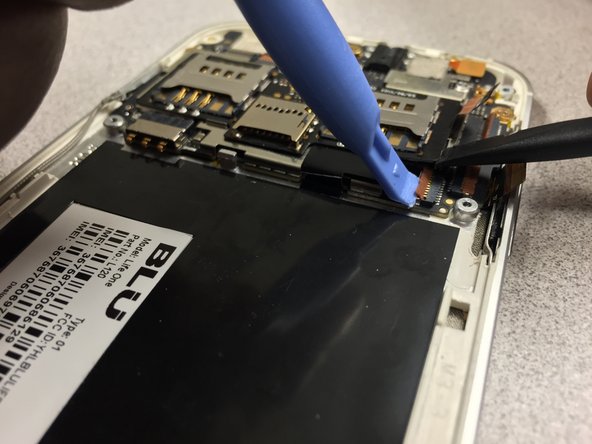
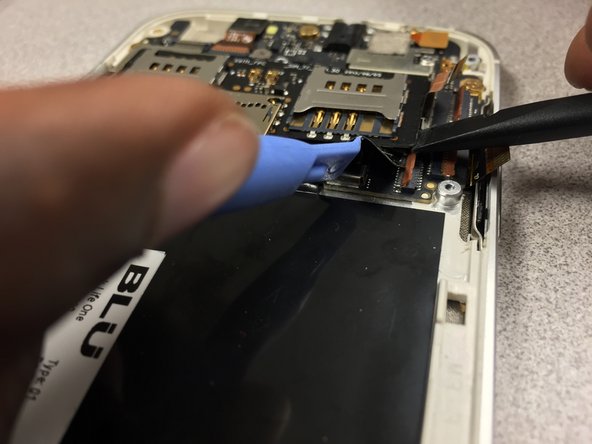
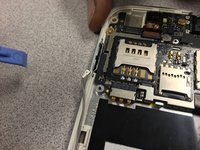
    • For the last ribbon cable, use a spudger to gently pry up on the board under the right sim card slot.

    • Next, take your pry tool to lift up on the brown tab holding down the ribbon cable.

    • The cable is now free to be pulled back out of its' slot.

  9. Blu L120 Screen Assembly Replacement: crwdns2935265:09crwdnd2935265:01crwdnd2935265:03crwdne2935265:0 Blu L120 Screen Assembly Replacement: crwdns2935265:09crwdnd2935265:02crwdnd2935265:03crwdne2935265:0 Blu L120 Screen Assembly Replacement: crwdns2935265:09crwdnd2935265:03crwdnd2935265:03crwdne2935265:0
    crwdns2935267:0crwdne2935267:0
    Tweezers
    $4.99
    crwdns2942207:0crwdne2942207:0
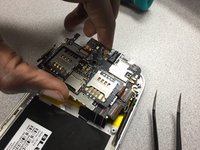
    • Using a spudger, peel up on the mesh tape then use your tweezers to peel the rest of it up.

  10. Blu L120 Screen Assembly Replacement: crwdns2935265:010crwdnd2935265:01crwdnd2935265:03crwdne2935265:0 Blu L120 Screen Assembly Replacement: crwdns2935265:010crwdnd2935265:02crwdnd2935265:03crwdne2935265:0 Blu L120 Screen Assembly Replacement: crwdns2935265:010crwdnd2935265:03crwdnd2935265:03crwdne2935265:0
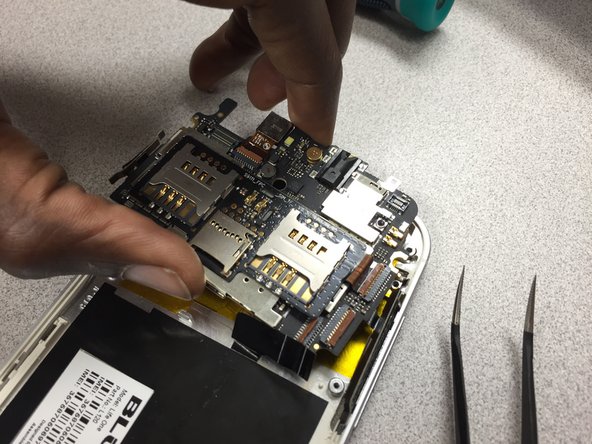
    • Now that the motherboard is free to be pried up, be sure that no cables are in the way or can be snagged when removing the motherboard.

    • Just lift up and away.

    • Follow the instructions in reverse to put the phone back together.

  11. Blu L120 Screen Assembly Replacement, Screen Assembly: crwdns2935265:011crwdnd2935265:01crwdnd2935265:02crwdne2935265:0 Blu L120 Screen Assembly Replacement, Screen Assembly: crwdns2935265:011crwdnd2935265:02crwdnd2935265:02crwdne2935265:0
    crwdns2935267:0crwdne2935267:0
    Tweezers
    $4.99
    crwdns2942207:0crwdne2942207:0
    • Using your tweezers, peel back the yellow film to free the cable from the screen.

  12. Blu L120 Screen Assembly Replacement: crwdns2935265:012crwdnd2935265:01crwdnd2935265:02crwdne2935265:0 Blu L120 Screen Assembly Replacement: crwdns2935265:012crwdnd2935265:02crwdnd2935265:02crwdne2935265:0
    • We used the iOpener tool, heated it up, and placed it on top of the phone for a few seconds to loosen up the glue.

  13. Blu L120 Screen Assembly Replacement: crwdns2935265:013crwdnd2935265:01crwdnd2935265:03crwdne2935265:0 Blu L120 Screen Assembly Replacement: crwdns2935265:013crwdnd2935265:02crwdnd2935265:03crwdne2935265:0 Blu L120 Screen Assembly Replacement: crwdns2935265:013crwdnd2935265:03crwdnd2935265:03crwdne2935265:0
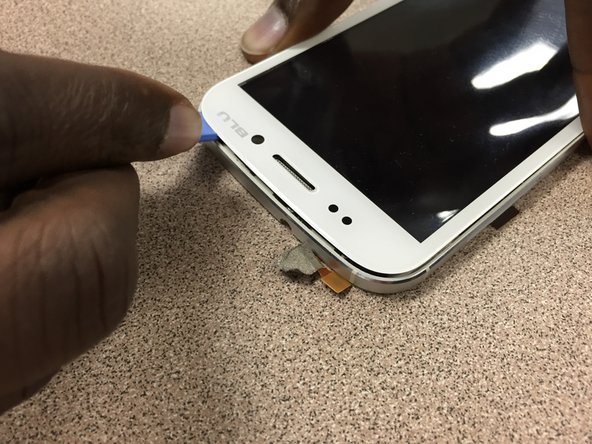
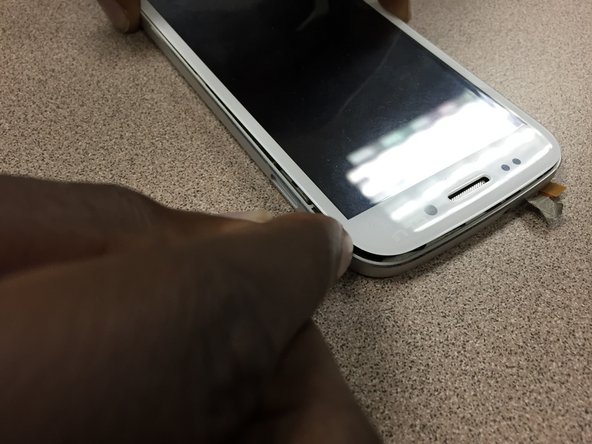
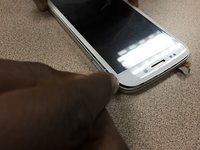
    • Once the screen has been heated and the glue is tacky, put a plastic opening tool between the glass screen and the frame. Start lifting the glass away around the whole frame.

  14. Blu L120 Screen Assembly Replacement: crwdns2935265:014crwdnd2935265:01crwdnd2935265:03crwdne2935265:0 Blu L120 Screen Assembly Replacement: crwdns2935265:014crwdnd2935265:02crwdnd2935265:03crwdne2935265:0 Blu L120 Screen Assembly Replacement: crwdns2935265:014crwdnd2935265:03crwdnd2935265:03crwdne2935265:0
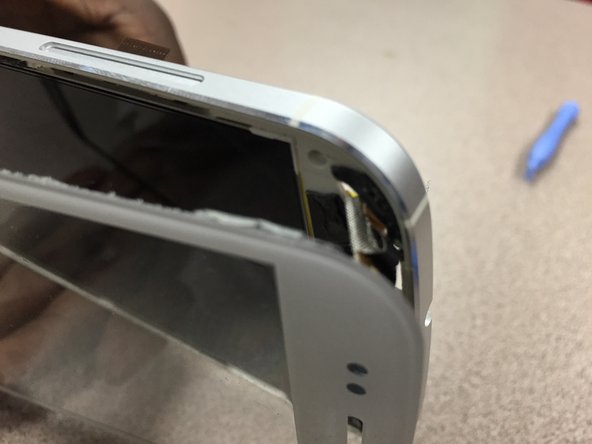
    • When finished separating the glass from the frame with the pry tool, grab both the frame and glass with both hands and separate both pieces. CAUTION, there is a ribbon cable that needs to be removed from the back of the phone before full separation.

    • As you can see, the LCD still needs a bit more work to come apart.

  15. Blu L120 Screen Assembly Replacement: crwdns2935265:015crwdnd2935265:01crwdnd2935265:03crwdne2935265:0 Blu L120 Screen Assembly Replacement: crwdns2935265:015crwdnd2935265:02crwdnd2935265:03crwdne2935265:0 Blu L120 Screen Assembly Replacement: crwdns2935265:015crwdnd2935265:03crwdnd2935265:03crwdne2935265:0
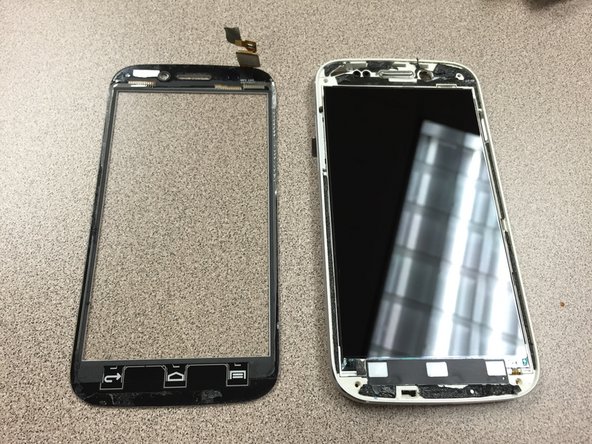
    • Take a spudger and gently push the cable through the cutout on the frame to separate the glass.

  16. Blu L120 Screen Assembly Replacement: crwdns2935265:016crwdnd2935265:01crwdnd2935265:02crwdne2935265:0 Blu L120 Screen Assembly Replacement: crwdns2935265:016crwdnd2935265:02crwdnd2935265:02crwdne2935265:0
    • Congratulations! Your device is now ready for a new glass panel!

crwdns2915888:0crwdne2915888:0

To reassemble your device, follow these instructions in reverse order.

crwdns2935229:02crwdne2935229:0

Julio

crwdns2935283:010/25/14crwdne2935283:0

695 crwdns2915208:0crwdne2915208:0

crwdns2935297:06crwdne2935297:0

crwdns2915084:0crwdne2915084:0

Gateway, Team 1-5, Johnson Fall 2014 crwdns2935289:0Gateway, Team 1-5, Johnson Fall 2014crwdne2935289:0
GCC-JOHNSON-F14S1G5

crwdns2931471:03crwdne2931471:0

crwdns2935297:06crwdne2935297:0
crwdns2944067:00crwdne2944067:0

crwdns2917038:0crwdne2917038:0

crwdns2936625:0crwdne2936625:0:

crwdns2936751:024crwdne2936751:0 0

crwdns2936753:07crwdne2936753:0 1

crwdns2936753:030crwdne2936753:0 13

crwdns2942667:0crwdne2942667:0 1,755