crwdns2942213:0crwdne2942213:0
-
-
Remove the back cover of the phone
-
-
-
Unscrew the four screws using the T6 screw driver.
-
-
-
Slide the screen up.
-
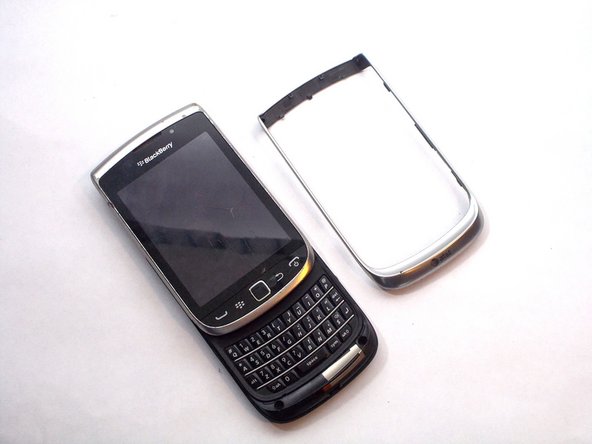
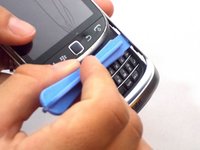
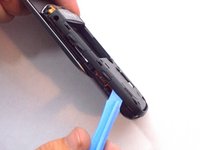
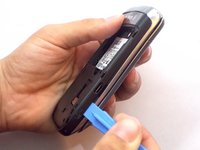
Remove front silver trim by using a plastic opening tools and wiggle it off.
-
-
-
Once you remove the rim cover, you should find two more screws on the top. Unscrew them with a T-6 screw driver.
-
-
-
-
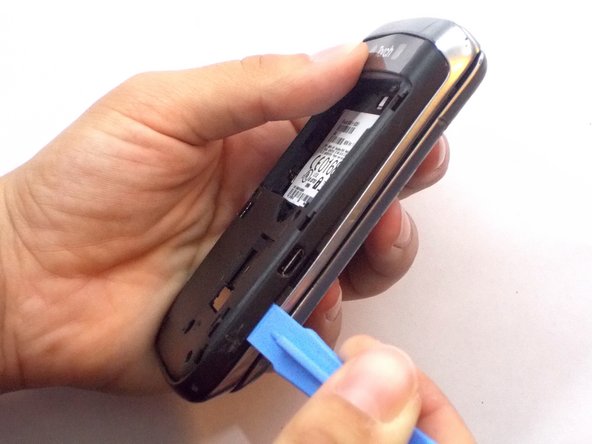
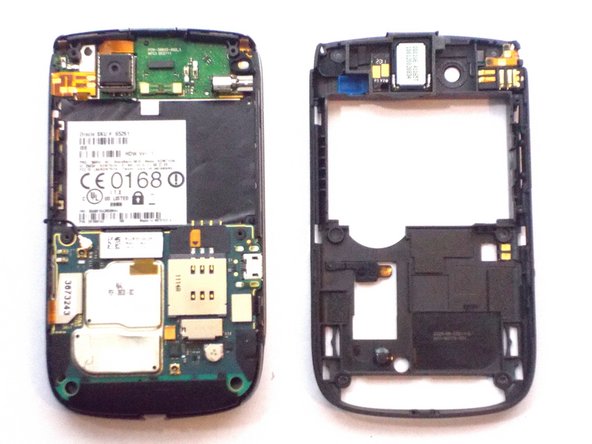
Use the plastic opening tools to remove the entire back off the phone.
-
-
-
Remove the three ribbon cables and the antenna wire by hand.
-
The cable in red is glued to the metal cap. Peel it upwards towards the battery compartment.
-
-
-
The logic board will easily pull straight out.
-
-
-
Remove the black sticker located above the logic board that contains the phone's serial number
-
-
-
Behind the black sticker you should find six small yellow screws. Remove them with a T4 torx screwdriver.
-
-
-
Carefully separate the screen from the body.
-
-
-
Slide the silver plate up and you should find four more screws that need to be removed. Use a T-4 screw driver.
-
They are on a black cover located on the bottom of the phone. The black cover will come off
-
-
-
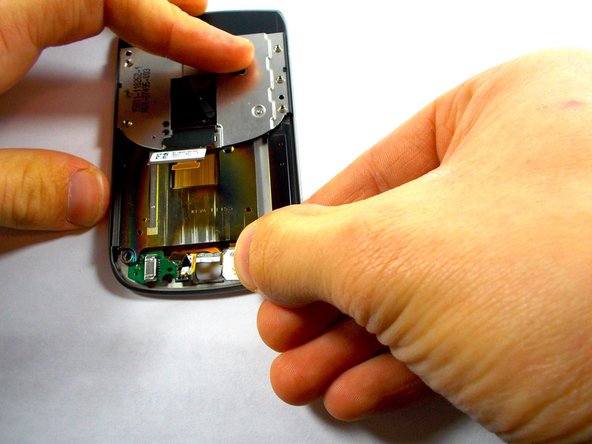
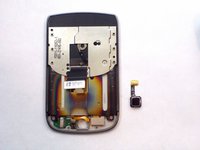
There is one last orange ribbon cable that needs to be pulled and behind it is the cursor
-
-
-
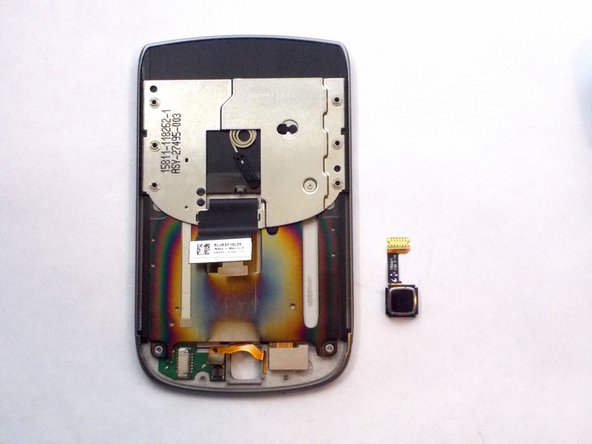
Push the cursor upwards and out of the socket.
-
Gently pull out the white box by pulling straight out of the socket to the right. This is your cursor
-
To reassemble your device, follow these instructions in reverse order.
crwdns2935221:0crwdne2935221:0
crwdns2935229:02crwdne2935229:0


