crwdns2915892:0crwdne2915892:0
This device contains a 1230 mAh removable/rechargeable lithium-ion battery. This battery offers a talk time of up to 6.8 hours, standby time of up to 13.4 days, music playback up to 50.2 hours, and video playback up to 6.6 hours. A lithium-ion battery can be very dangerous to work with, especially if it is damaged, so use extreme caution while replacing it. Without a battery your device will not even turn on, so it is important to know how to replace it.
-
-
Ensure the device is disconnected from any charging cables
-
Press and hold down the power/end button on the phone until phone powers off and the screen goes black. Locate the power button on the lower-right face of the device
-
Press and hold the power button until the display shuts down and the screen remains completely black
 crwdns2952109:0crwdne2952109:0
-
-
-
Locate the batter cover release button at the bottom of the devices's rear panel
-
Press and hold the release button while simultaneously lifting the battery cover away from the chassis
-
Remove the cover completely and set it aside in a safe location
-
-
-
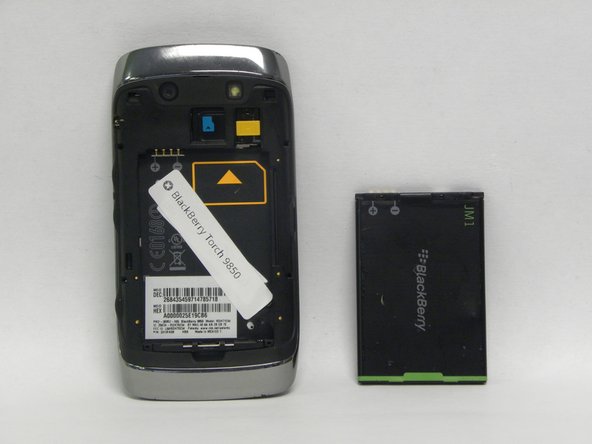
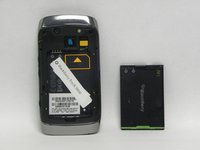
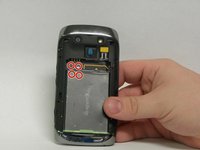
Remove the battery.
-
Once the plastic covering is removed, you can remove the battery.
-
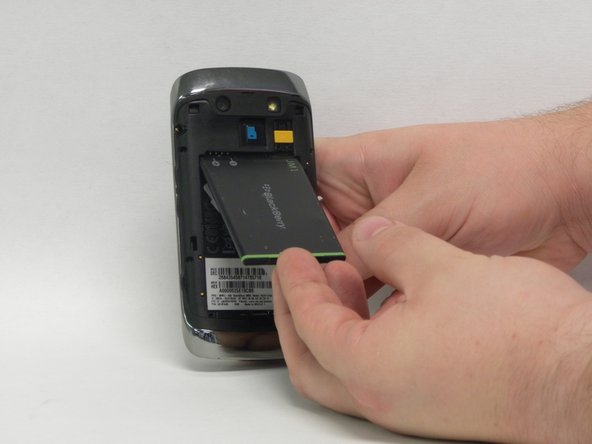
Use your fingers or a plastic spudger to pop the bottom of the battery out of its place by pushing and lifting.
-
Once the bottom of the battery has ejected, you can easily remove the whole battery from the phone with your hands.
-
-
-
Inserting a new battery.
-
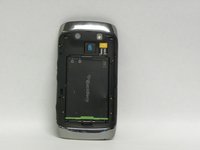
Align the plus and minus signs at the top of the battery compartment with the plus and minus signs at the top of the battery.
-
Push battery into place.
-
Replace the plastic cover by snapping into place.
-




To reassemble your device, follow these instructions in reverse order.
crwdns2935221:0crwdne2935221:0
crwdns2935227:0crwdne2935227:0

crwdns2935287:0crwdne2935287:0

USF Sarasota-Manatee, Team 1-2, Stewart Fall 2015 crwdns2935289:0USF Sarasota-Manatee, Team 1-2, Stewart Fall 2015crwdne2935289:0
USFSM-STEWART-F15S1G2
crwdns2931471:05crwdne2931471:0
crwdns2935297:021crwdne2935297:0
